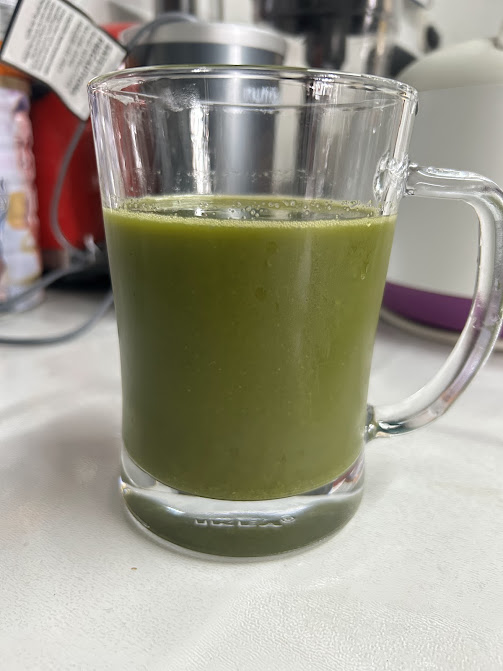
Morning Green Juice
Timing: First thing, on an empty stomach
10 photos
Exact Ingredients Breakdown
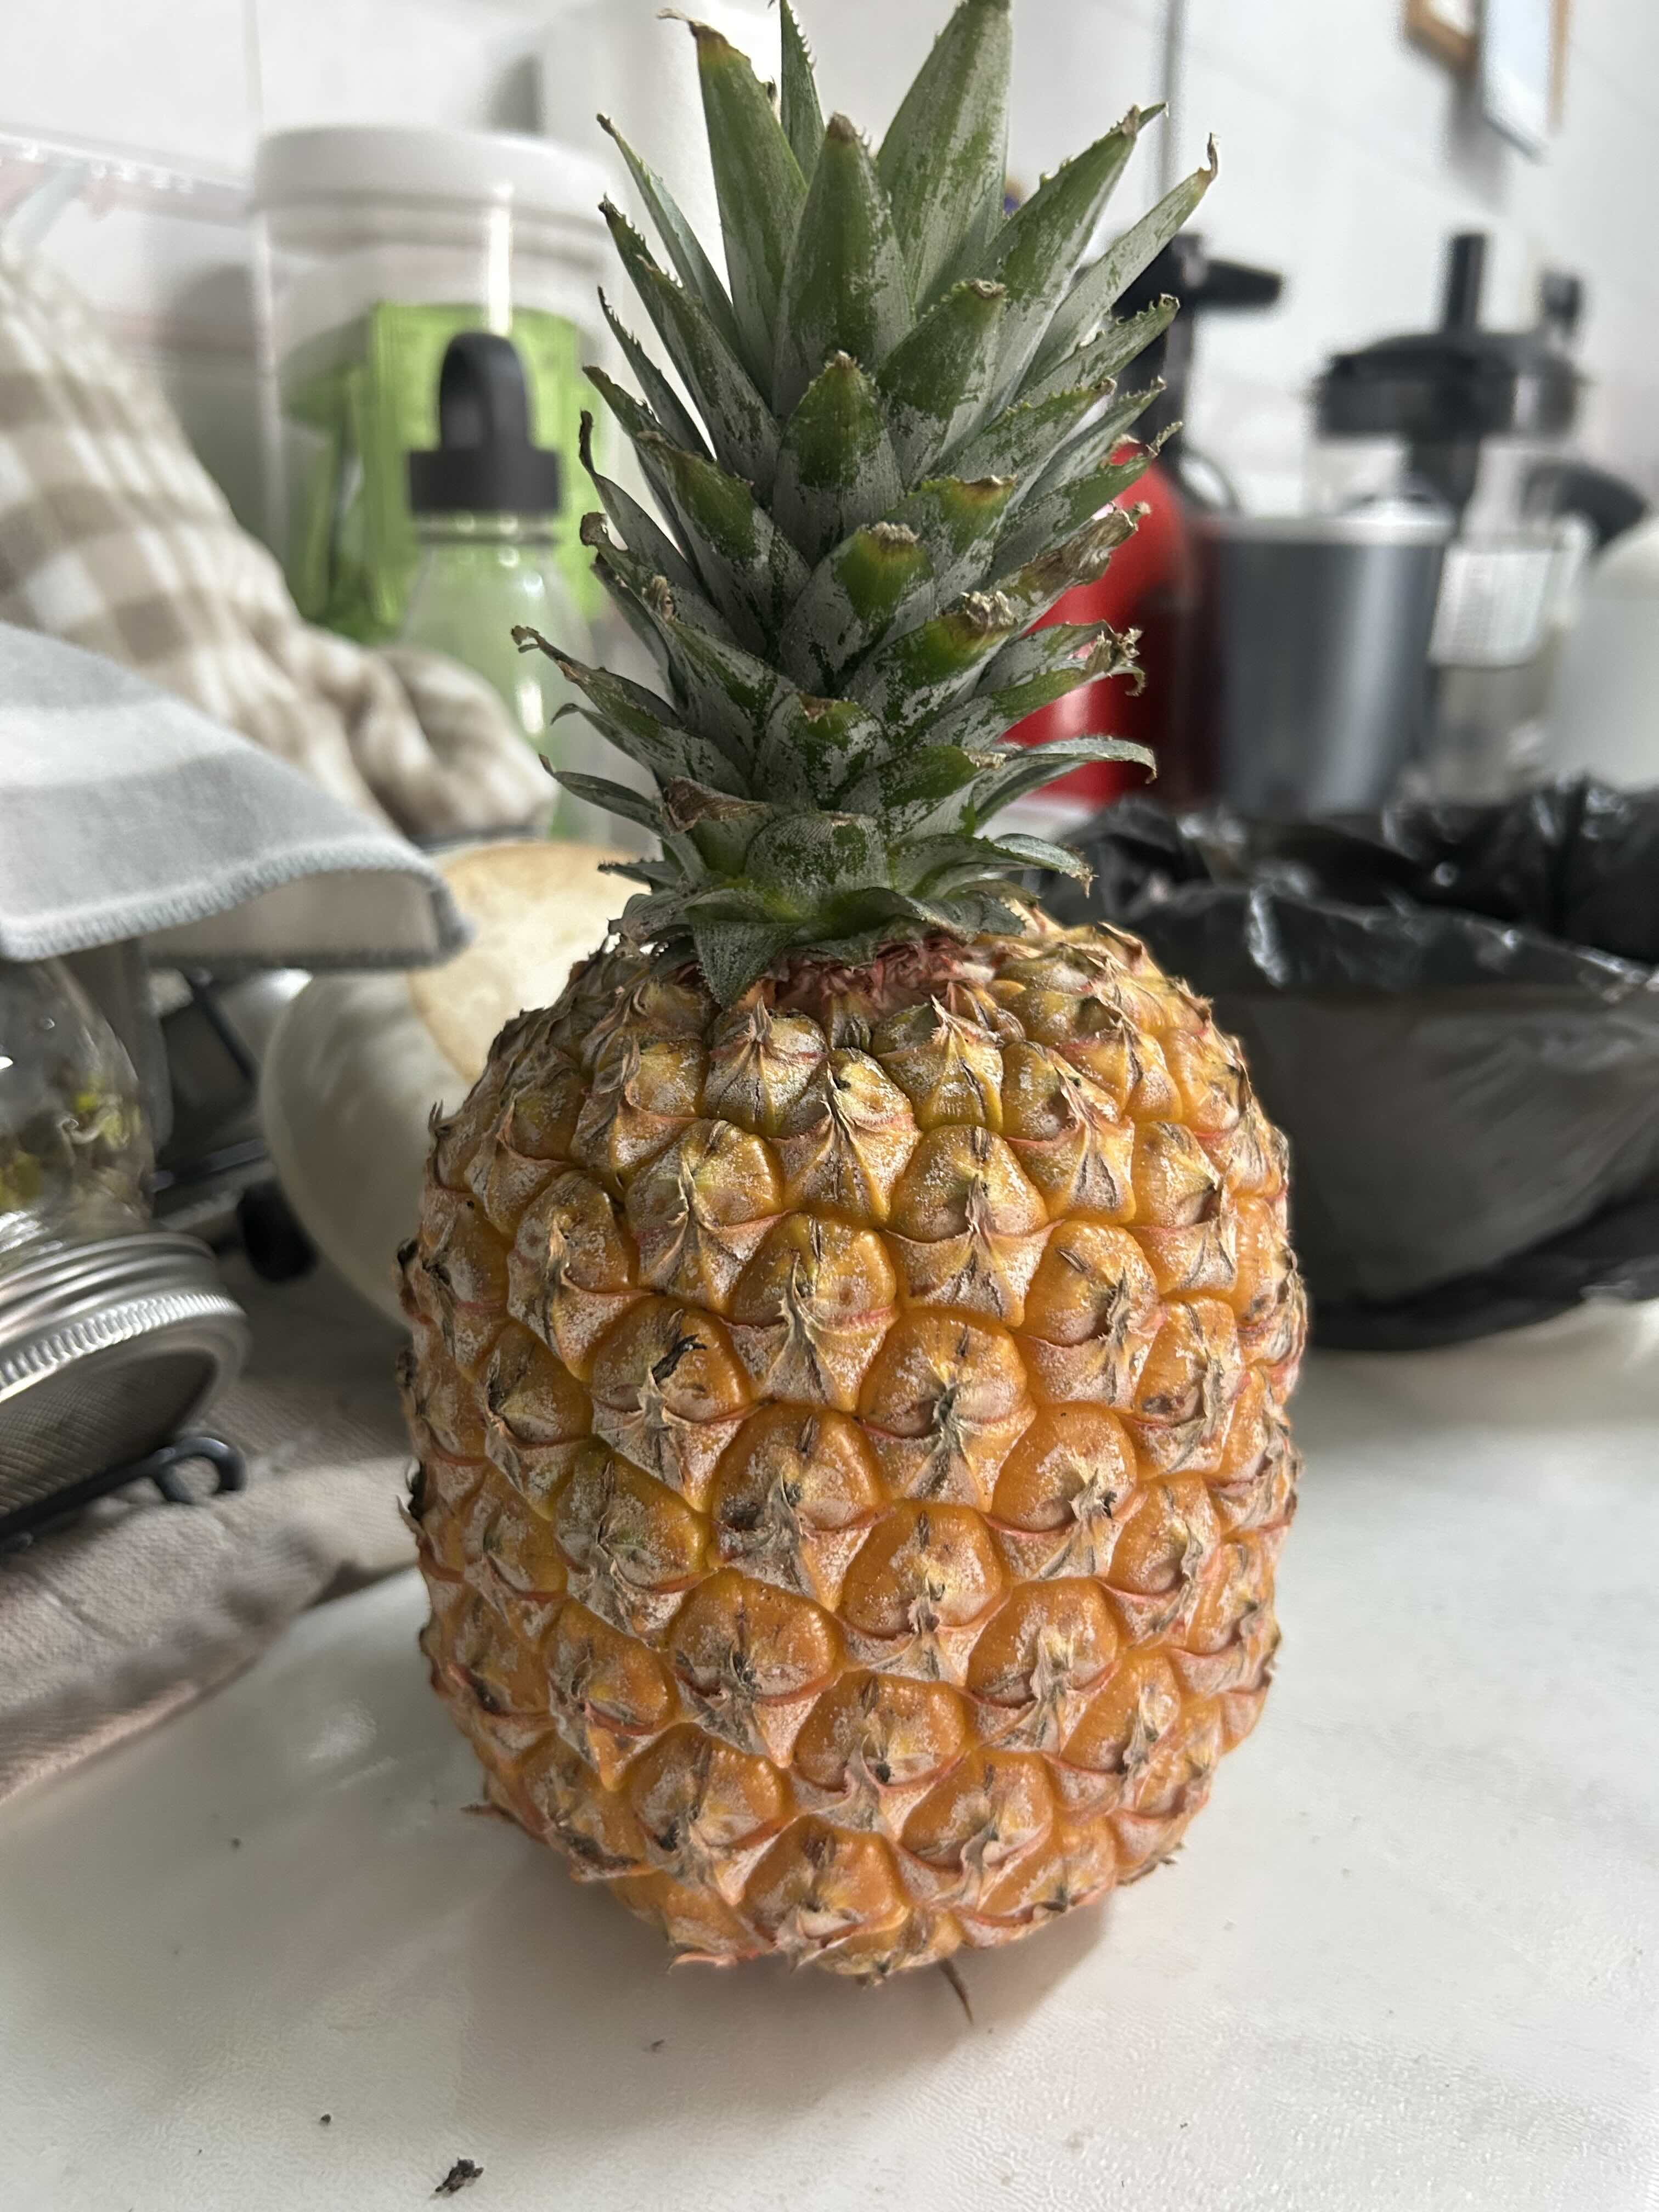
- 2x1.2kgwhole riped pineapples
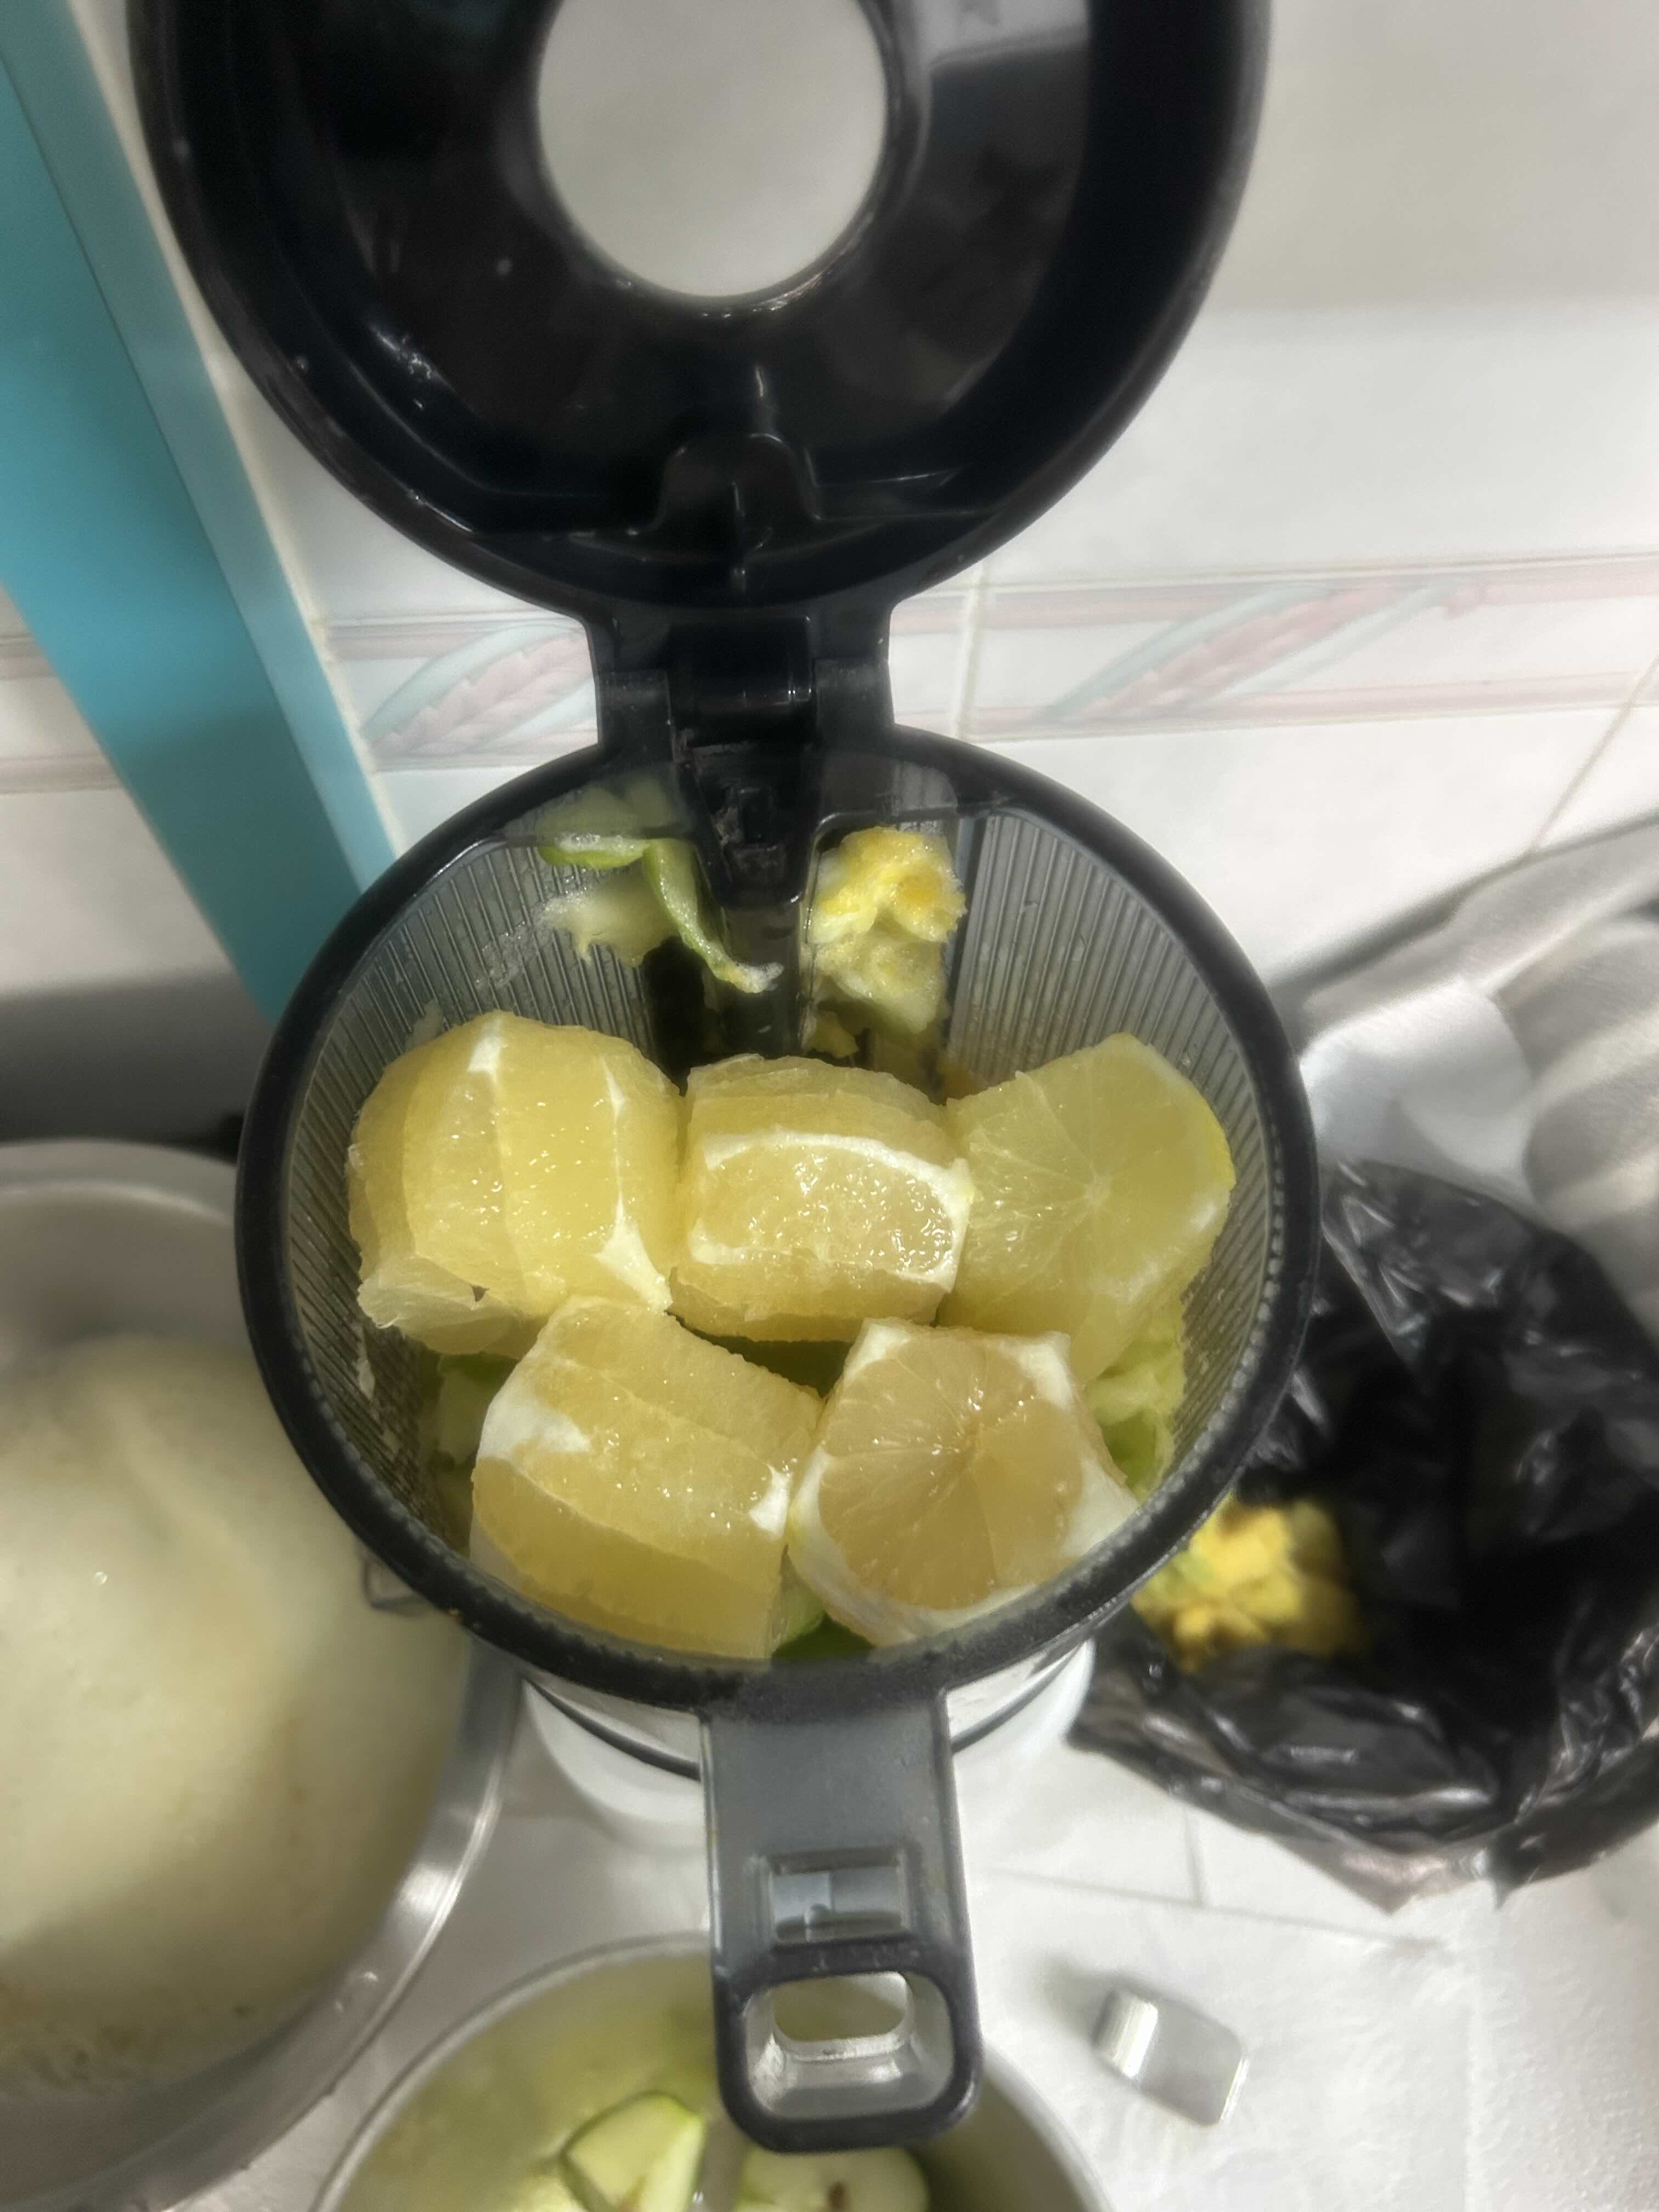
- 1x650gpeeled lemons
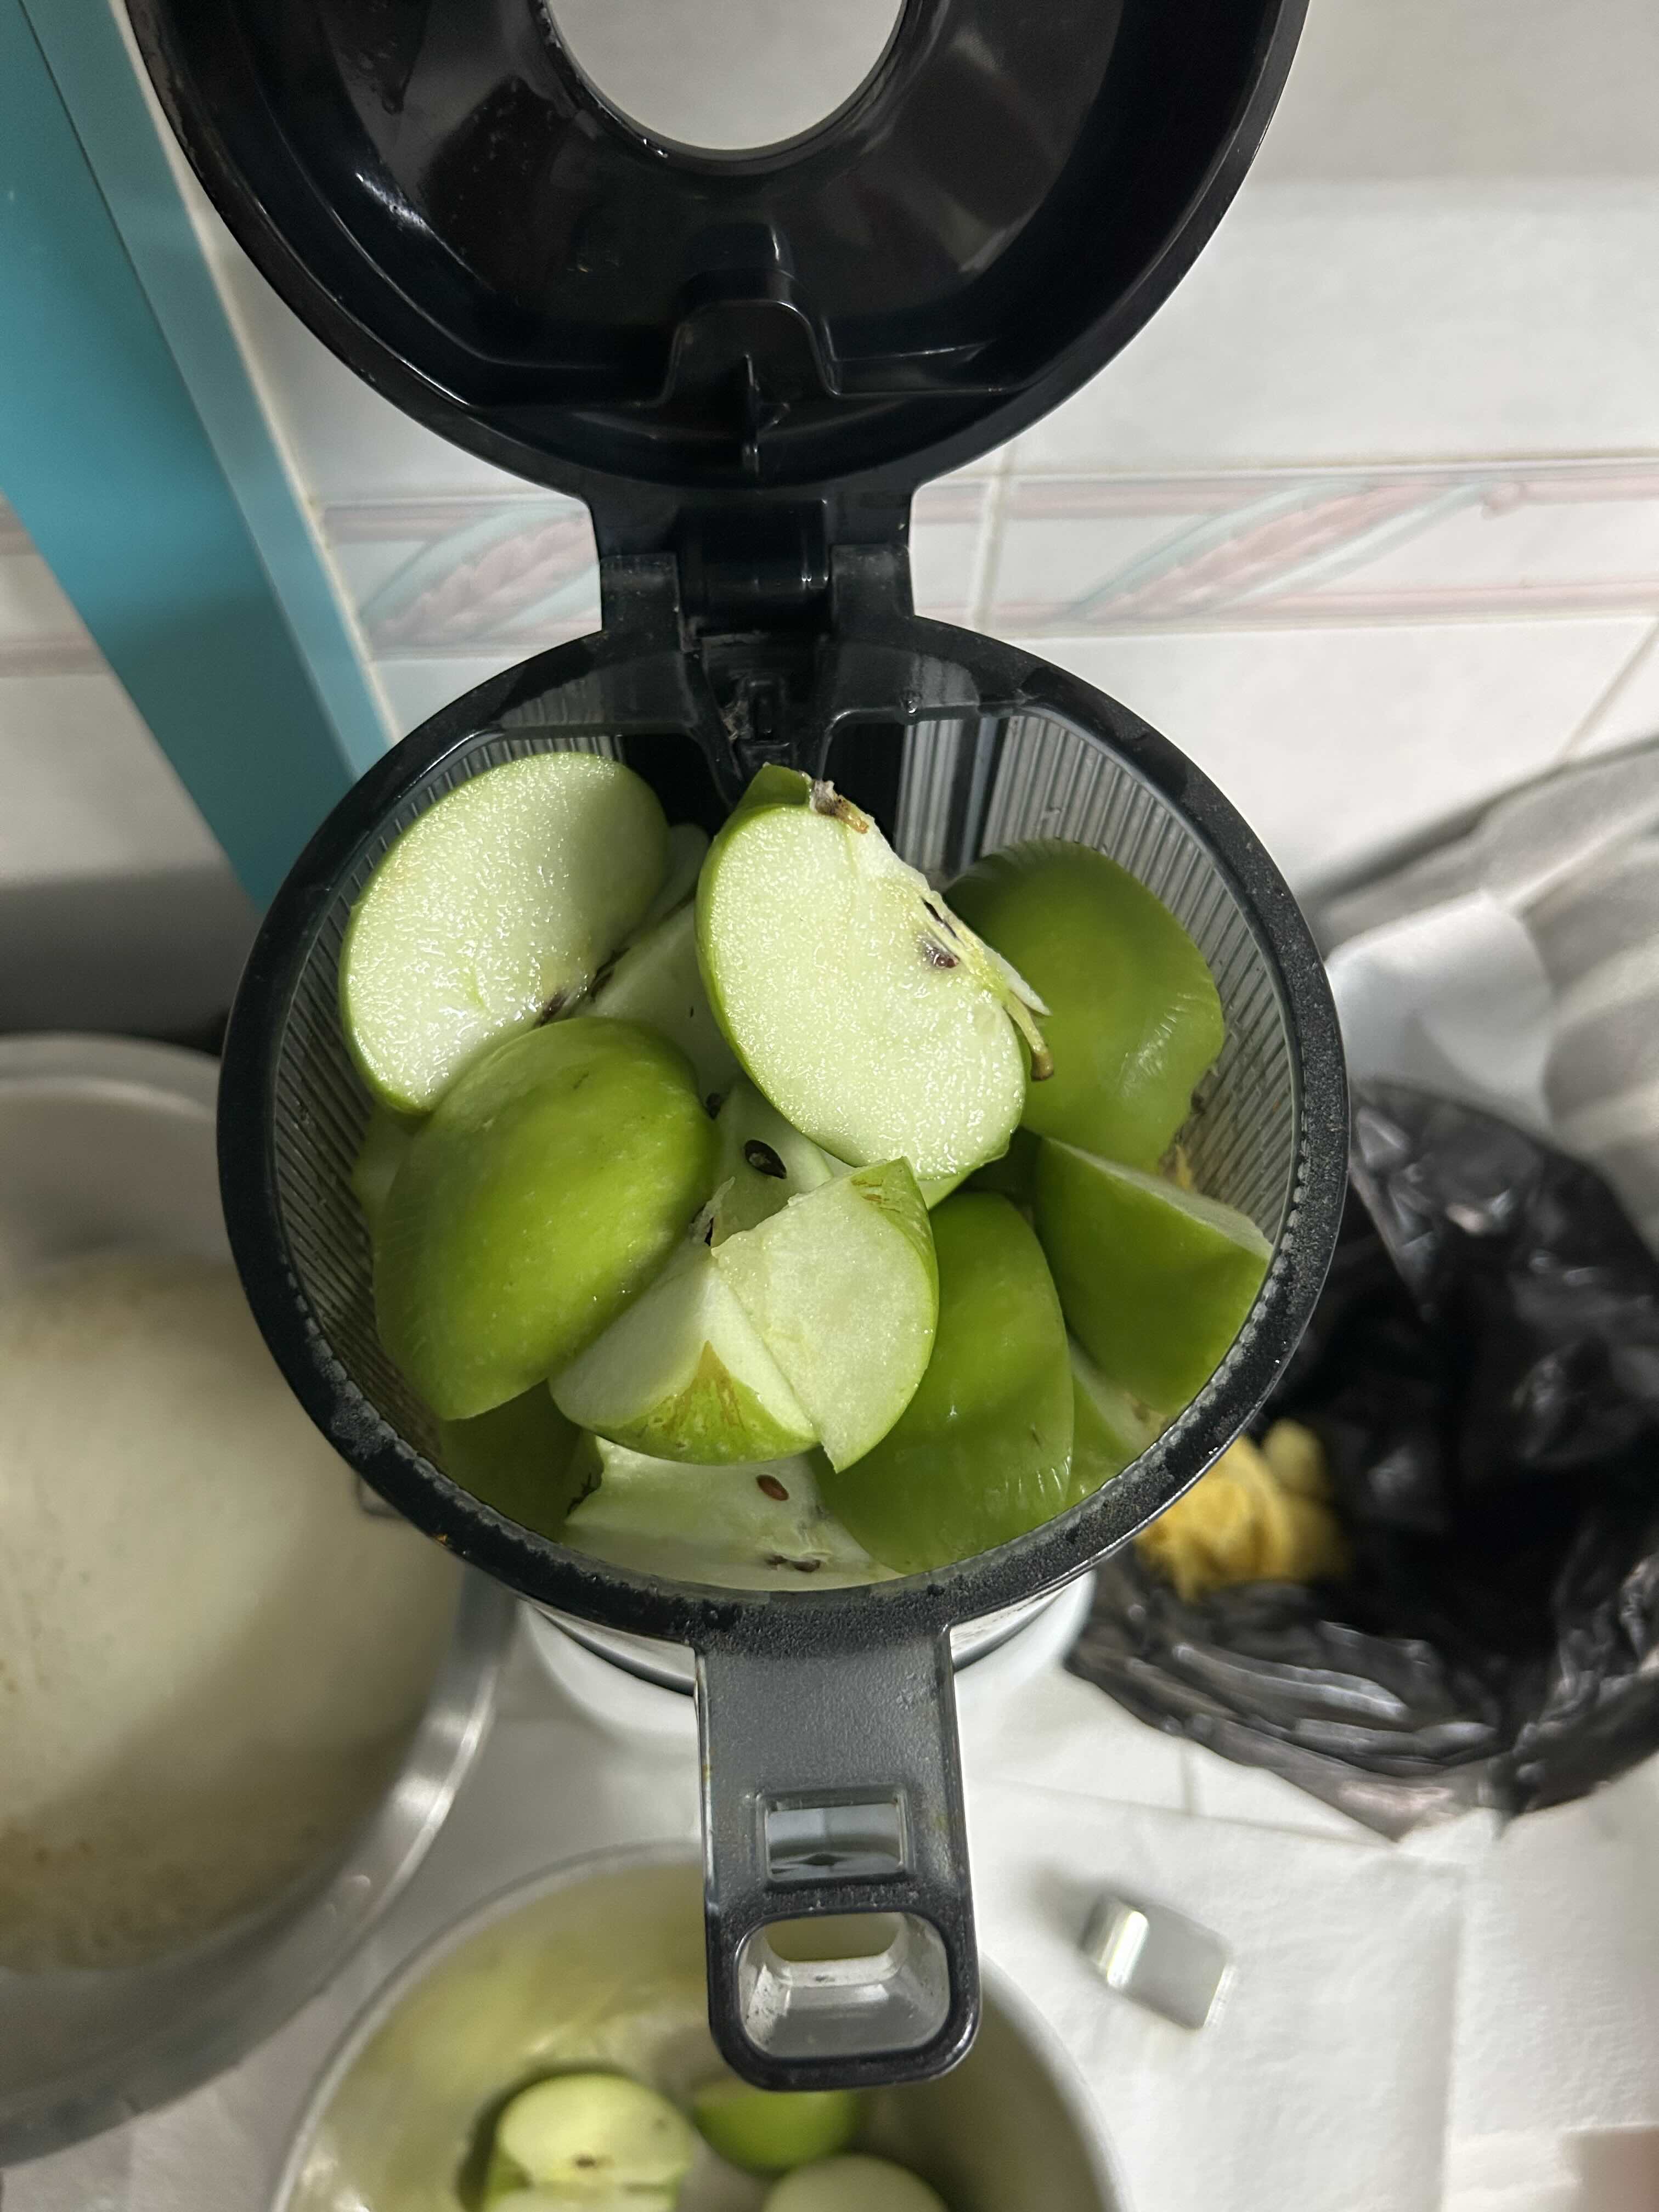
- 1x600gsmall green apples
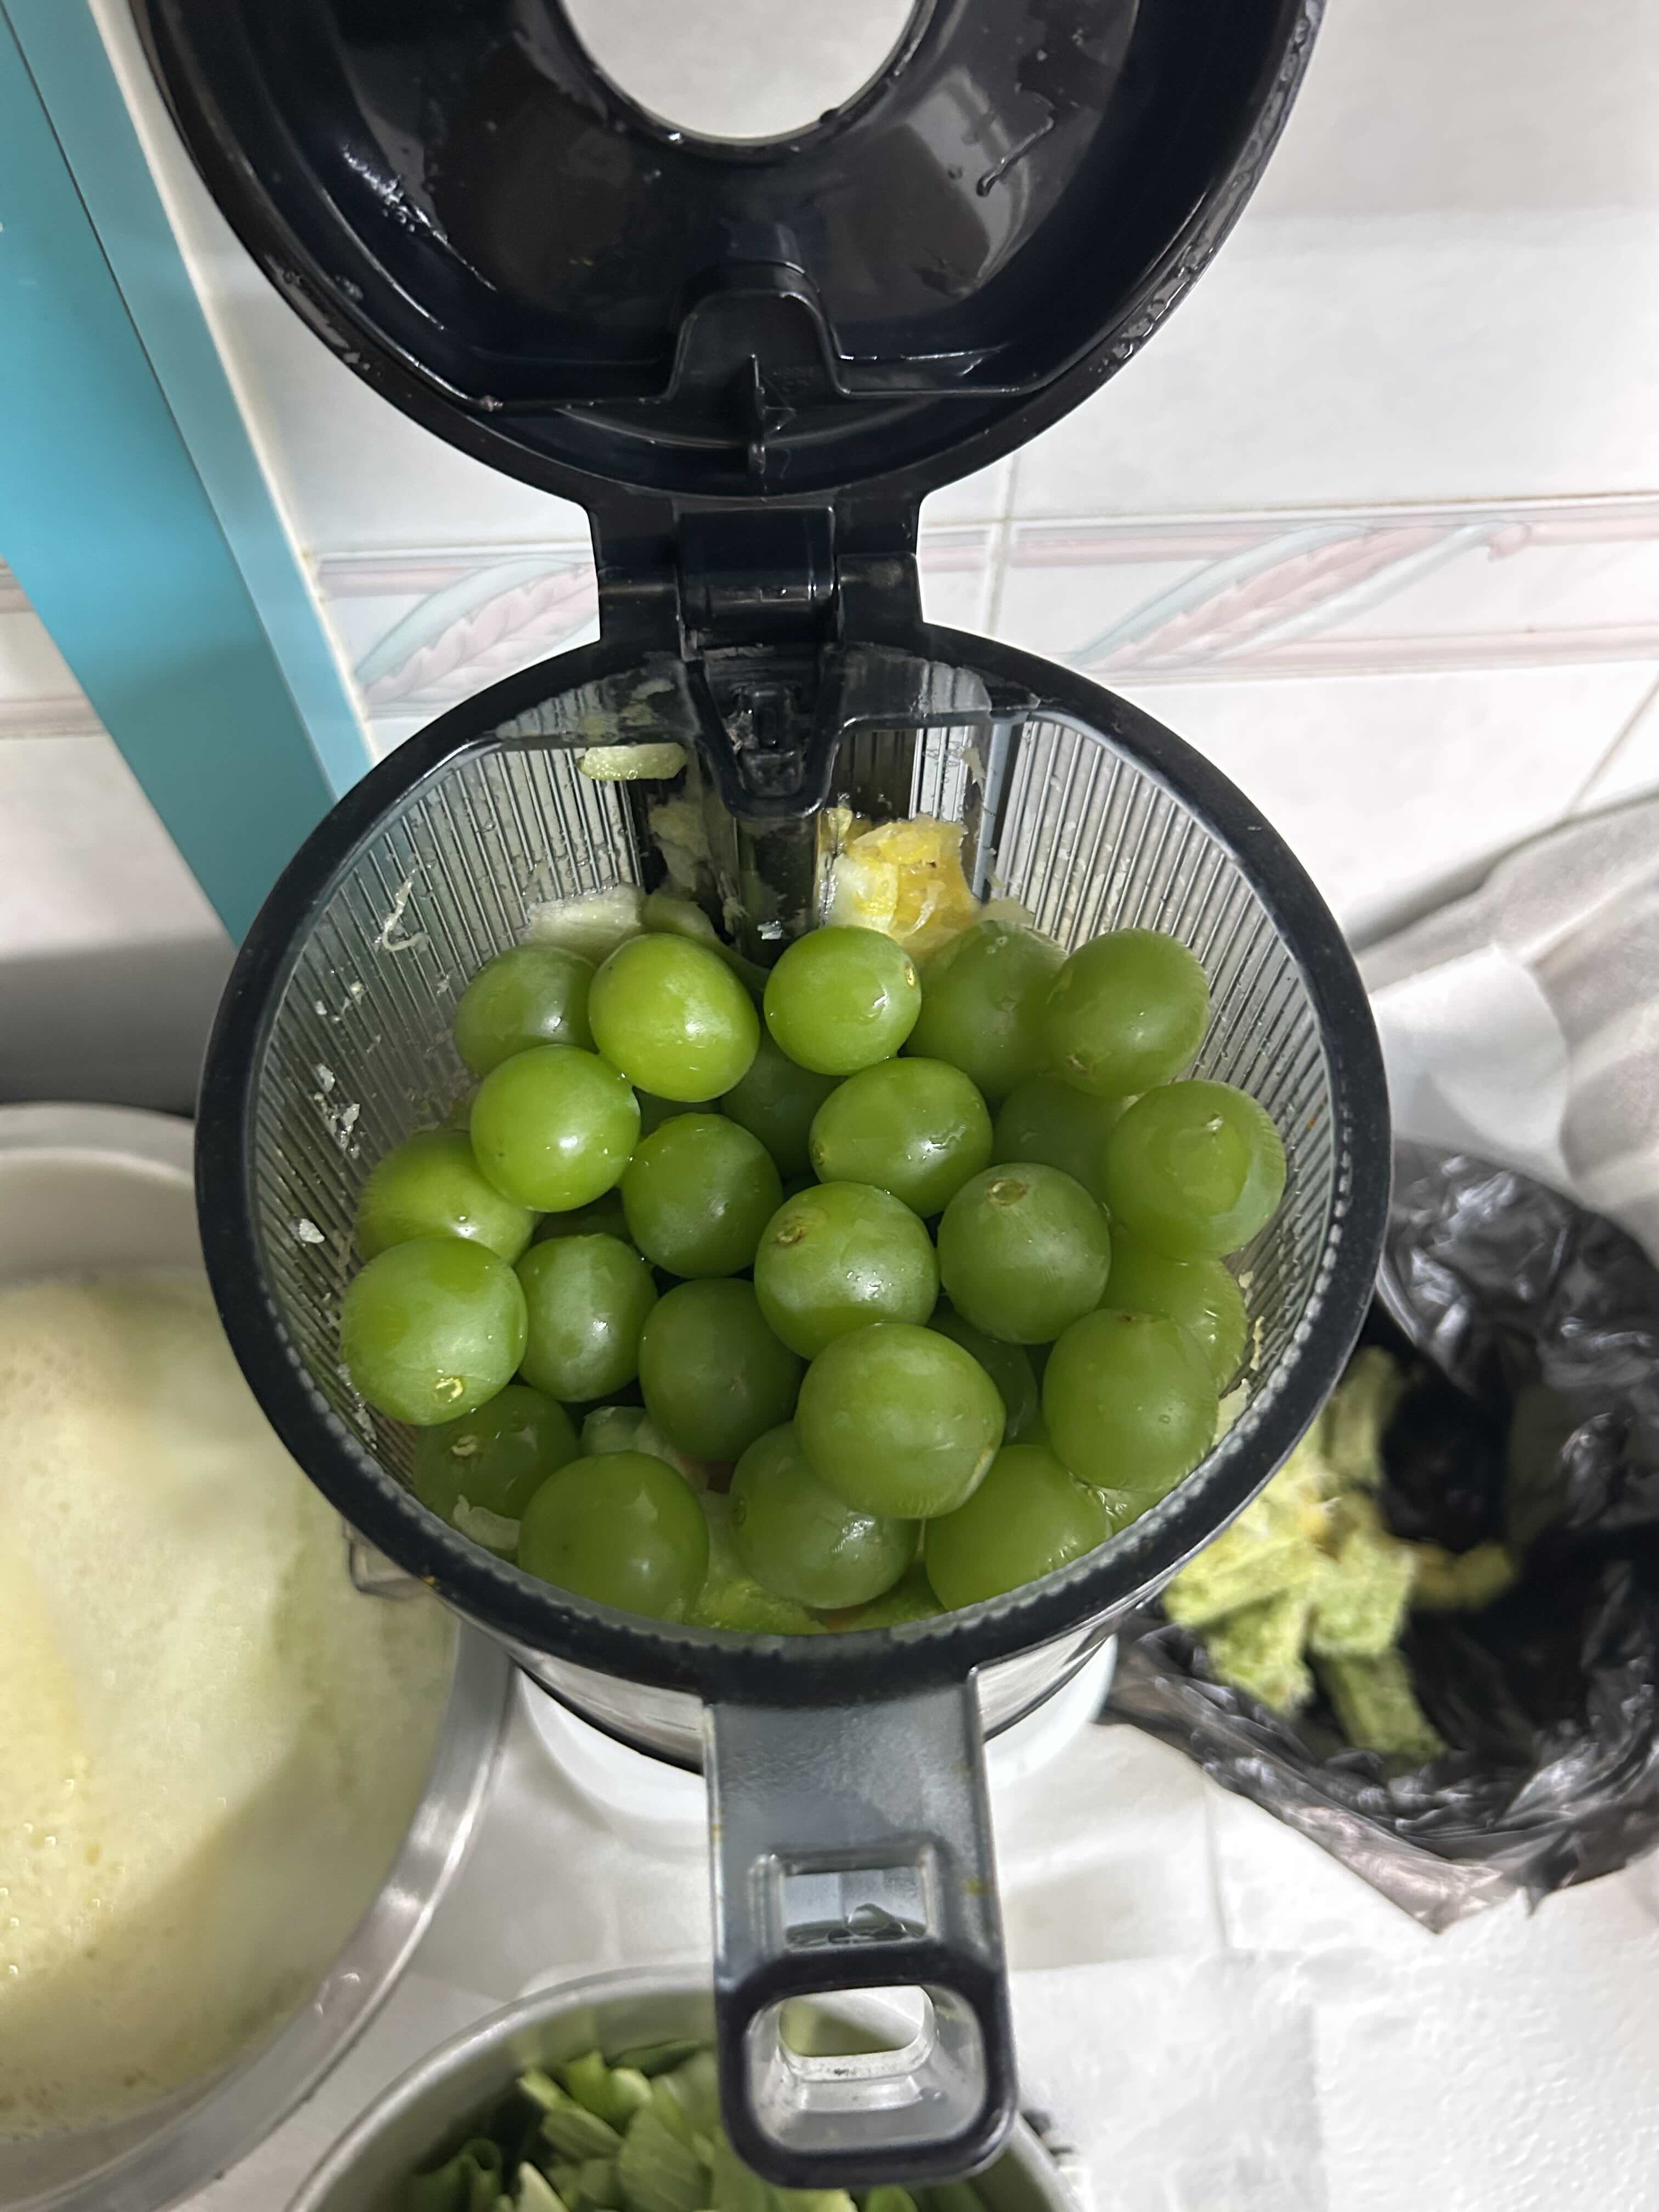
- 1x500ggreen grapes
- 4x250gspinach
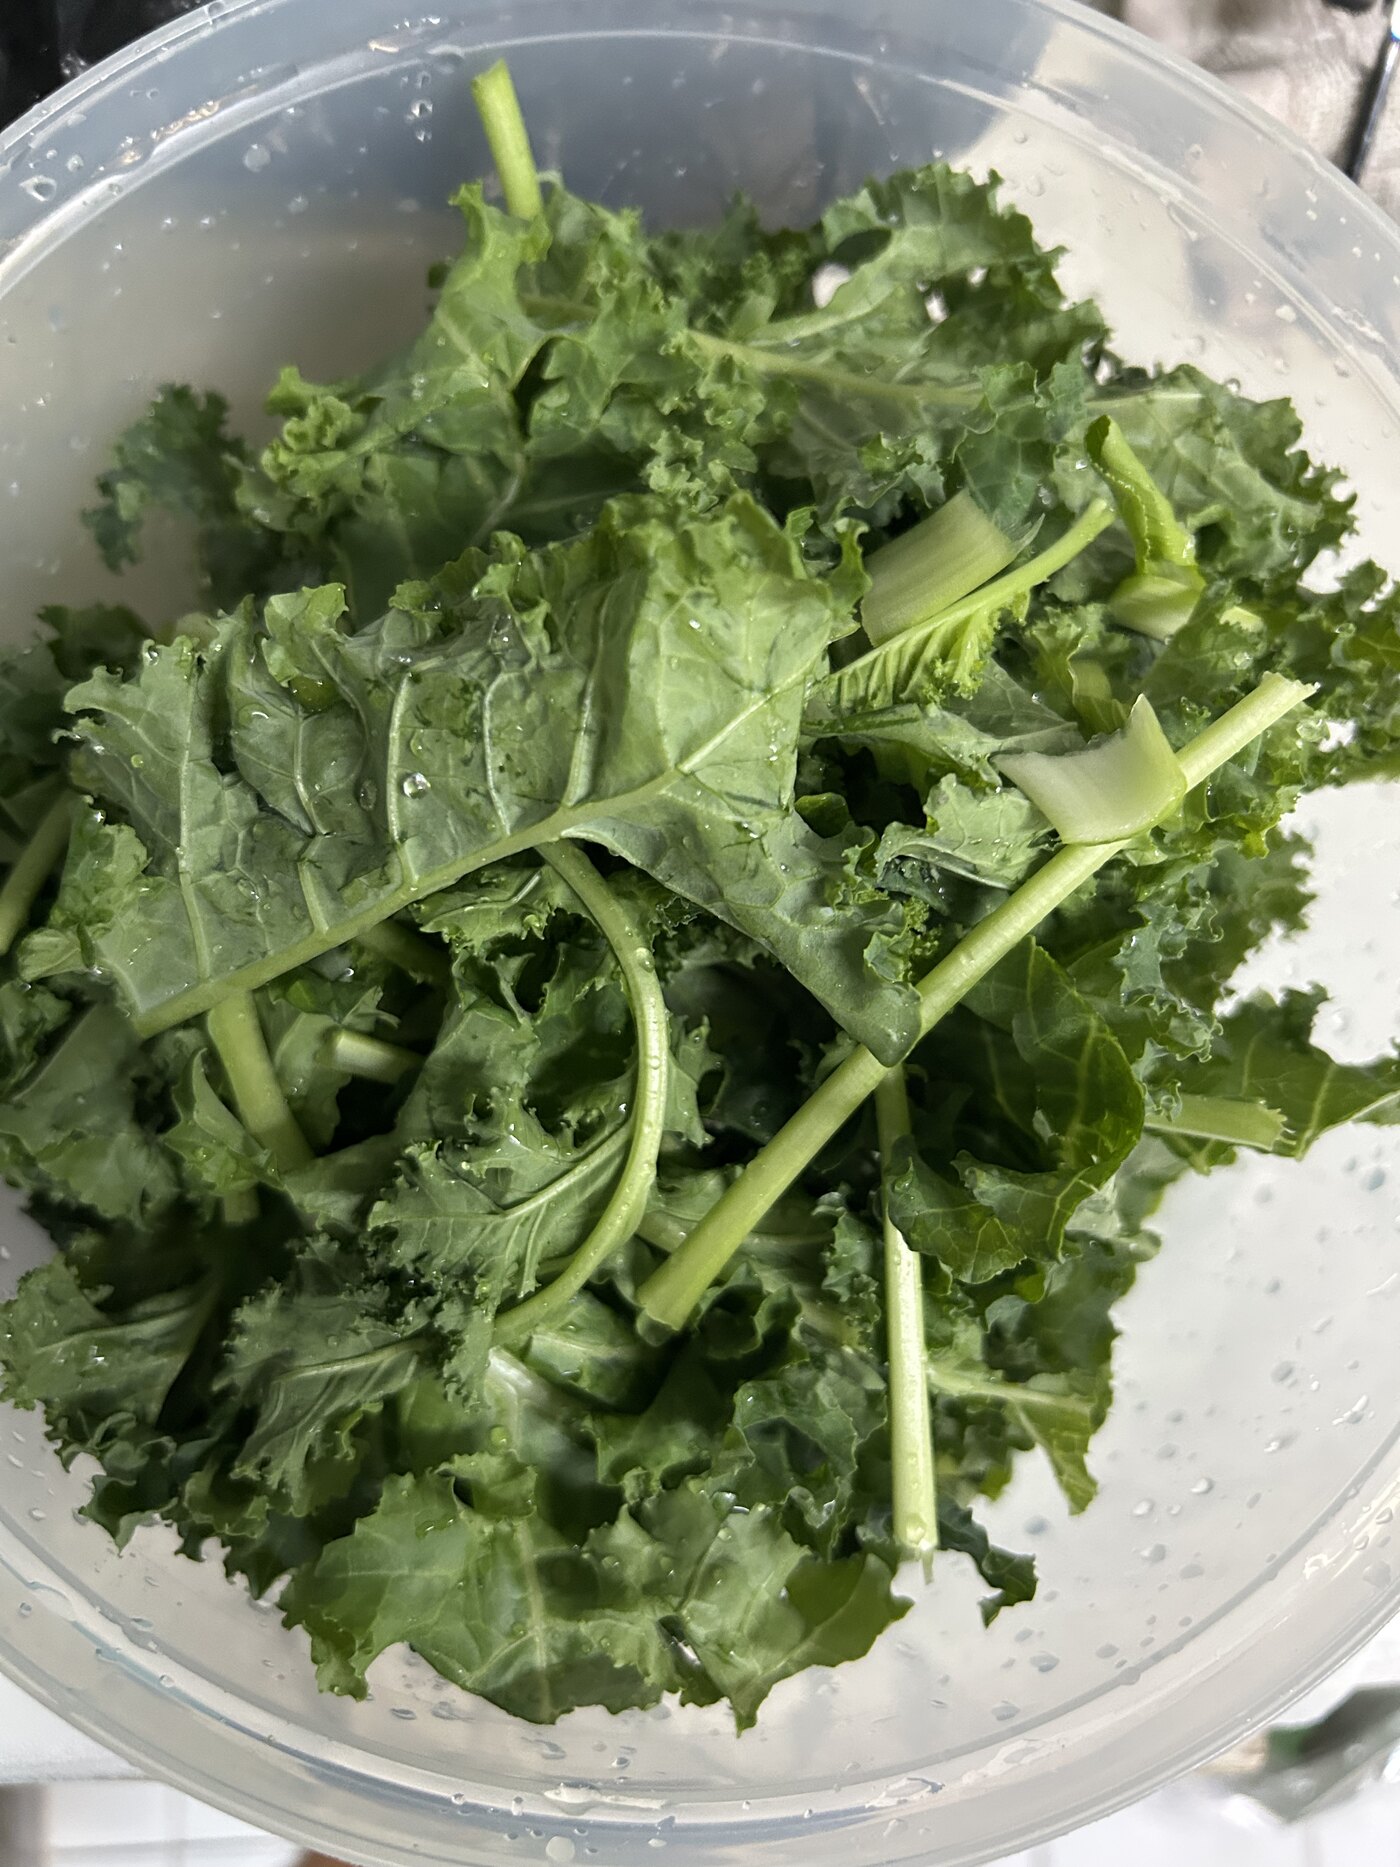
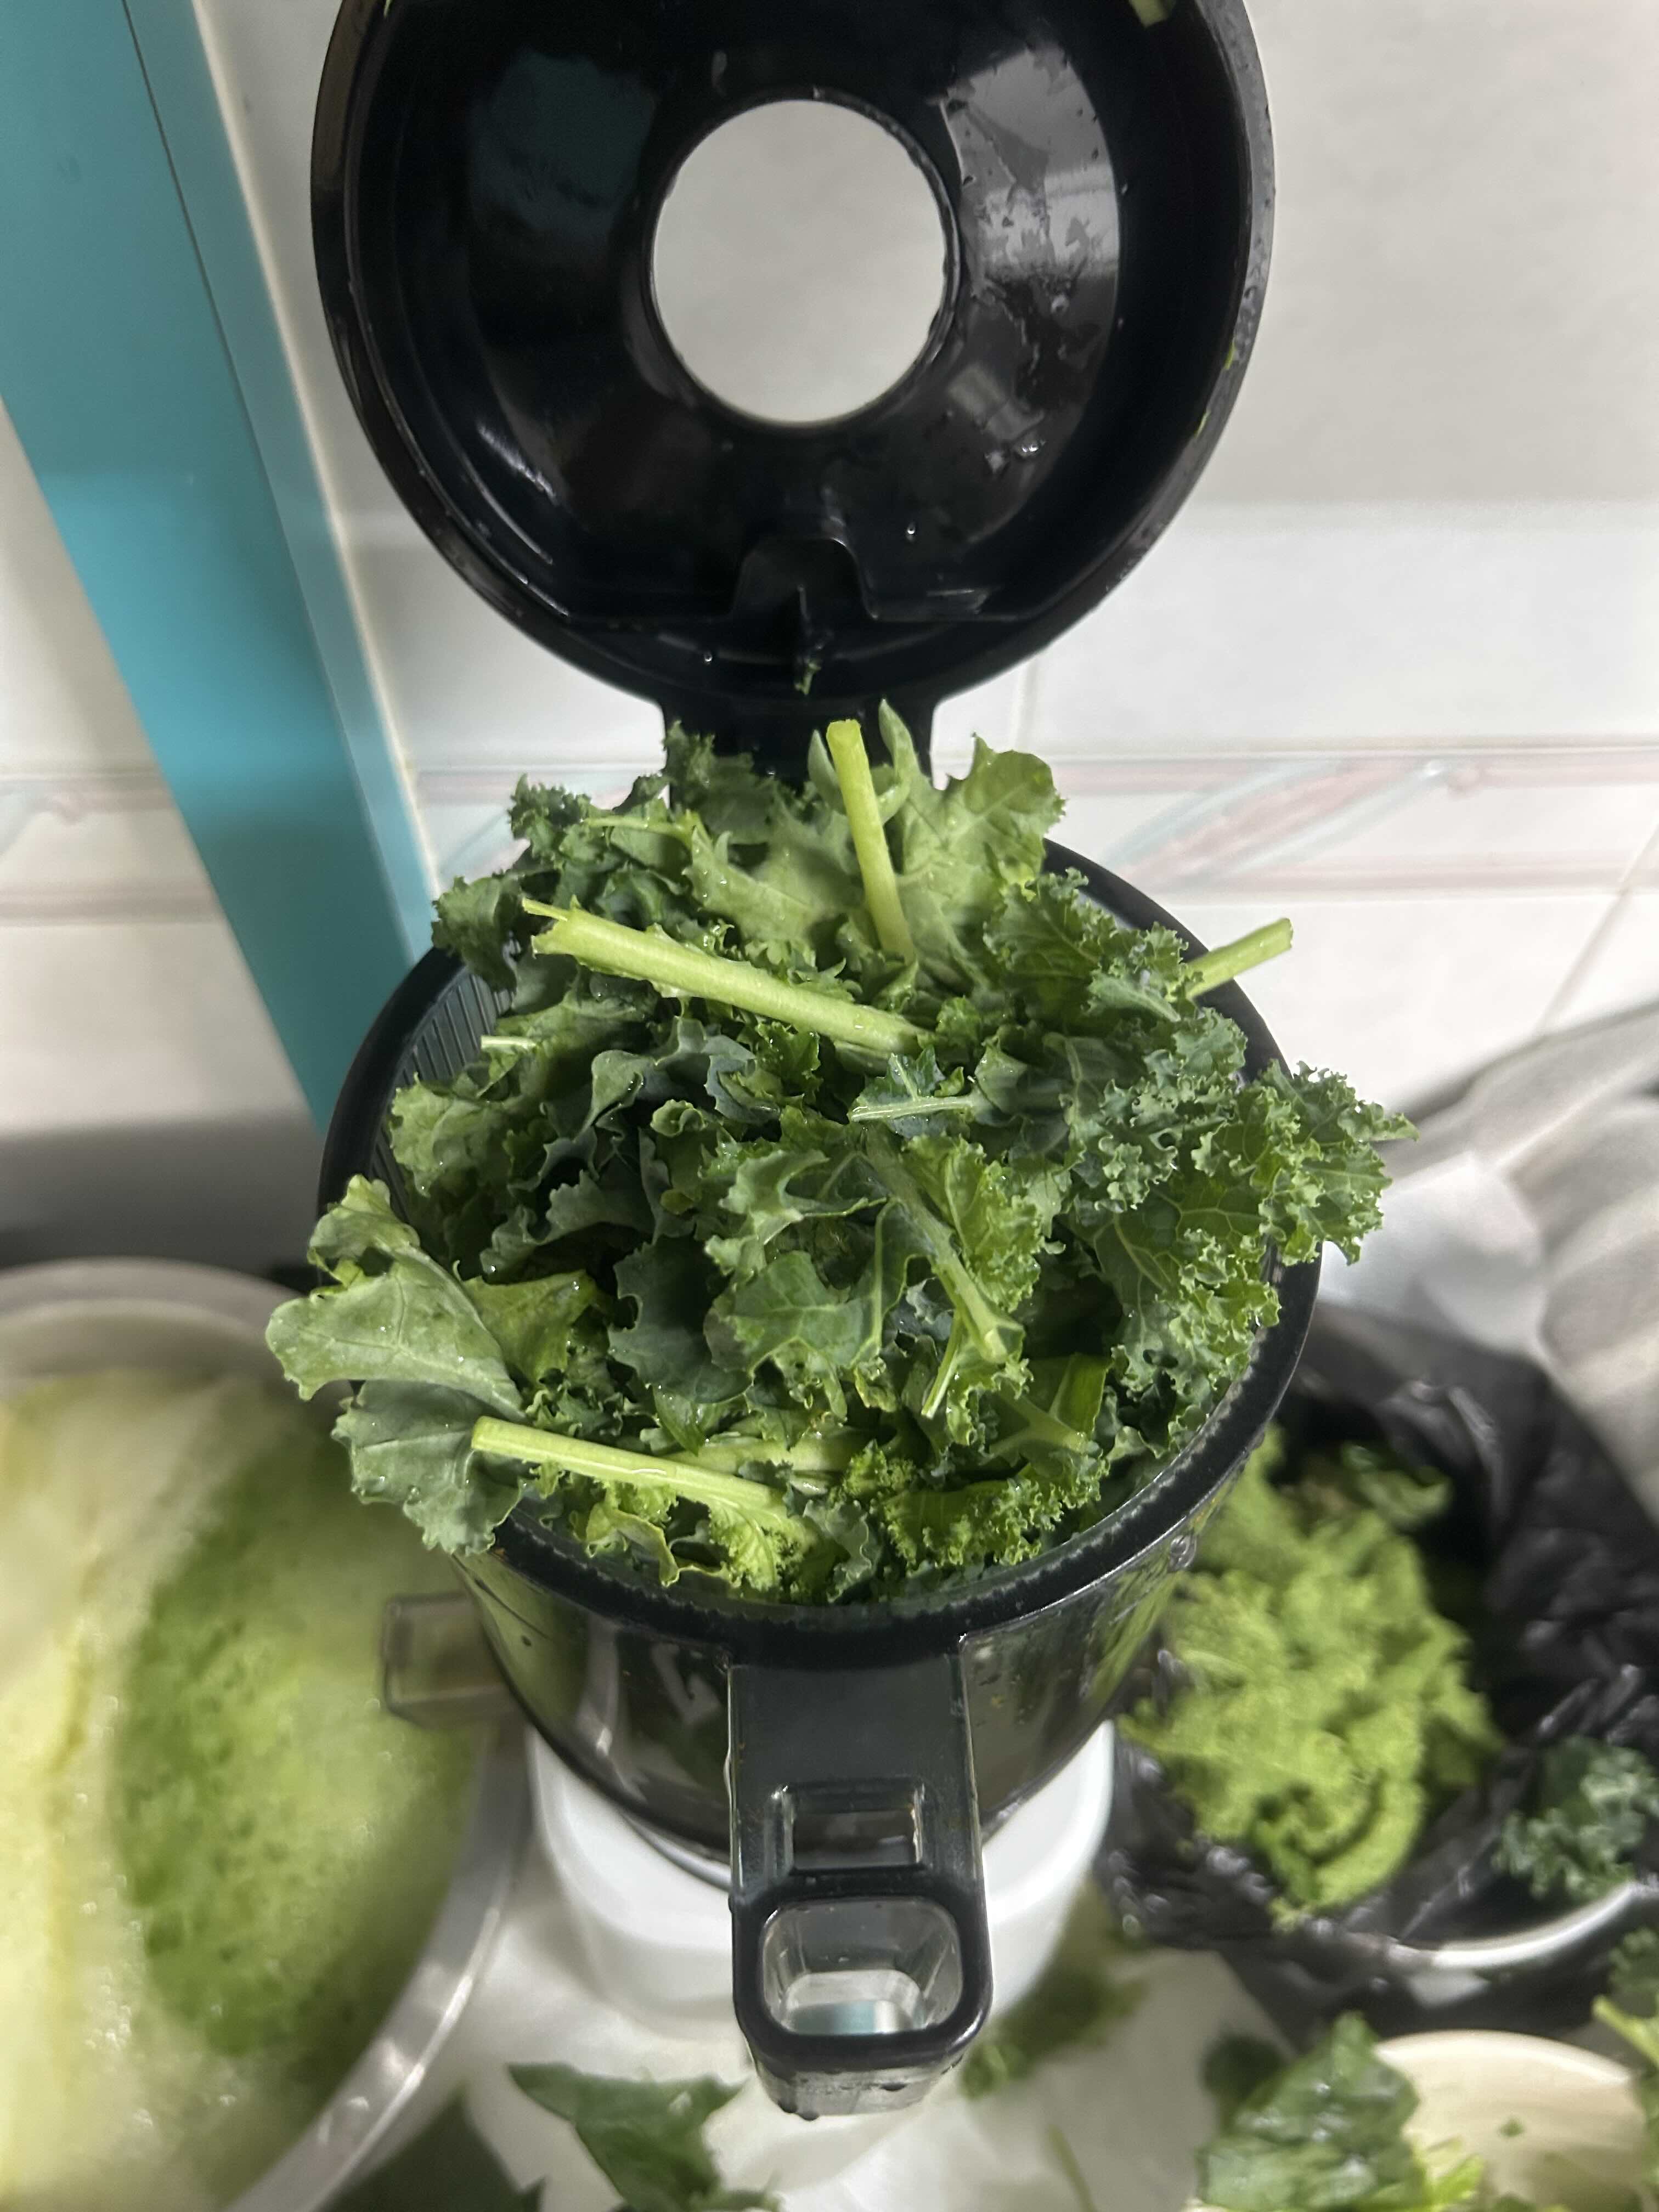
- 3x200gcurly kale
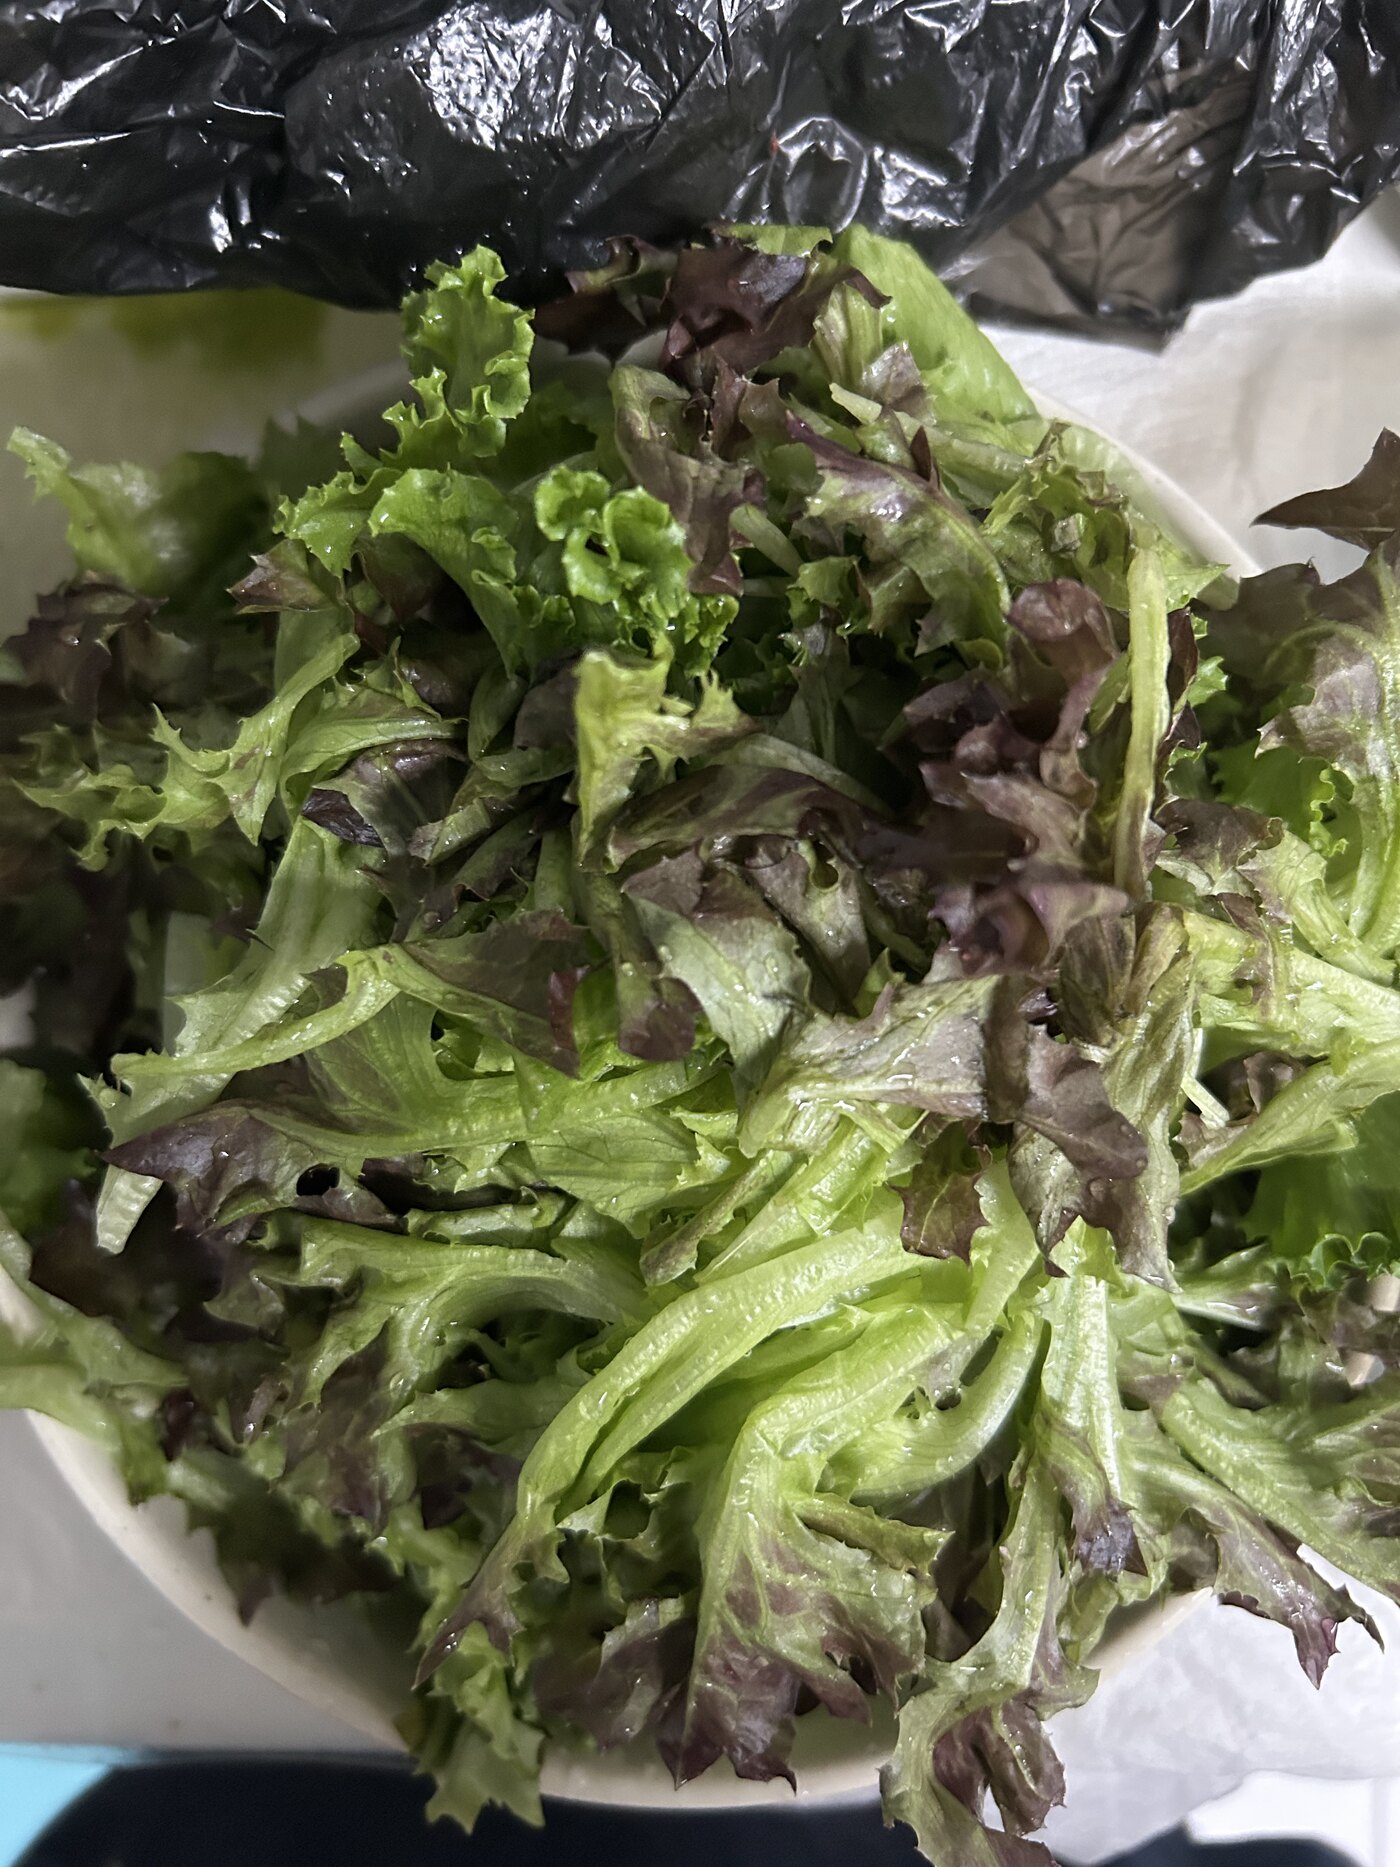
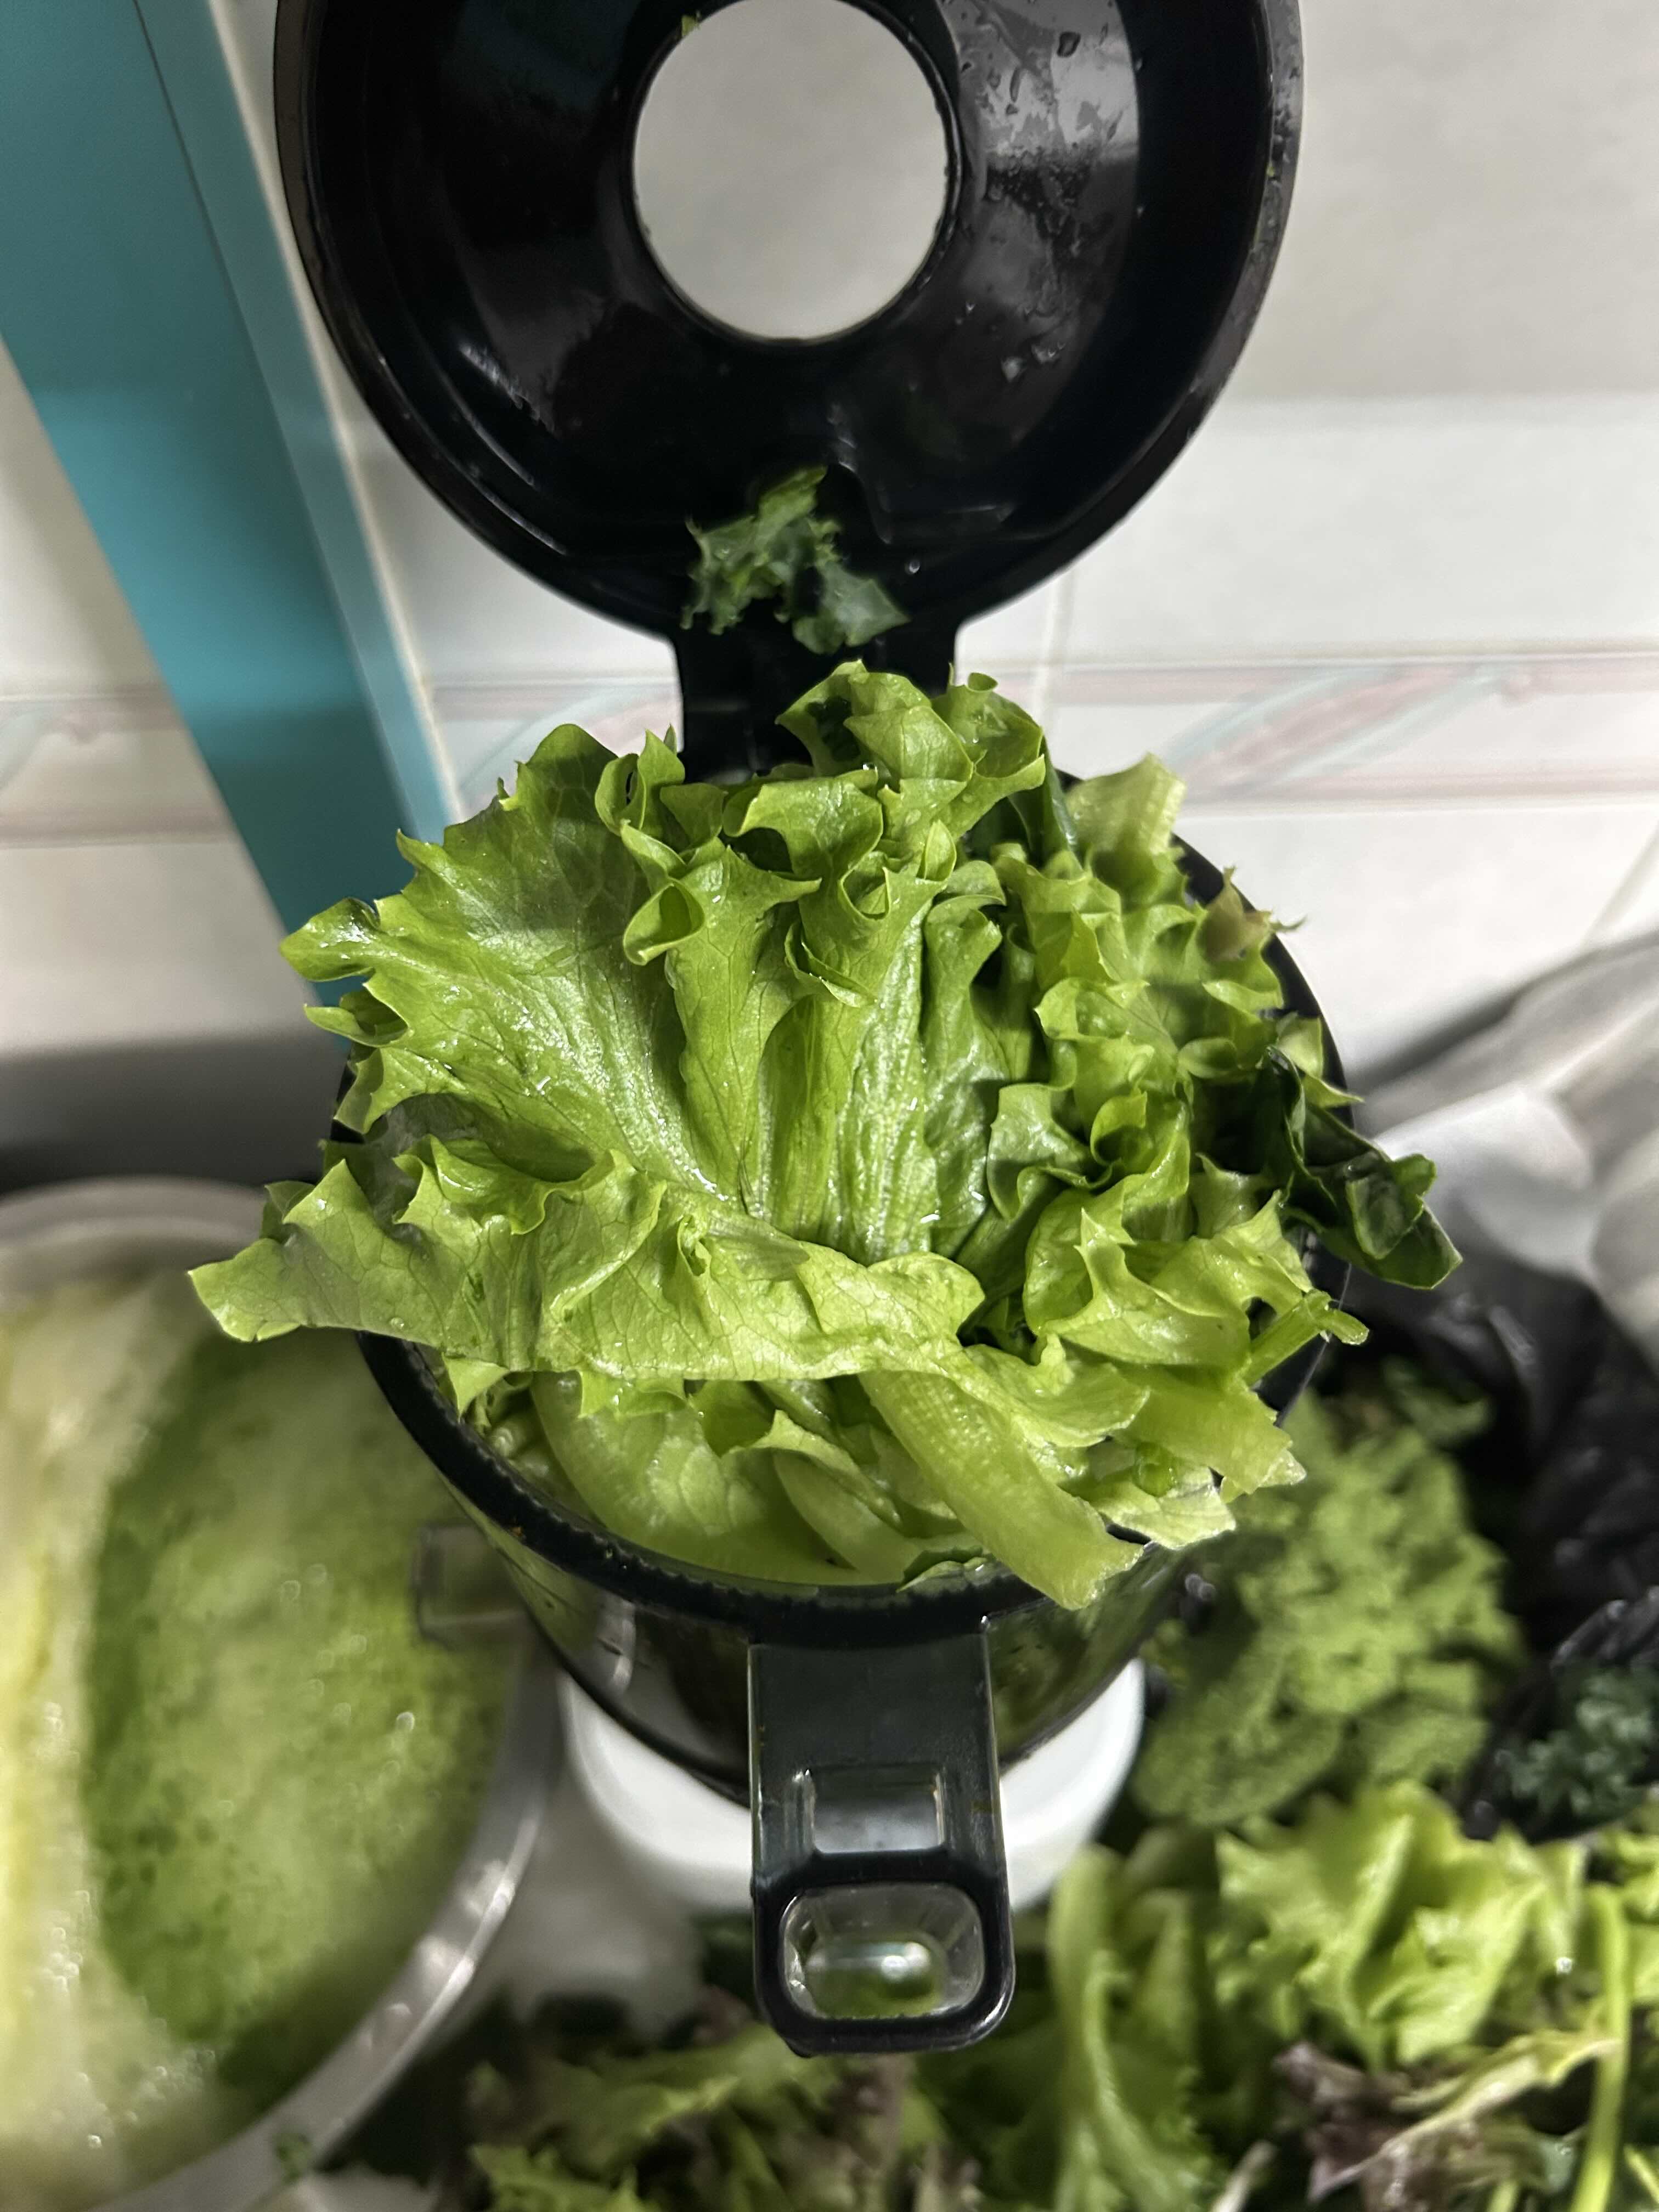
- 3x180gmixed lettuce
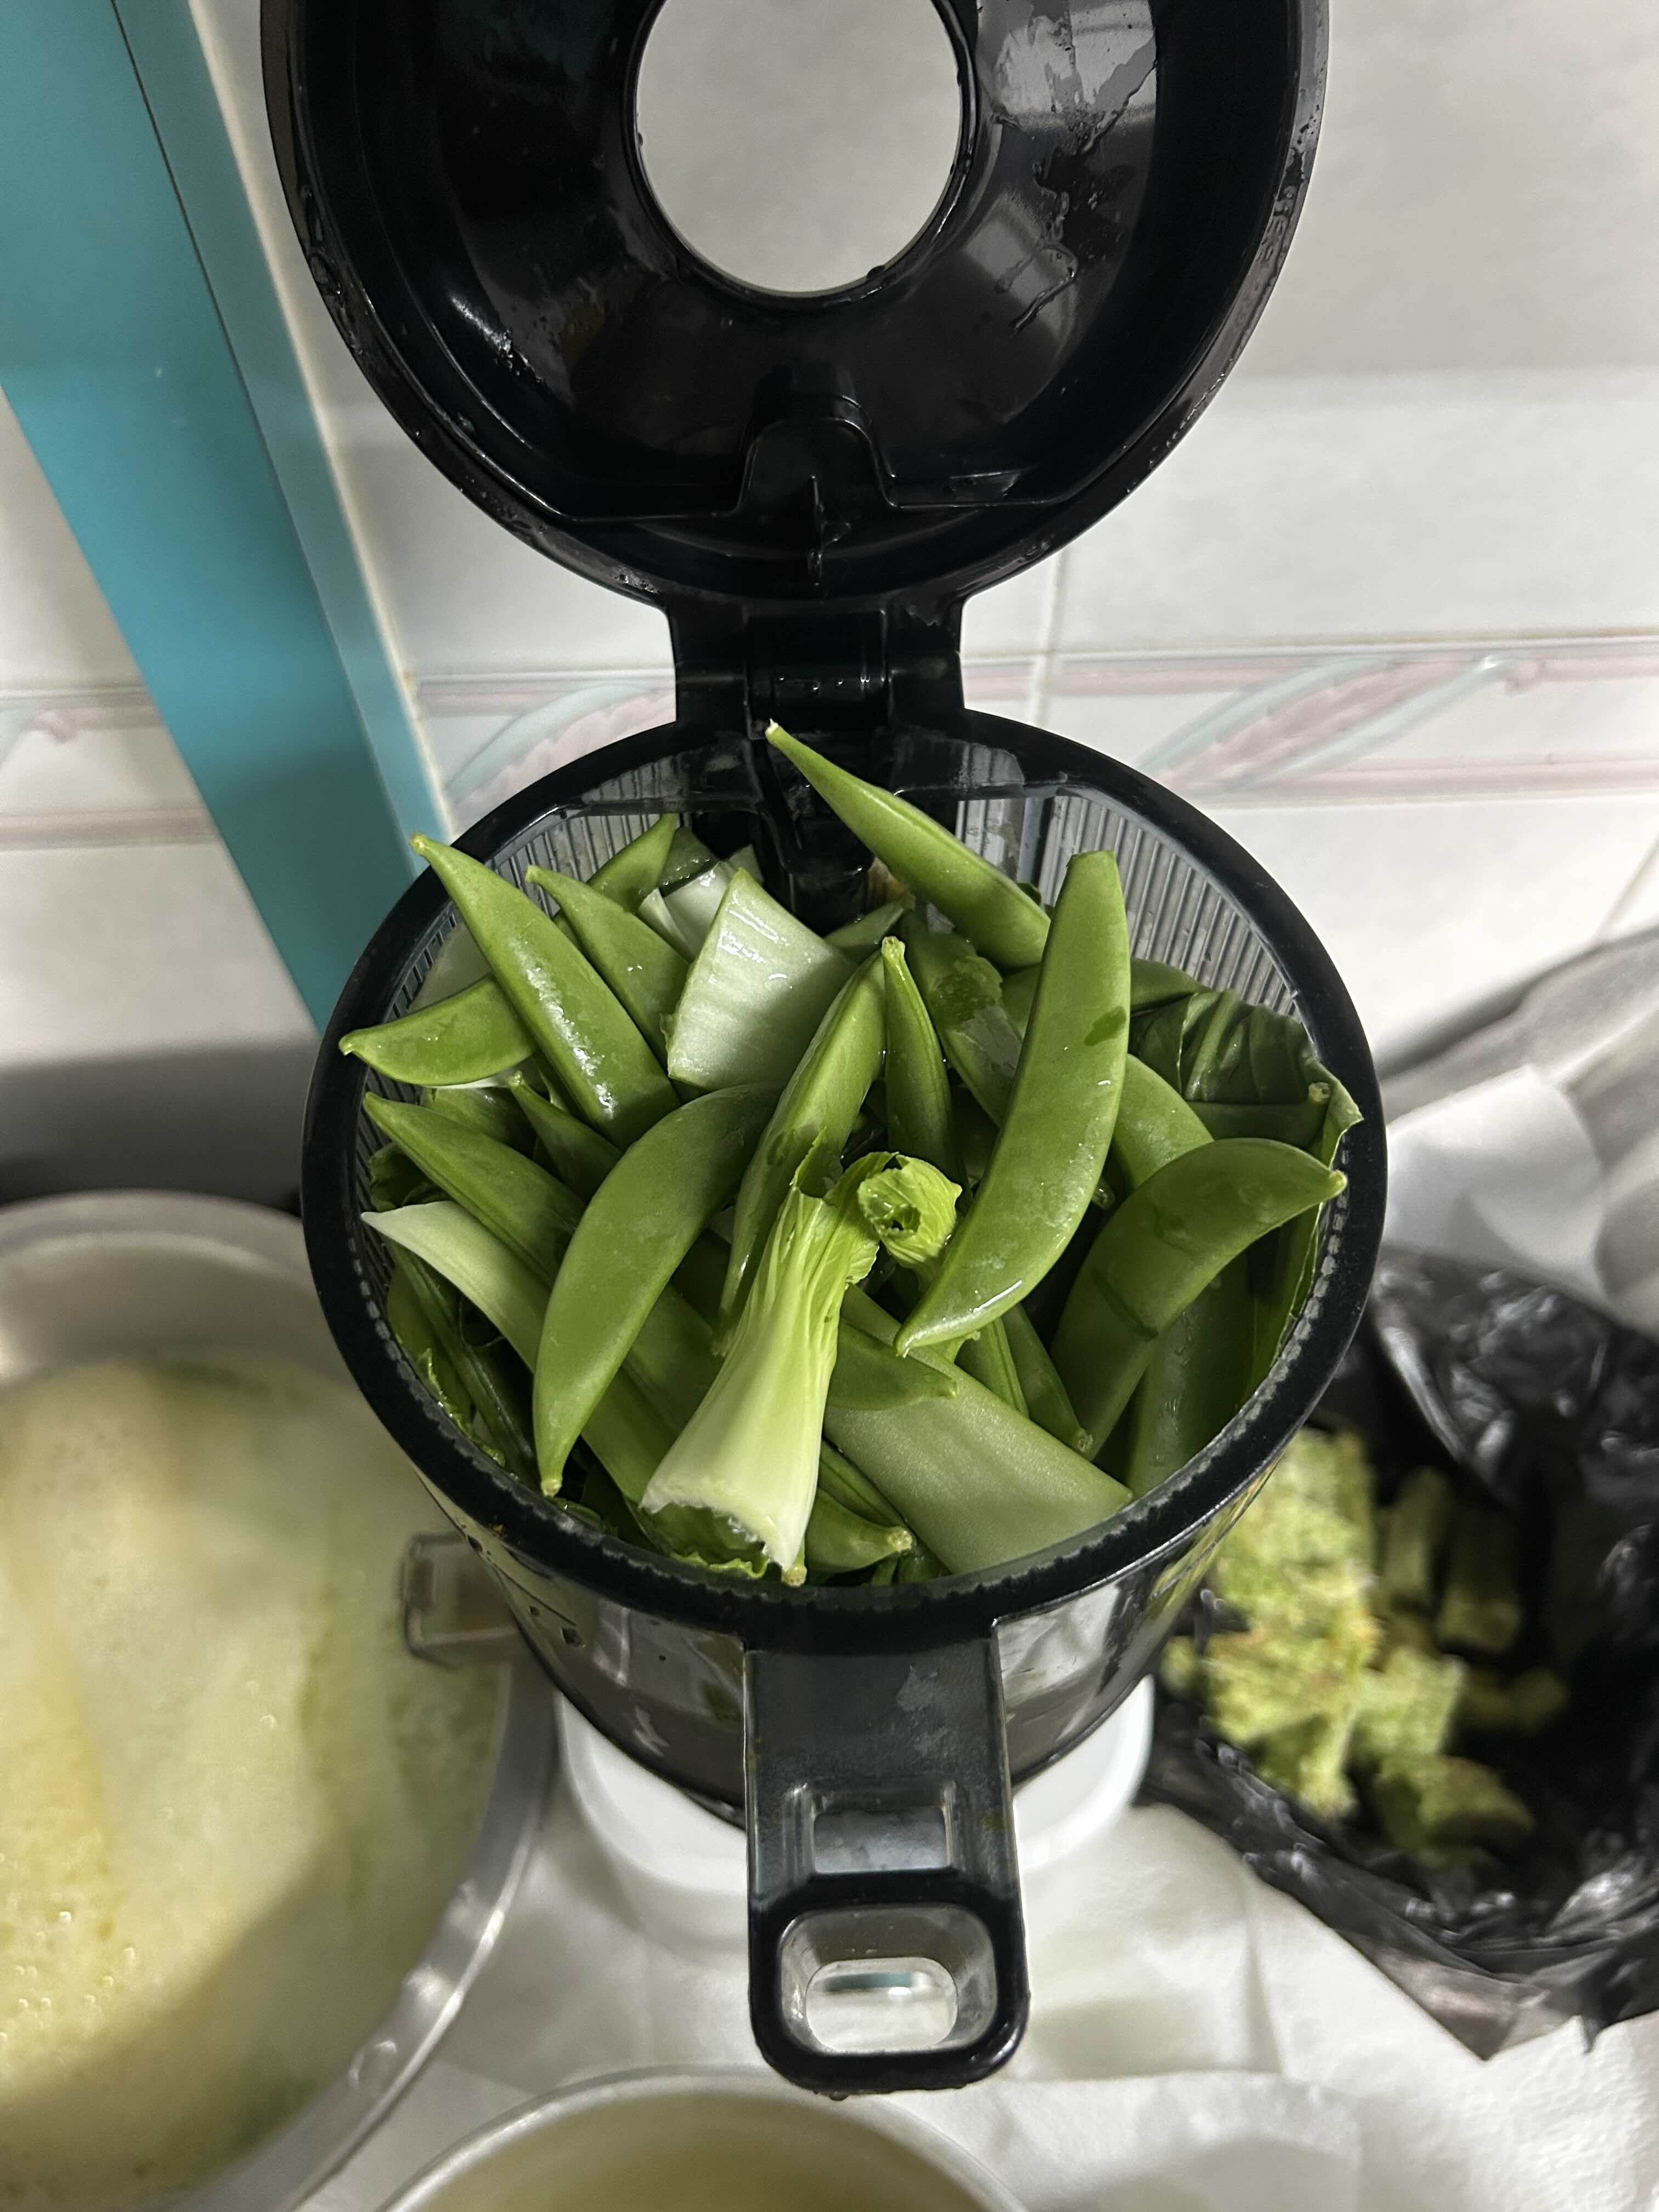
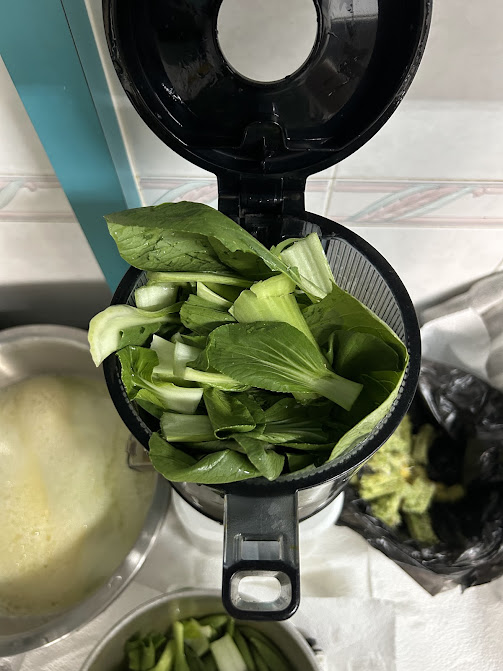
- 2x220gxiao bai cai (bok choy)
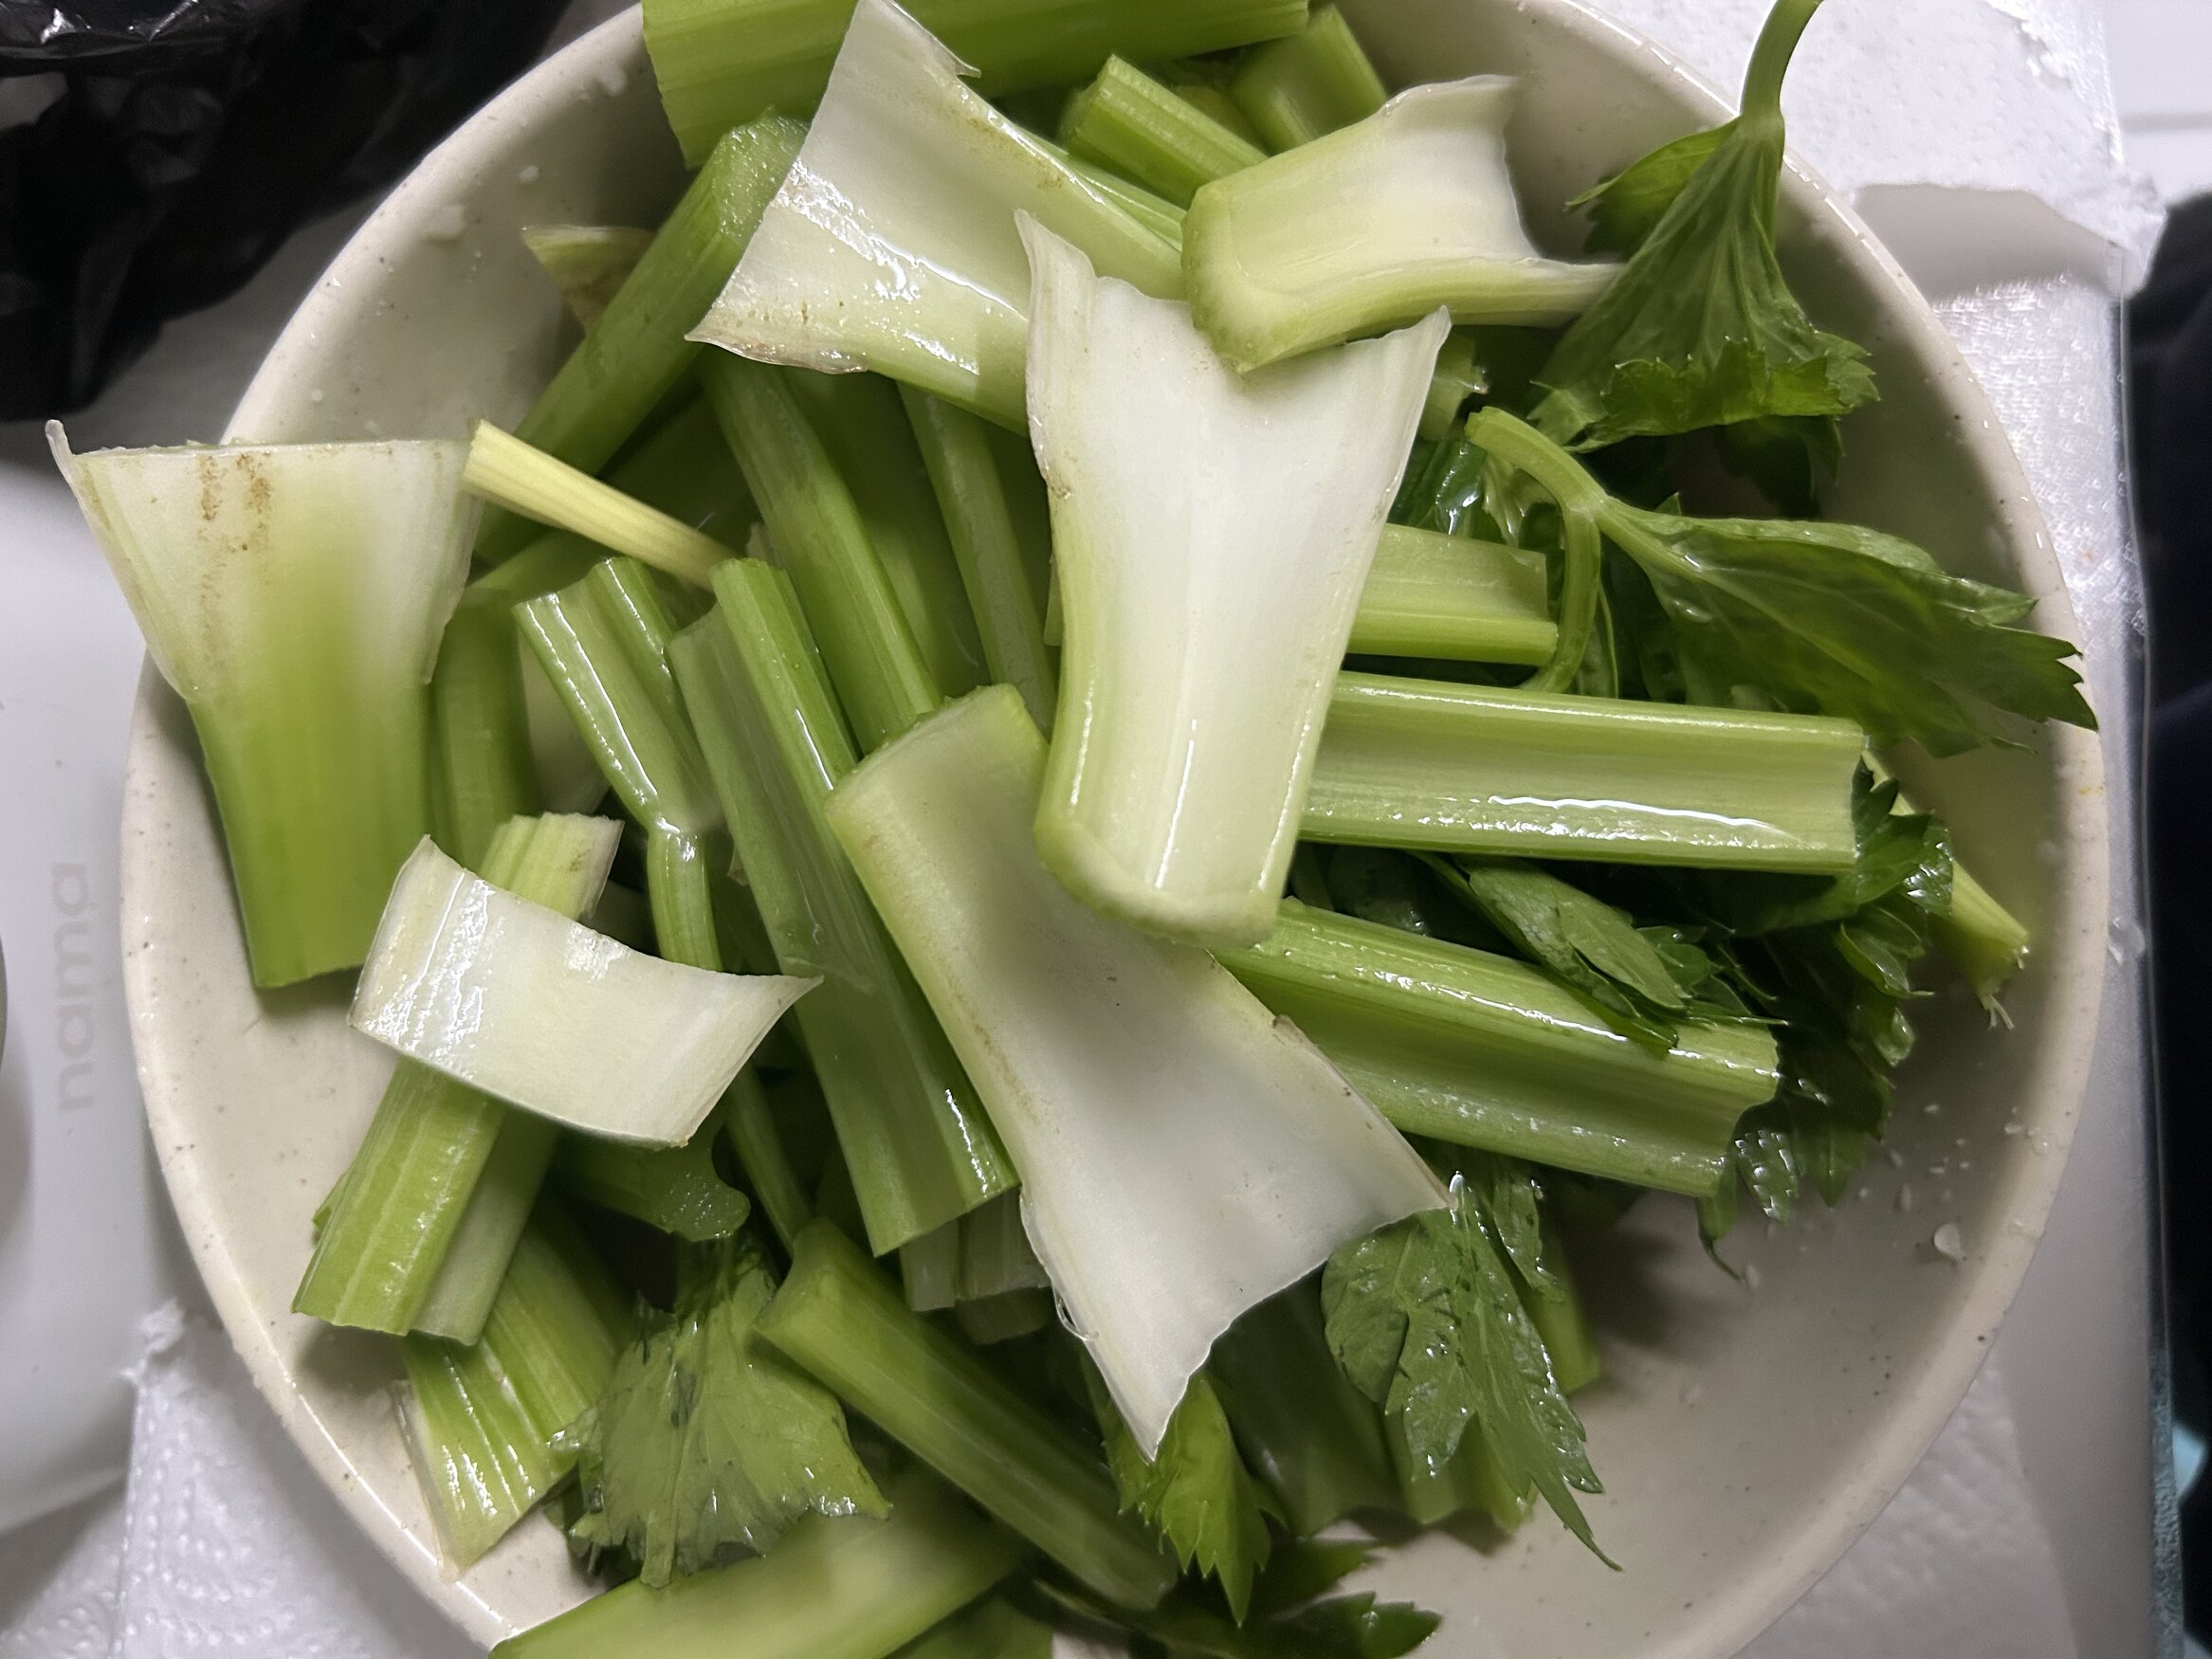
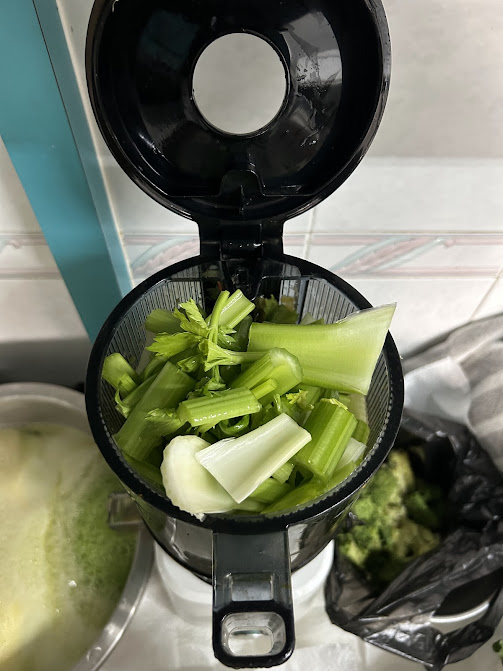
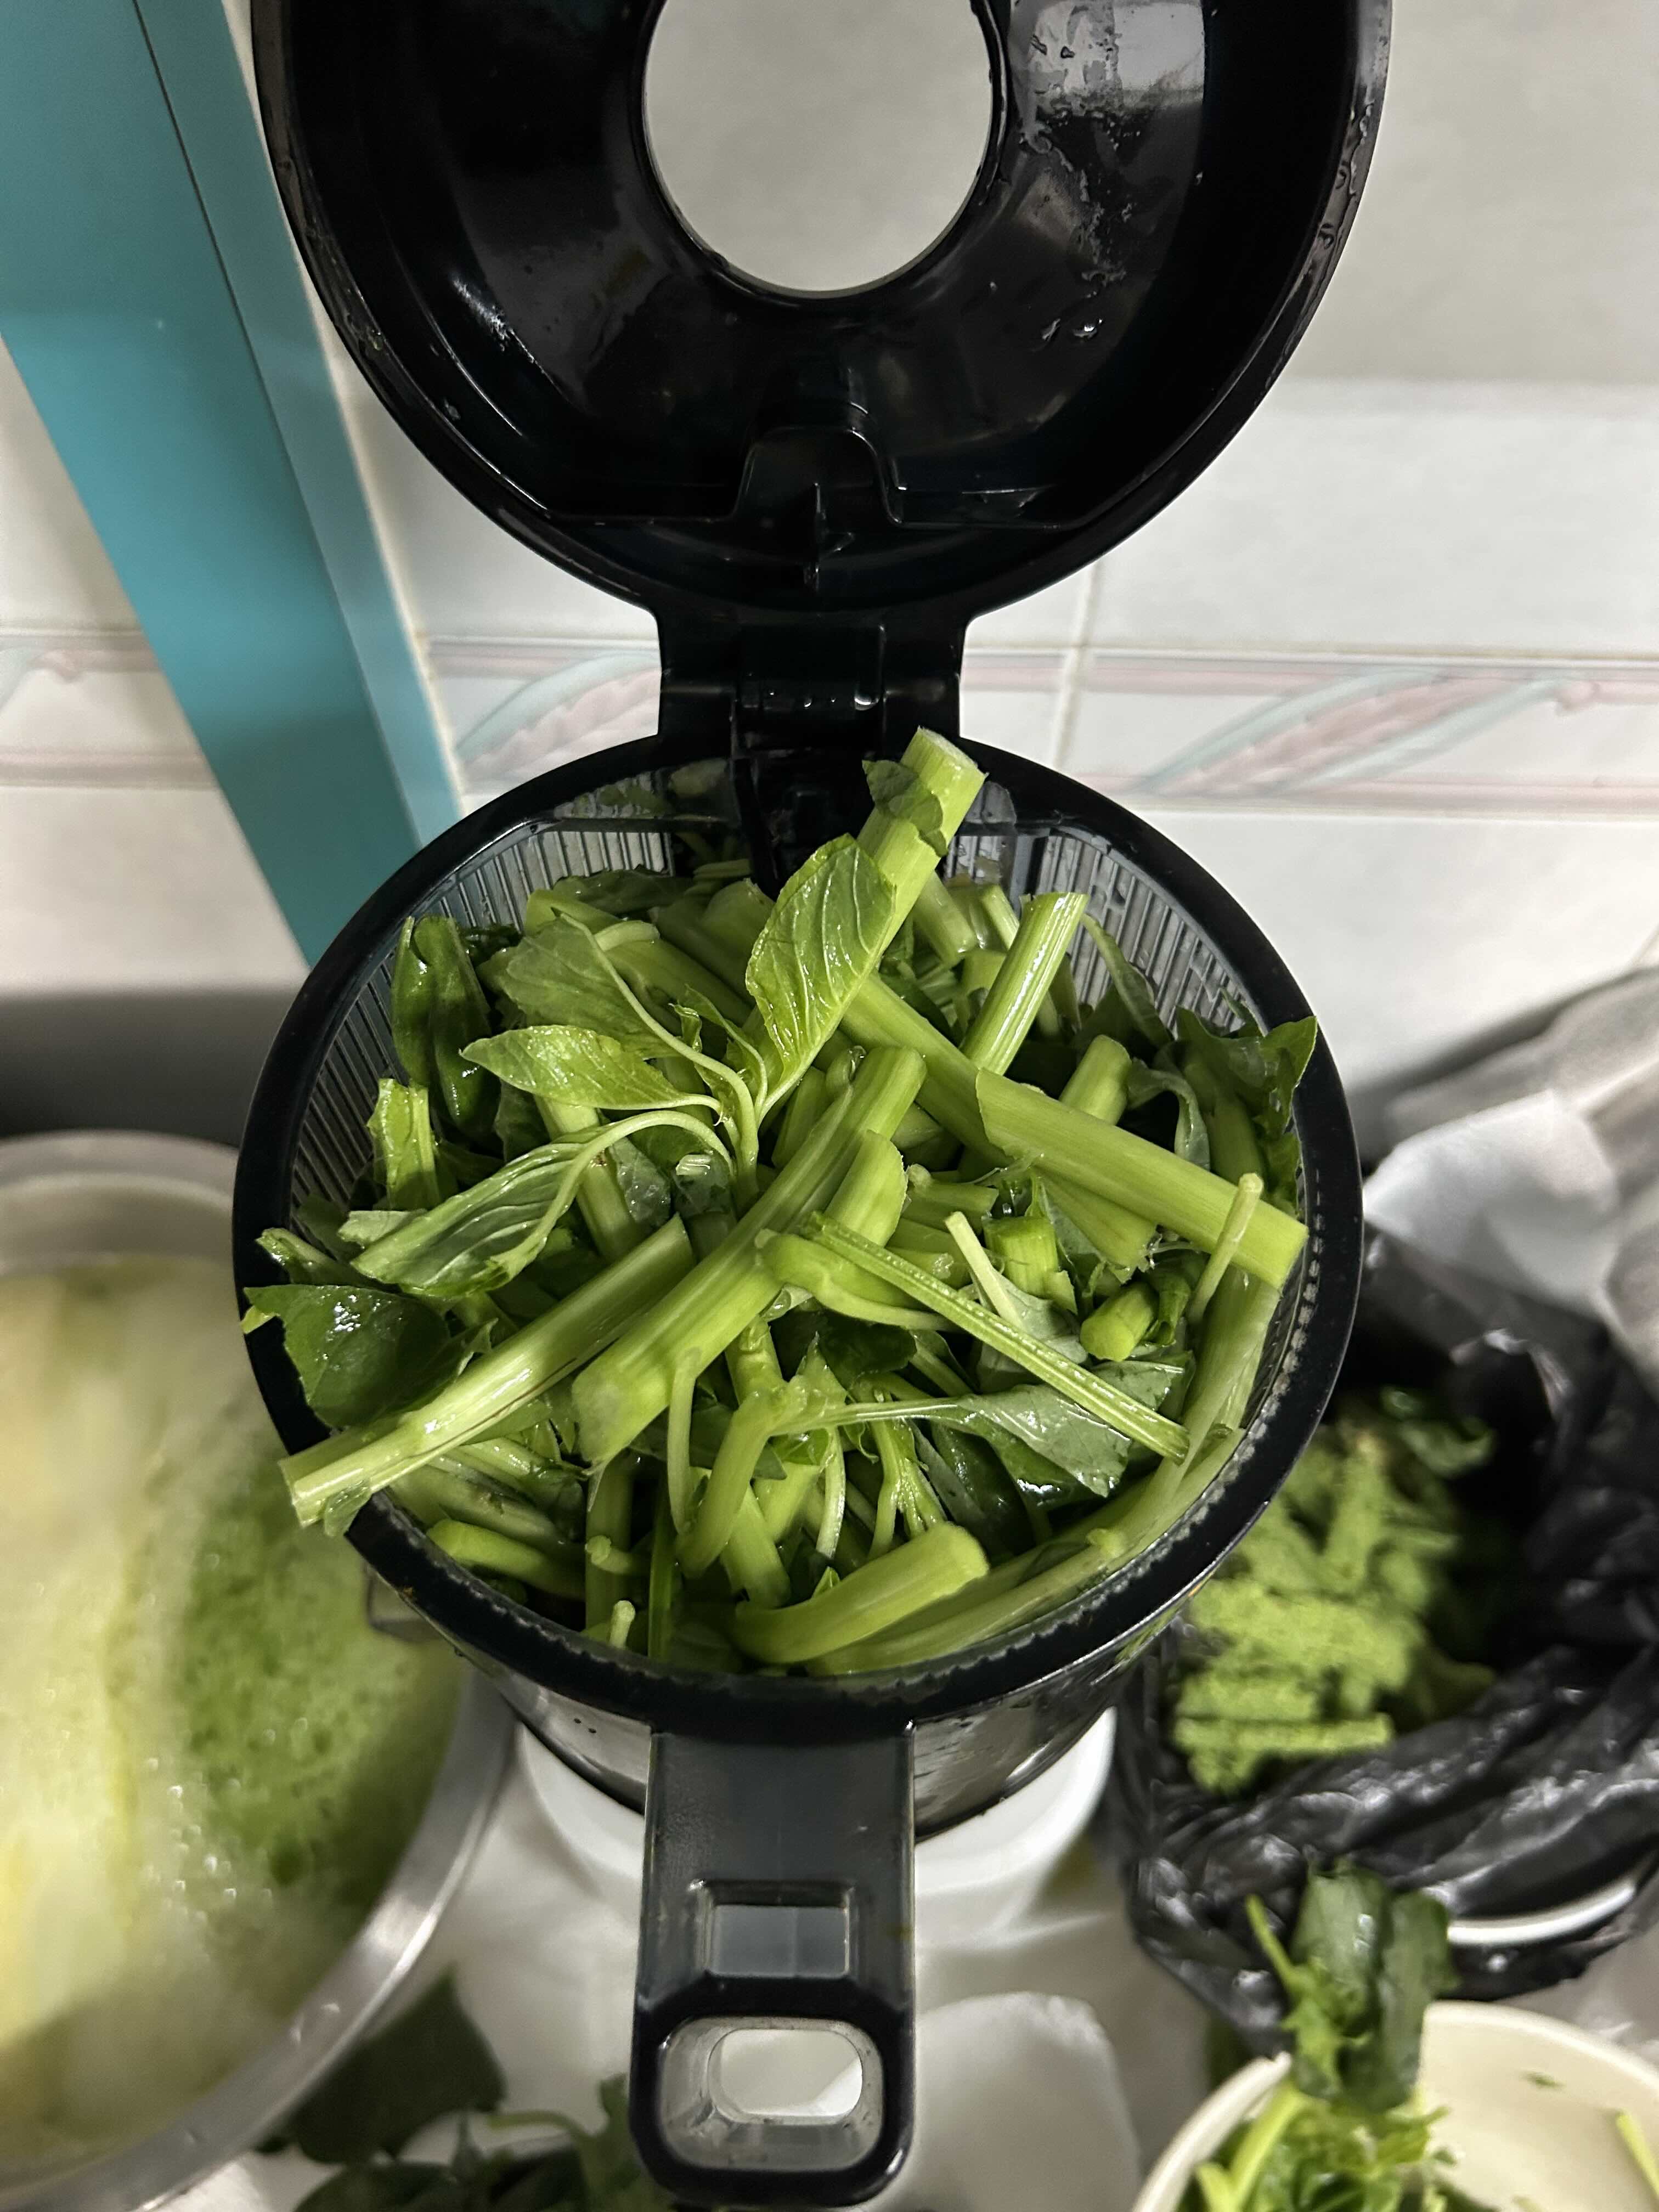
- 2x750gcelery stalks
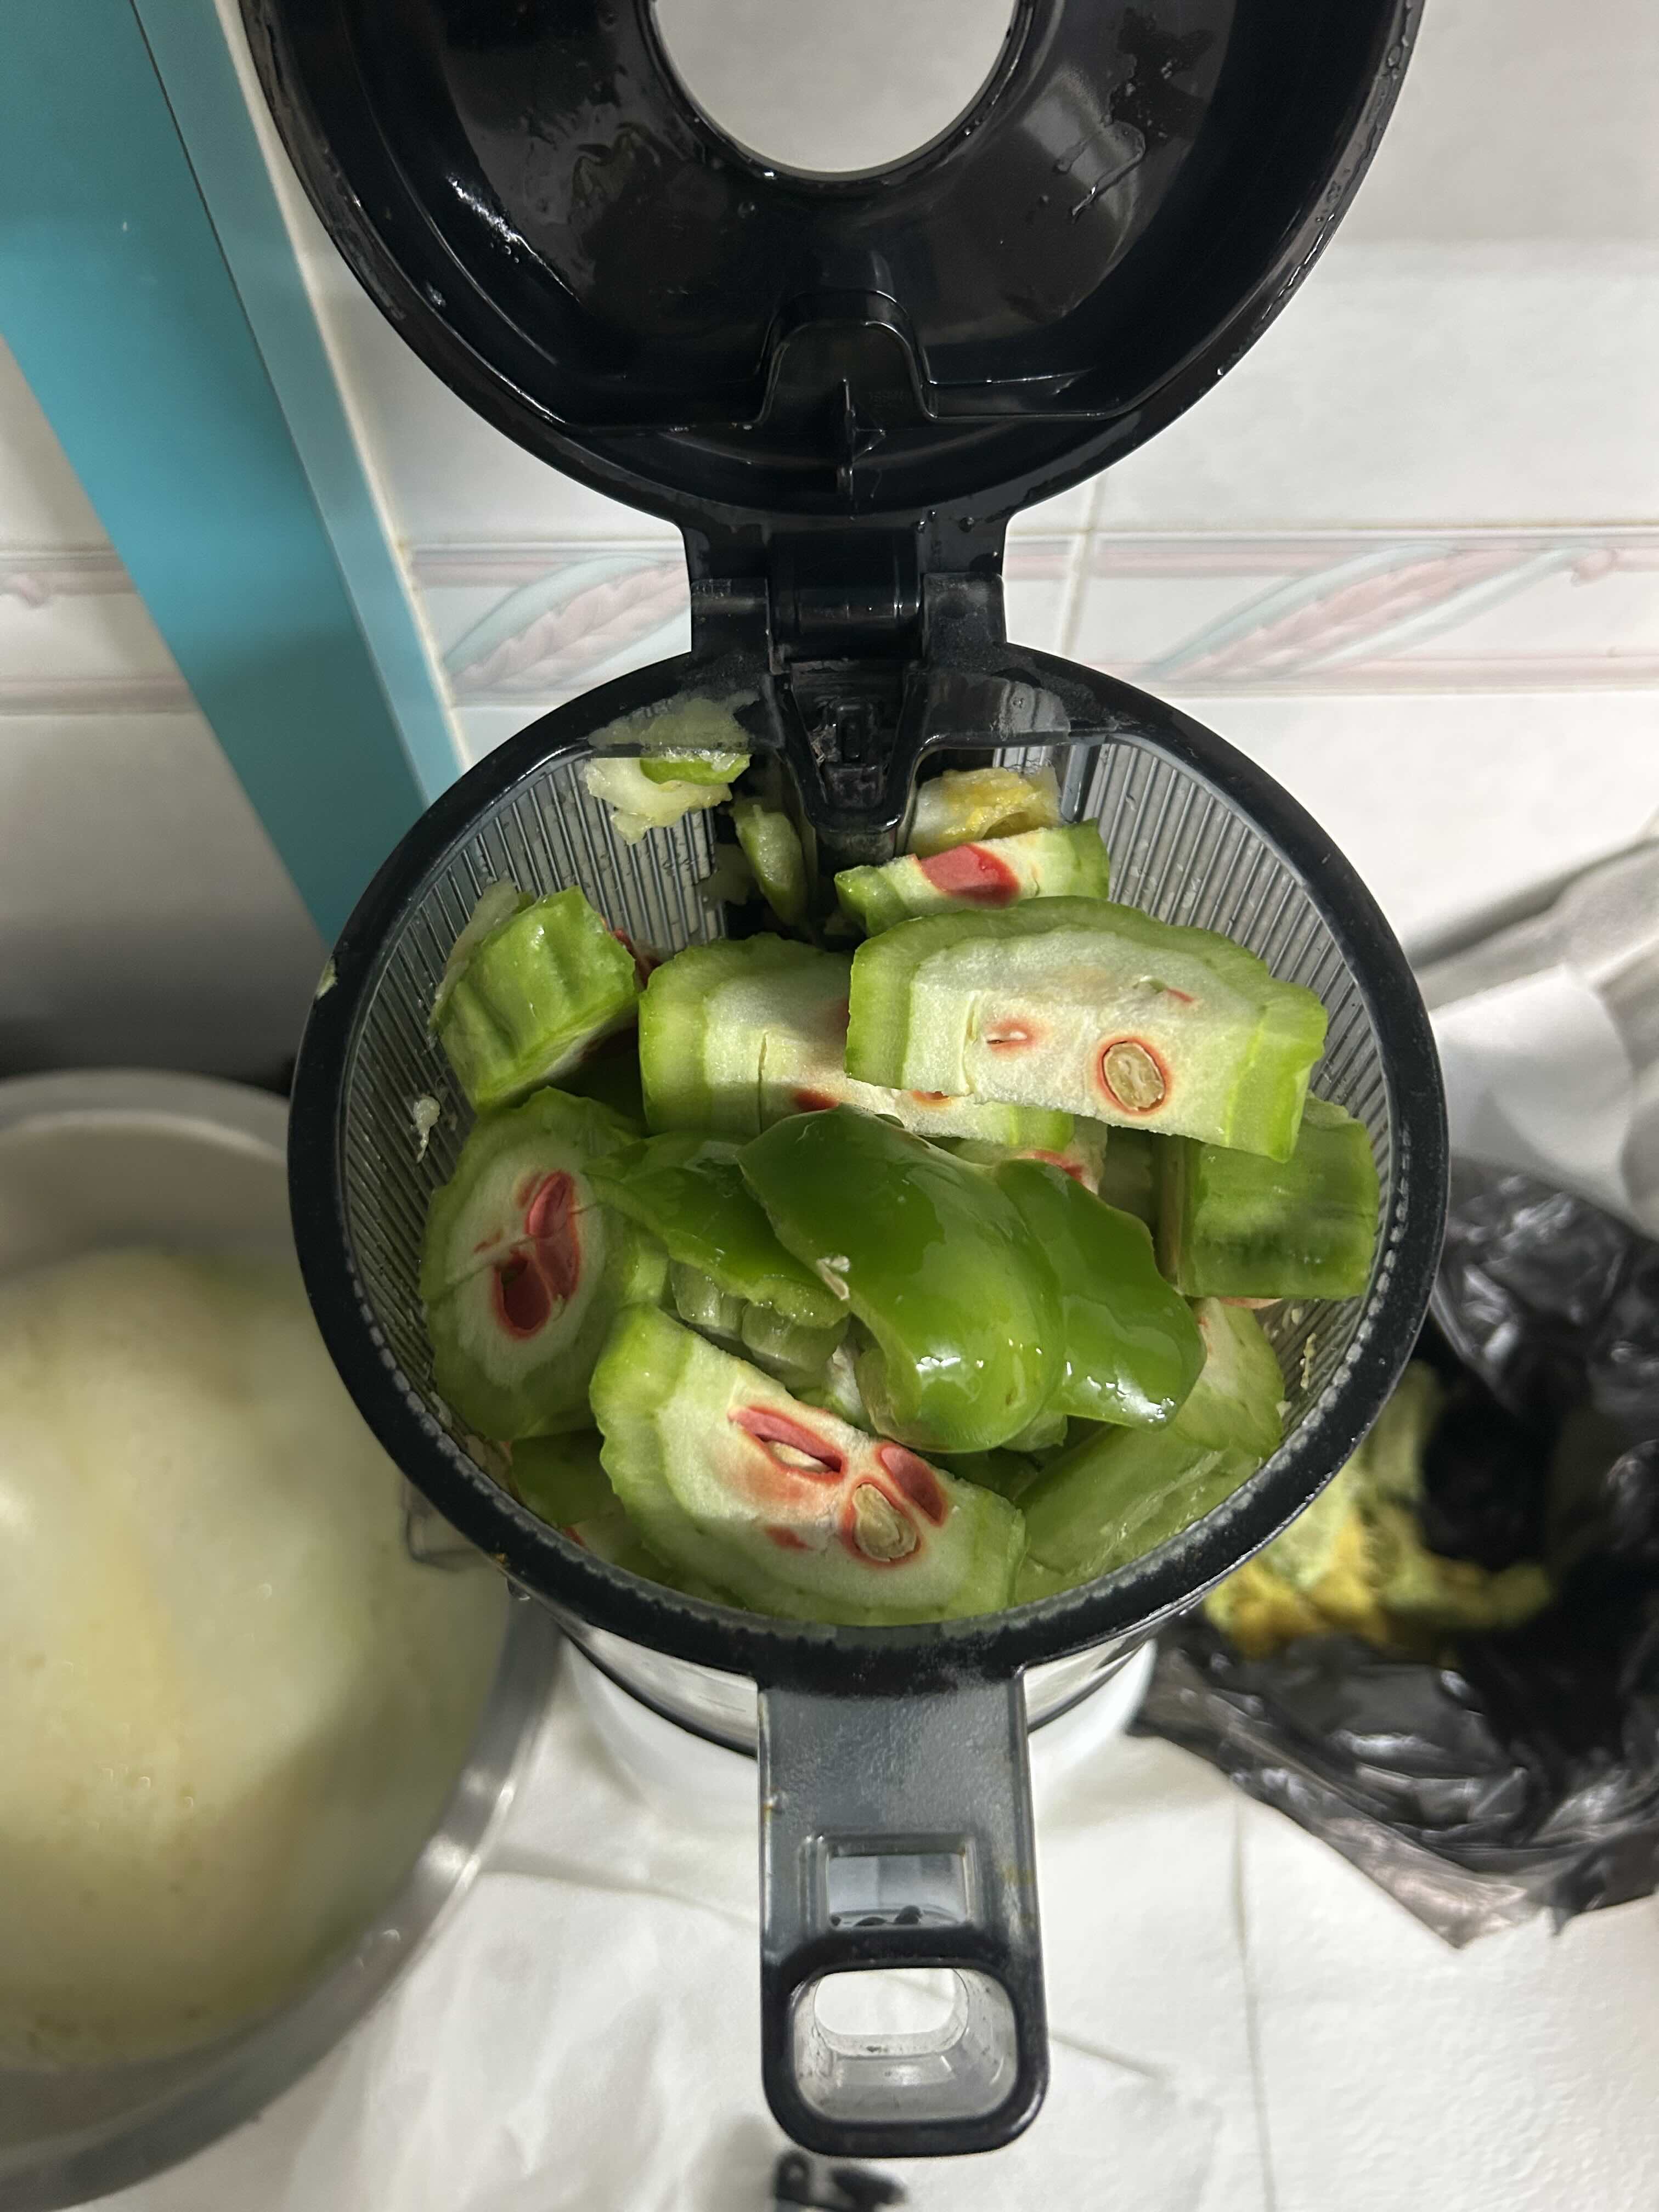
- 1x350gbitter gourd
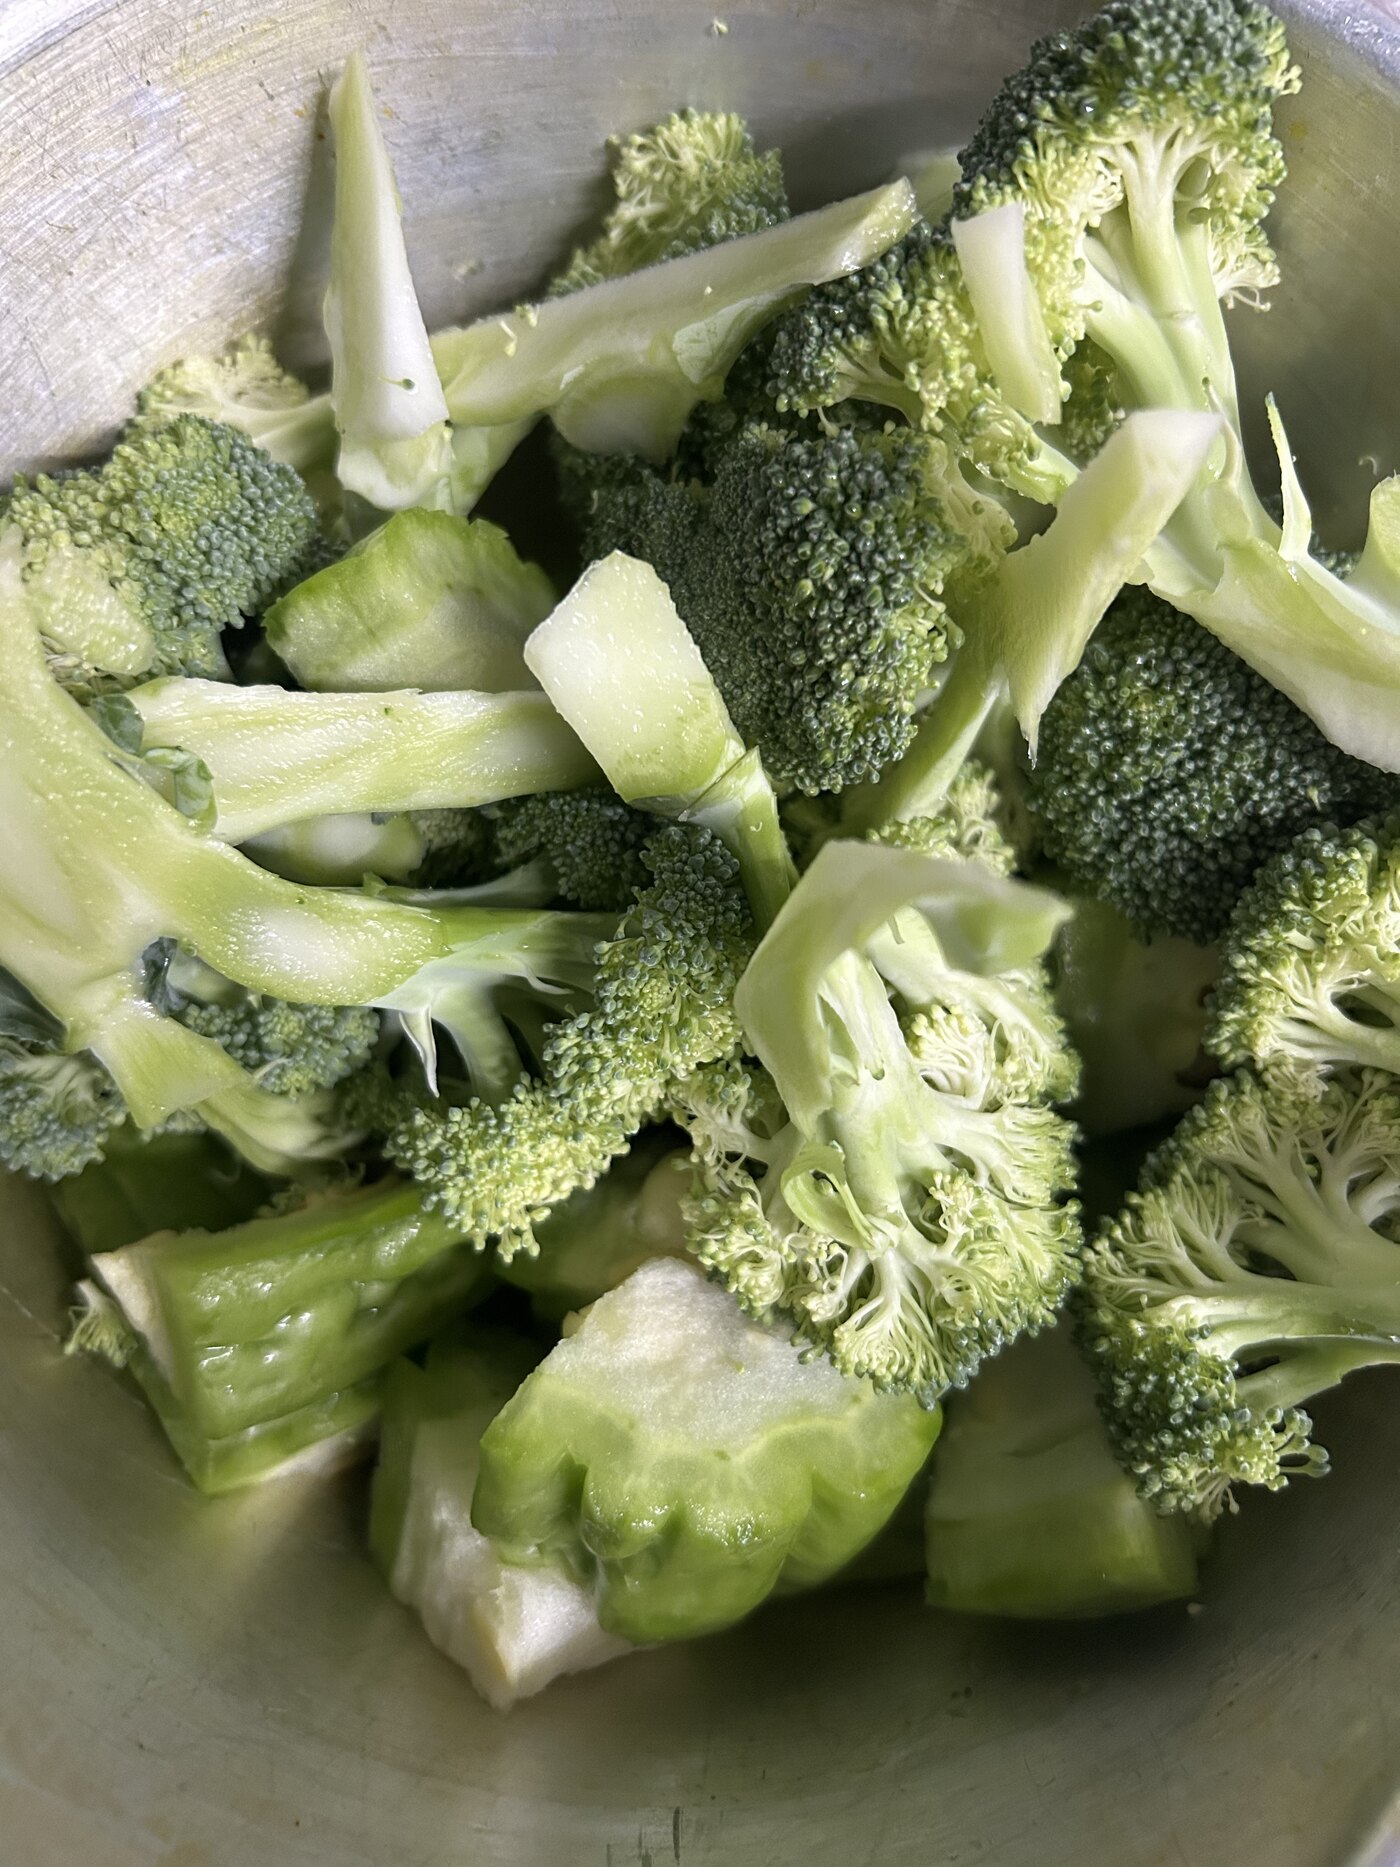
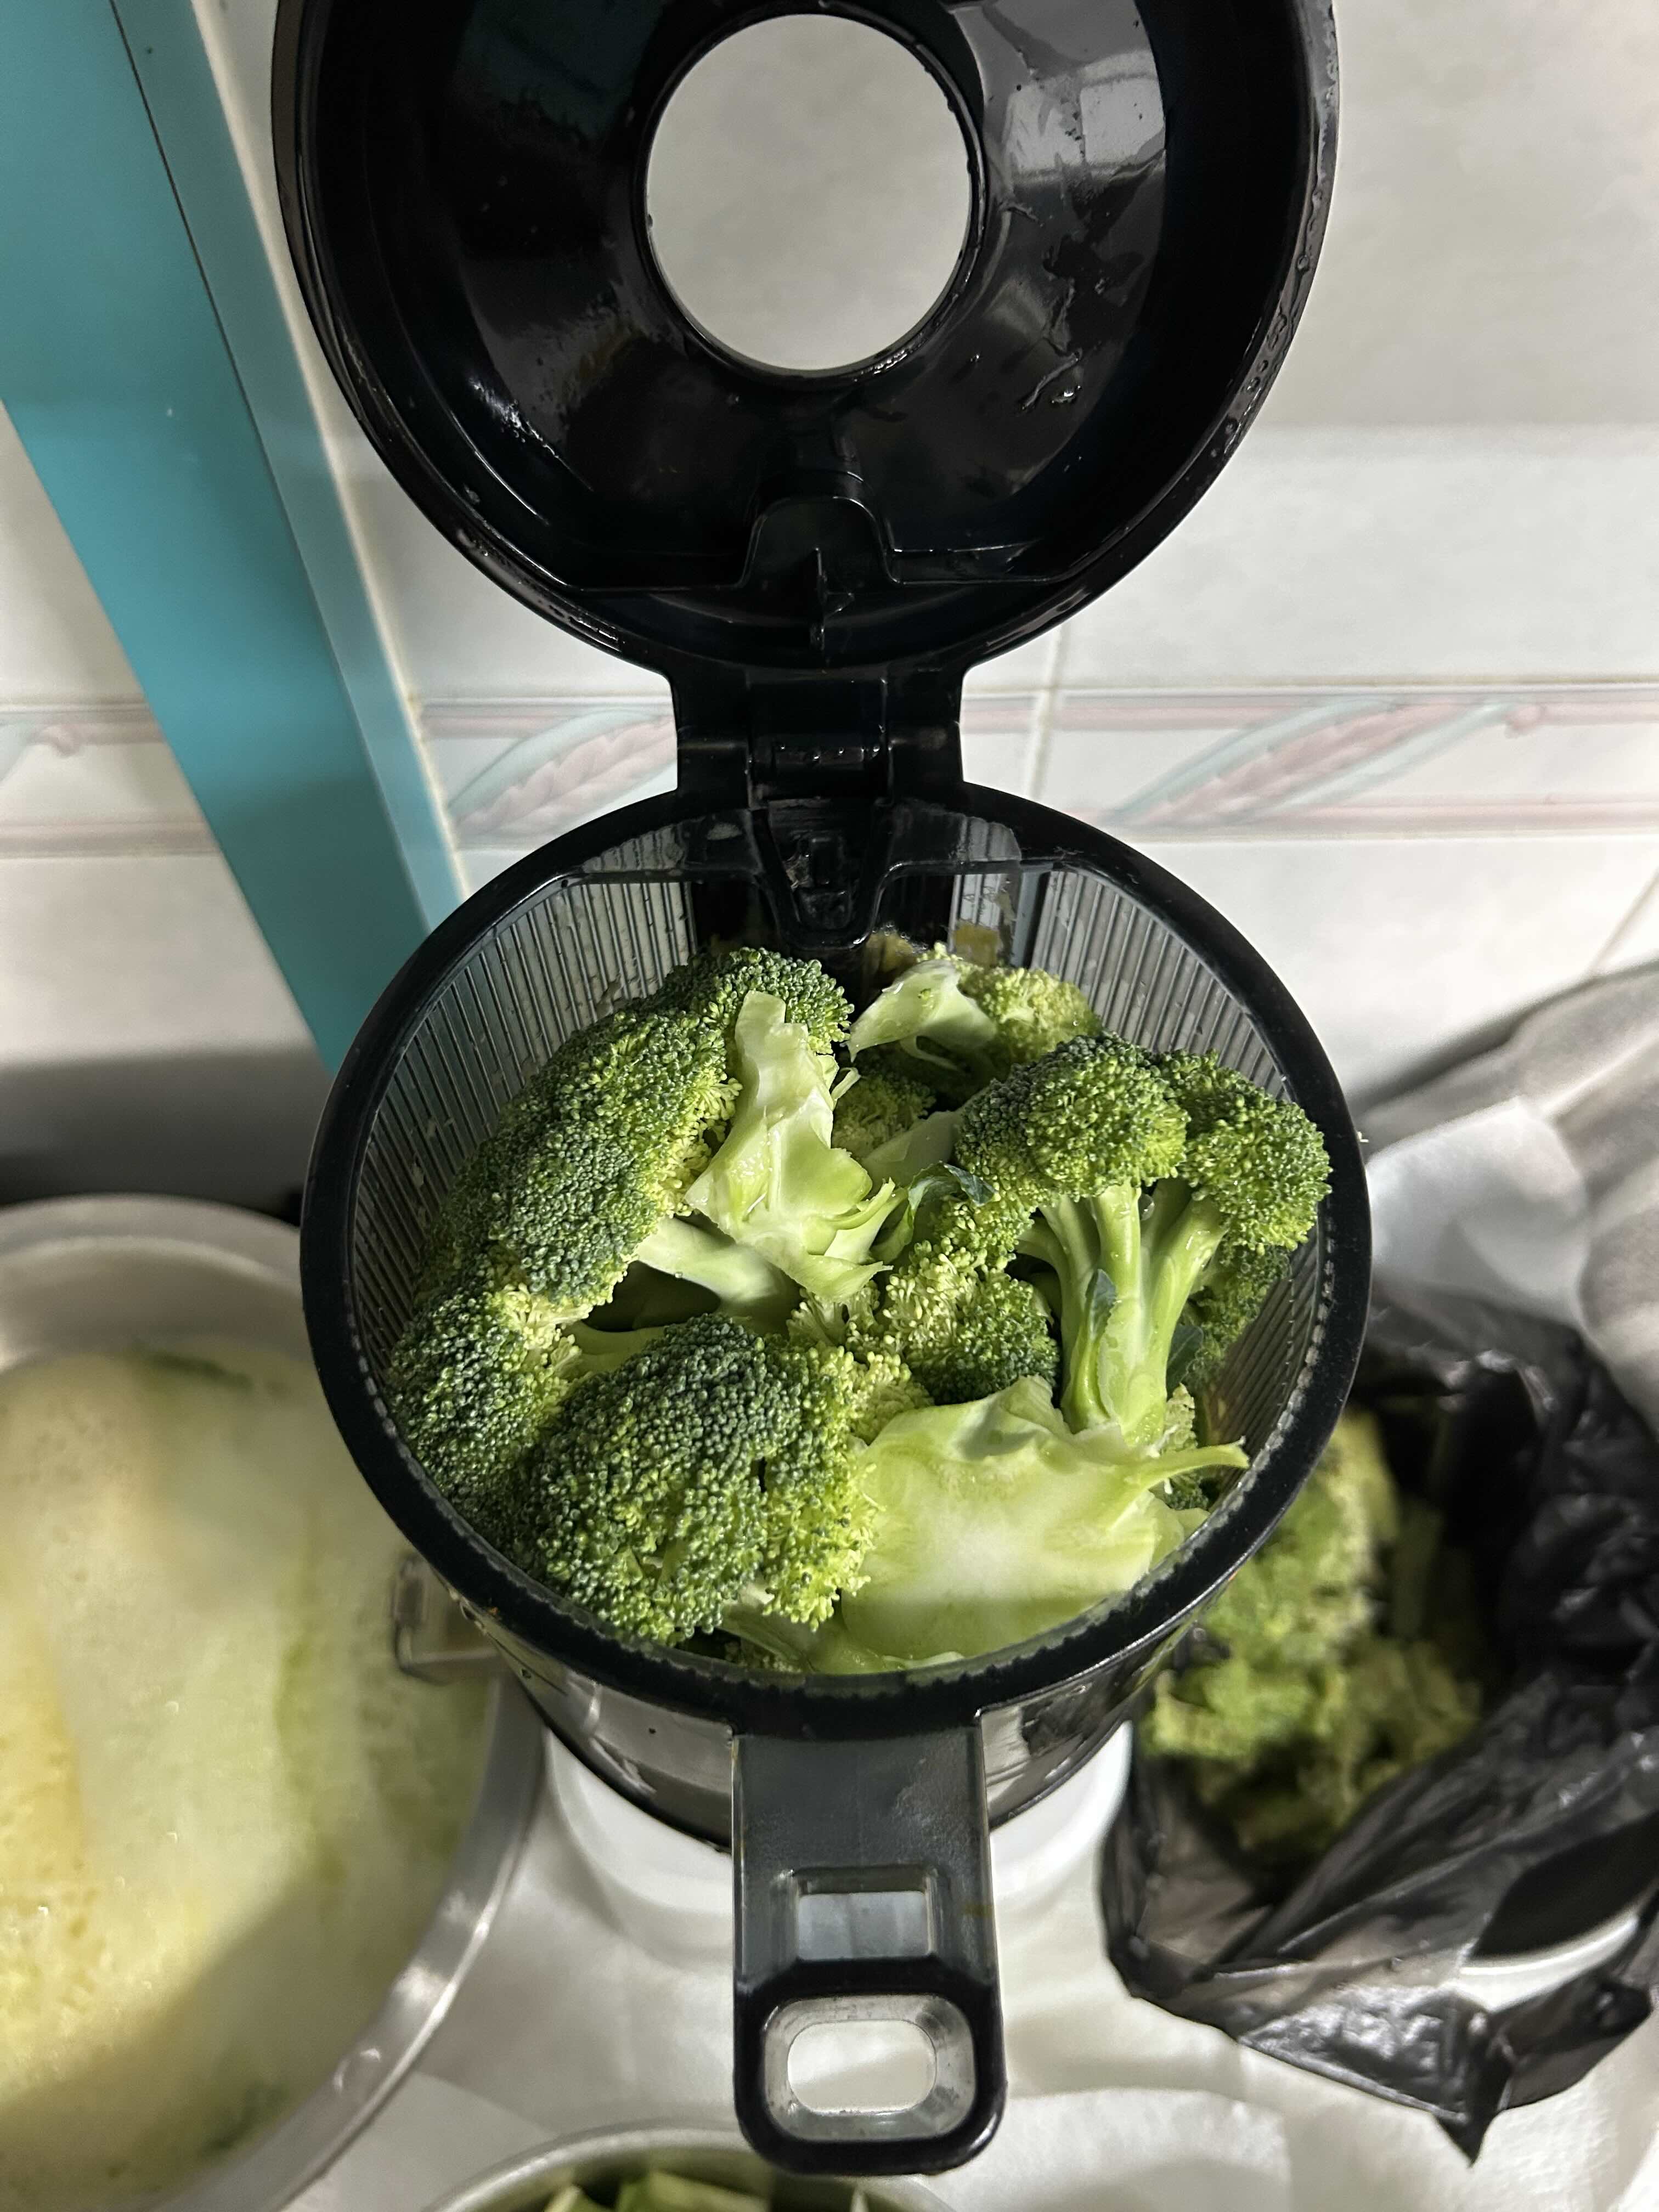
- 1x250gbroccoli florets
- 1x150gsweet peas
- 3x100gmoringa leaves
Functional Compounds
- Chlorophyllspinach, kale, moringa, lettuce — massive dose for liver support & detox
- Sulforaphanebroccoli, bok woy — studied for deep cellular protection
- Charantin & Luteinbitter gourd, spinach — targets blood sugar stability & eye health
- Apigenin & Siliconcelery, sweet peas — supports gut lining, collagen & joint health
- Bromelain & Vitamin Cpineapple, lemon, apple — anti-inflammatory enzymes & natural batch preservation
Pro-Tips & Preparation Advice
Batch Preparation Method
Optimized extraction sequences and compound management
Simple Method
- 1
Clean your fresh veggies and cut them down just enough to fit into your juicer's feed chute.
- 2
Feed ingredients into a stainless steel bowl with a plastic bag lined in your pulp bin for zero mess.
- 3
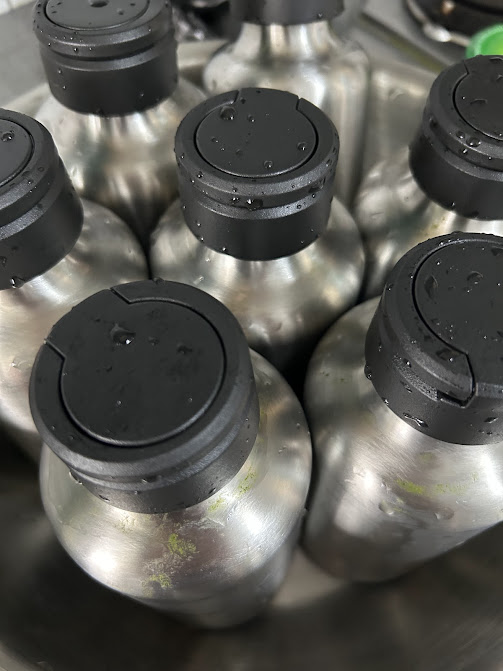
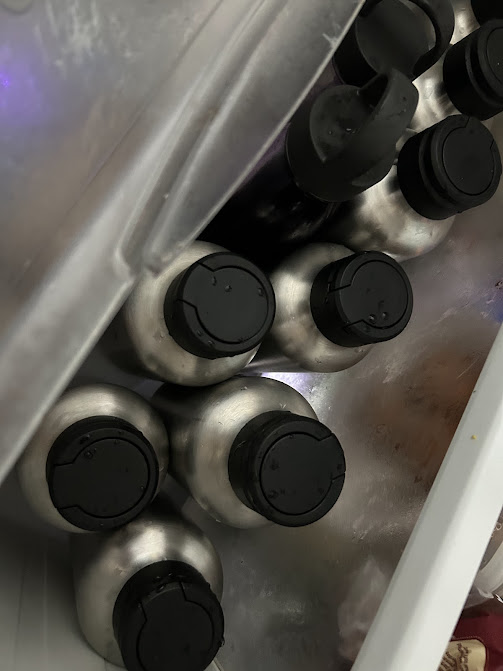
Pour the mix into airtight 700ml stainless steel bottles and keep refrigerated for up to 7 days.
Detailed Method
- 1
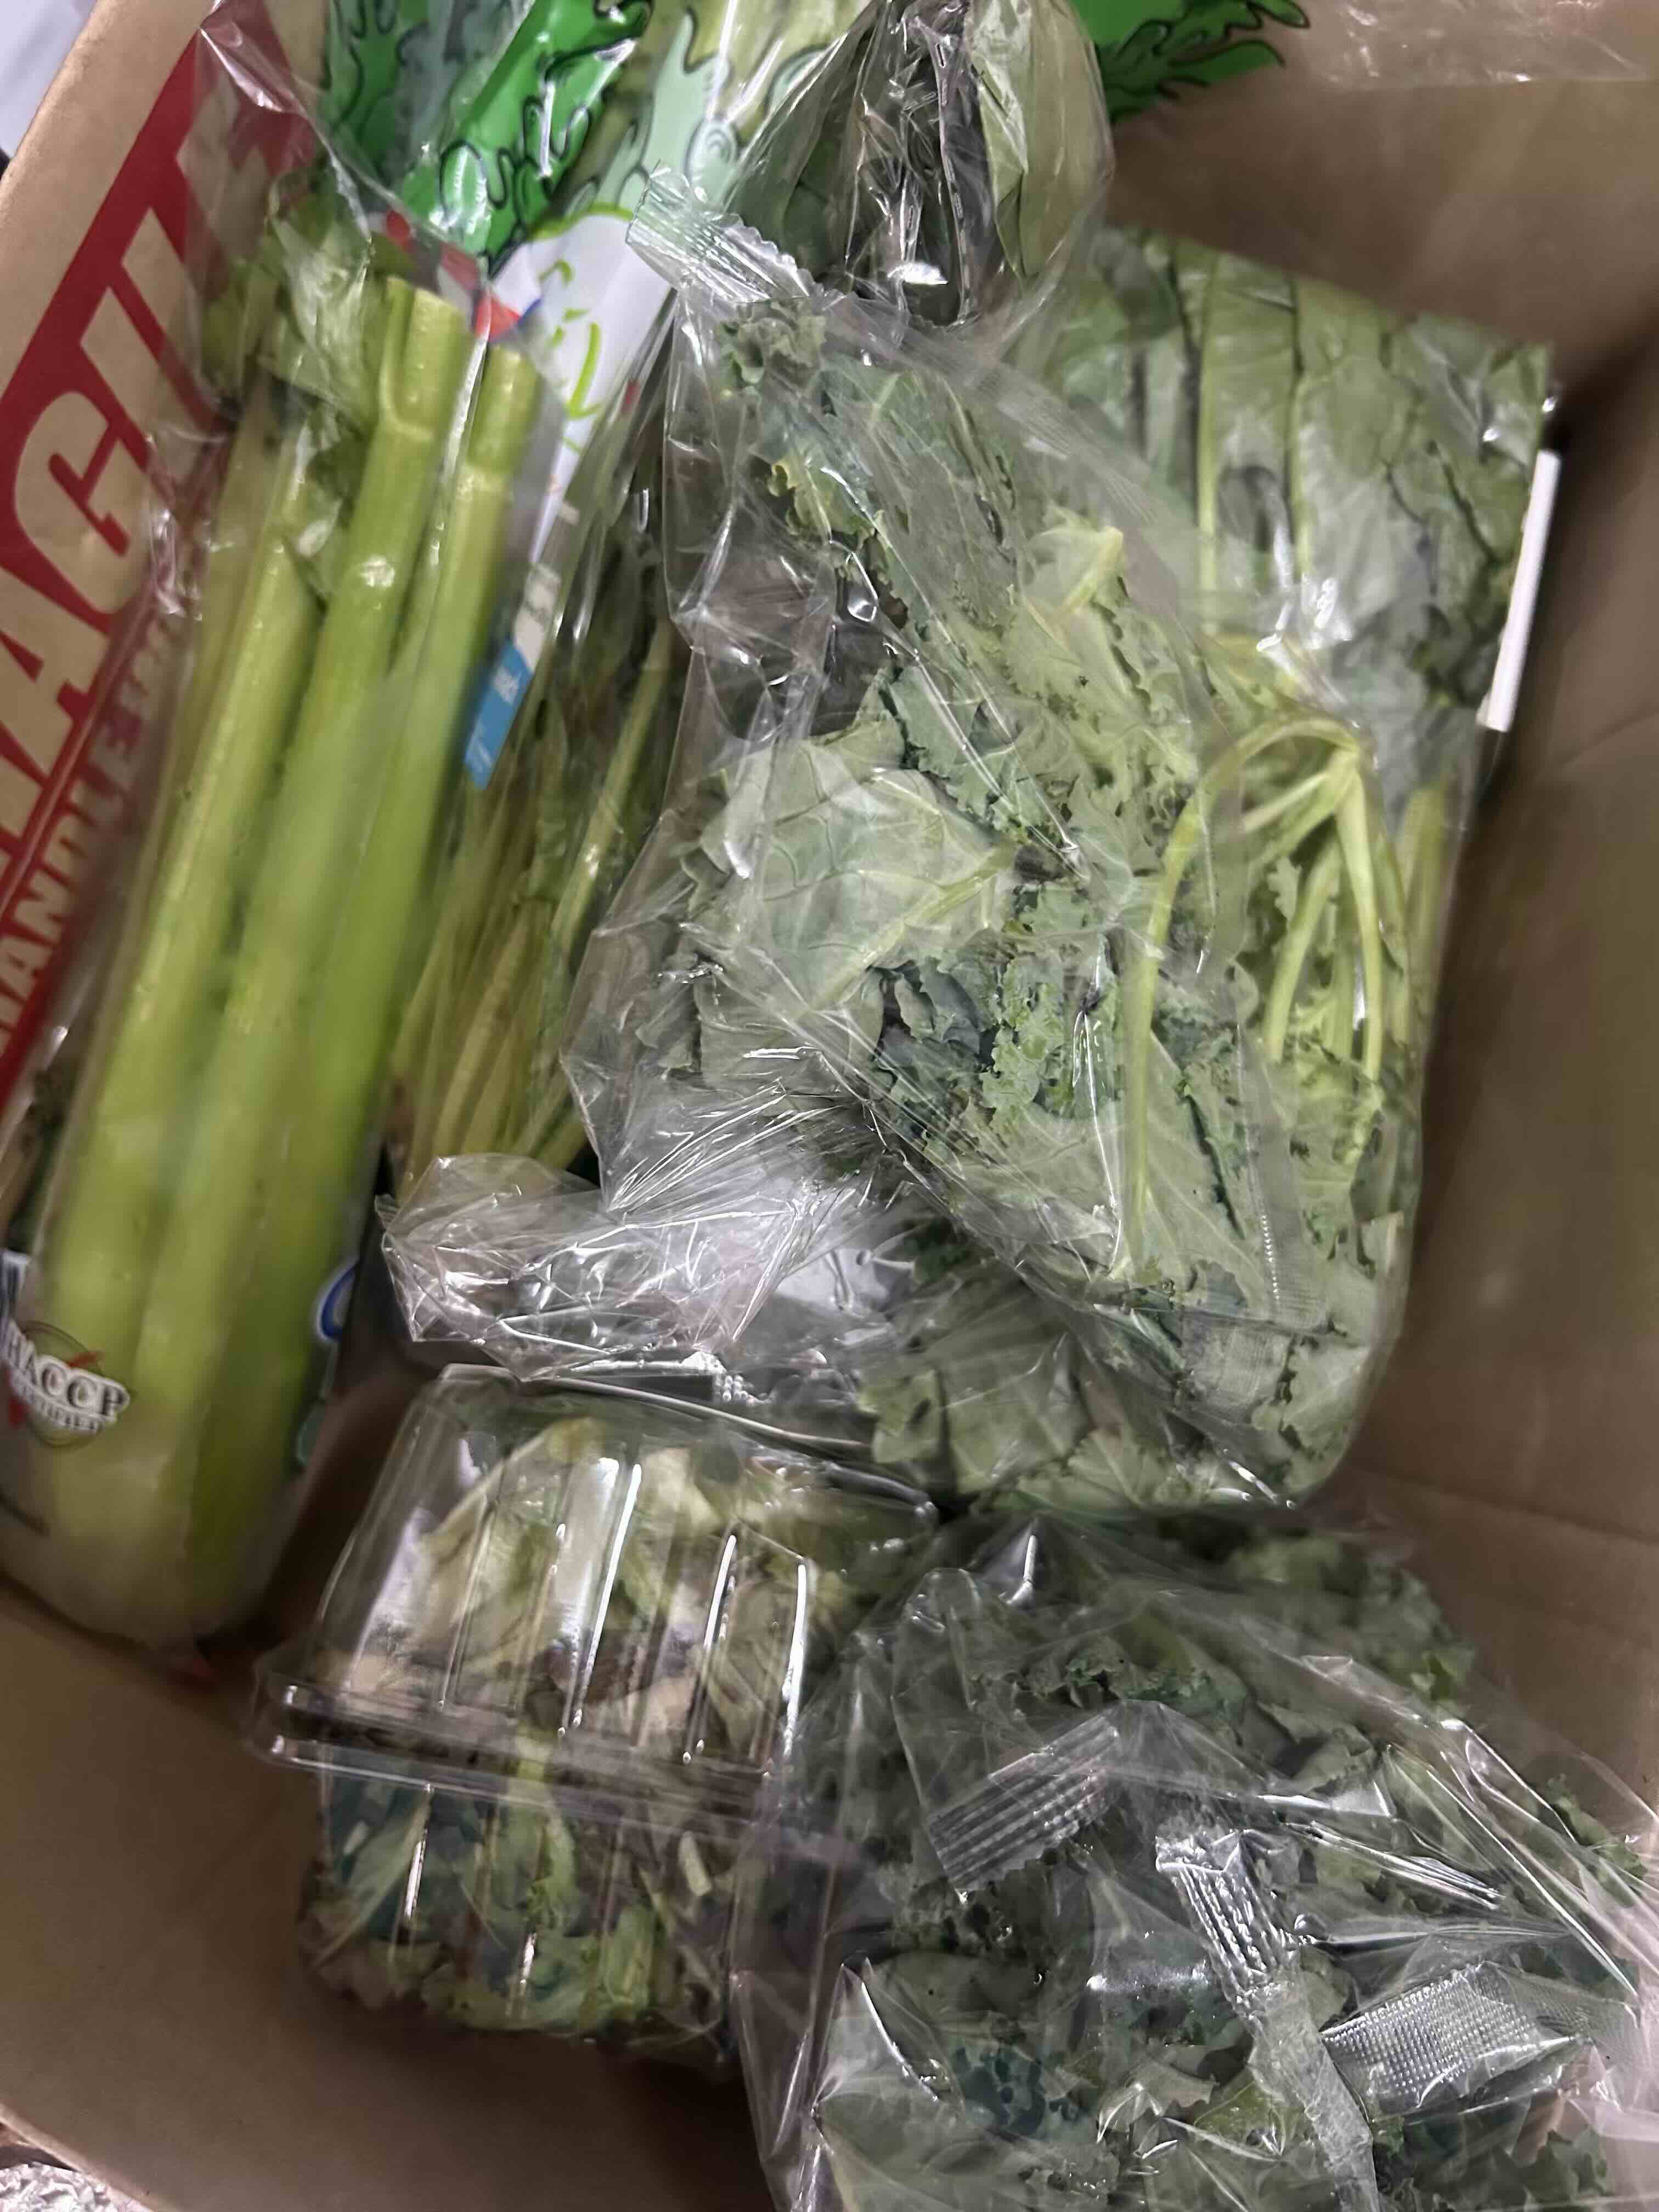
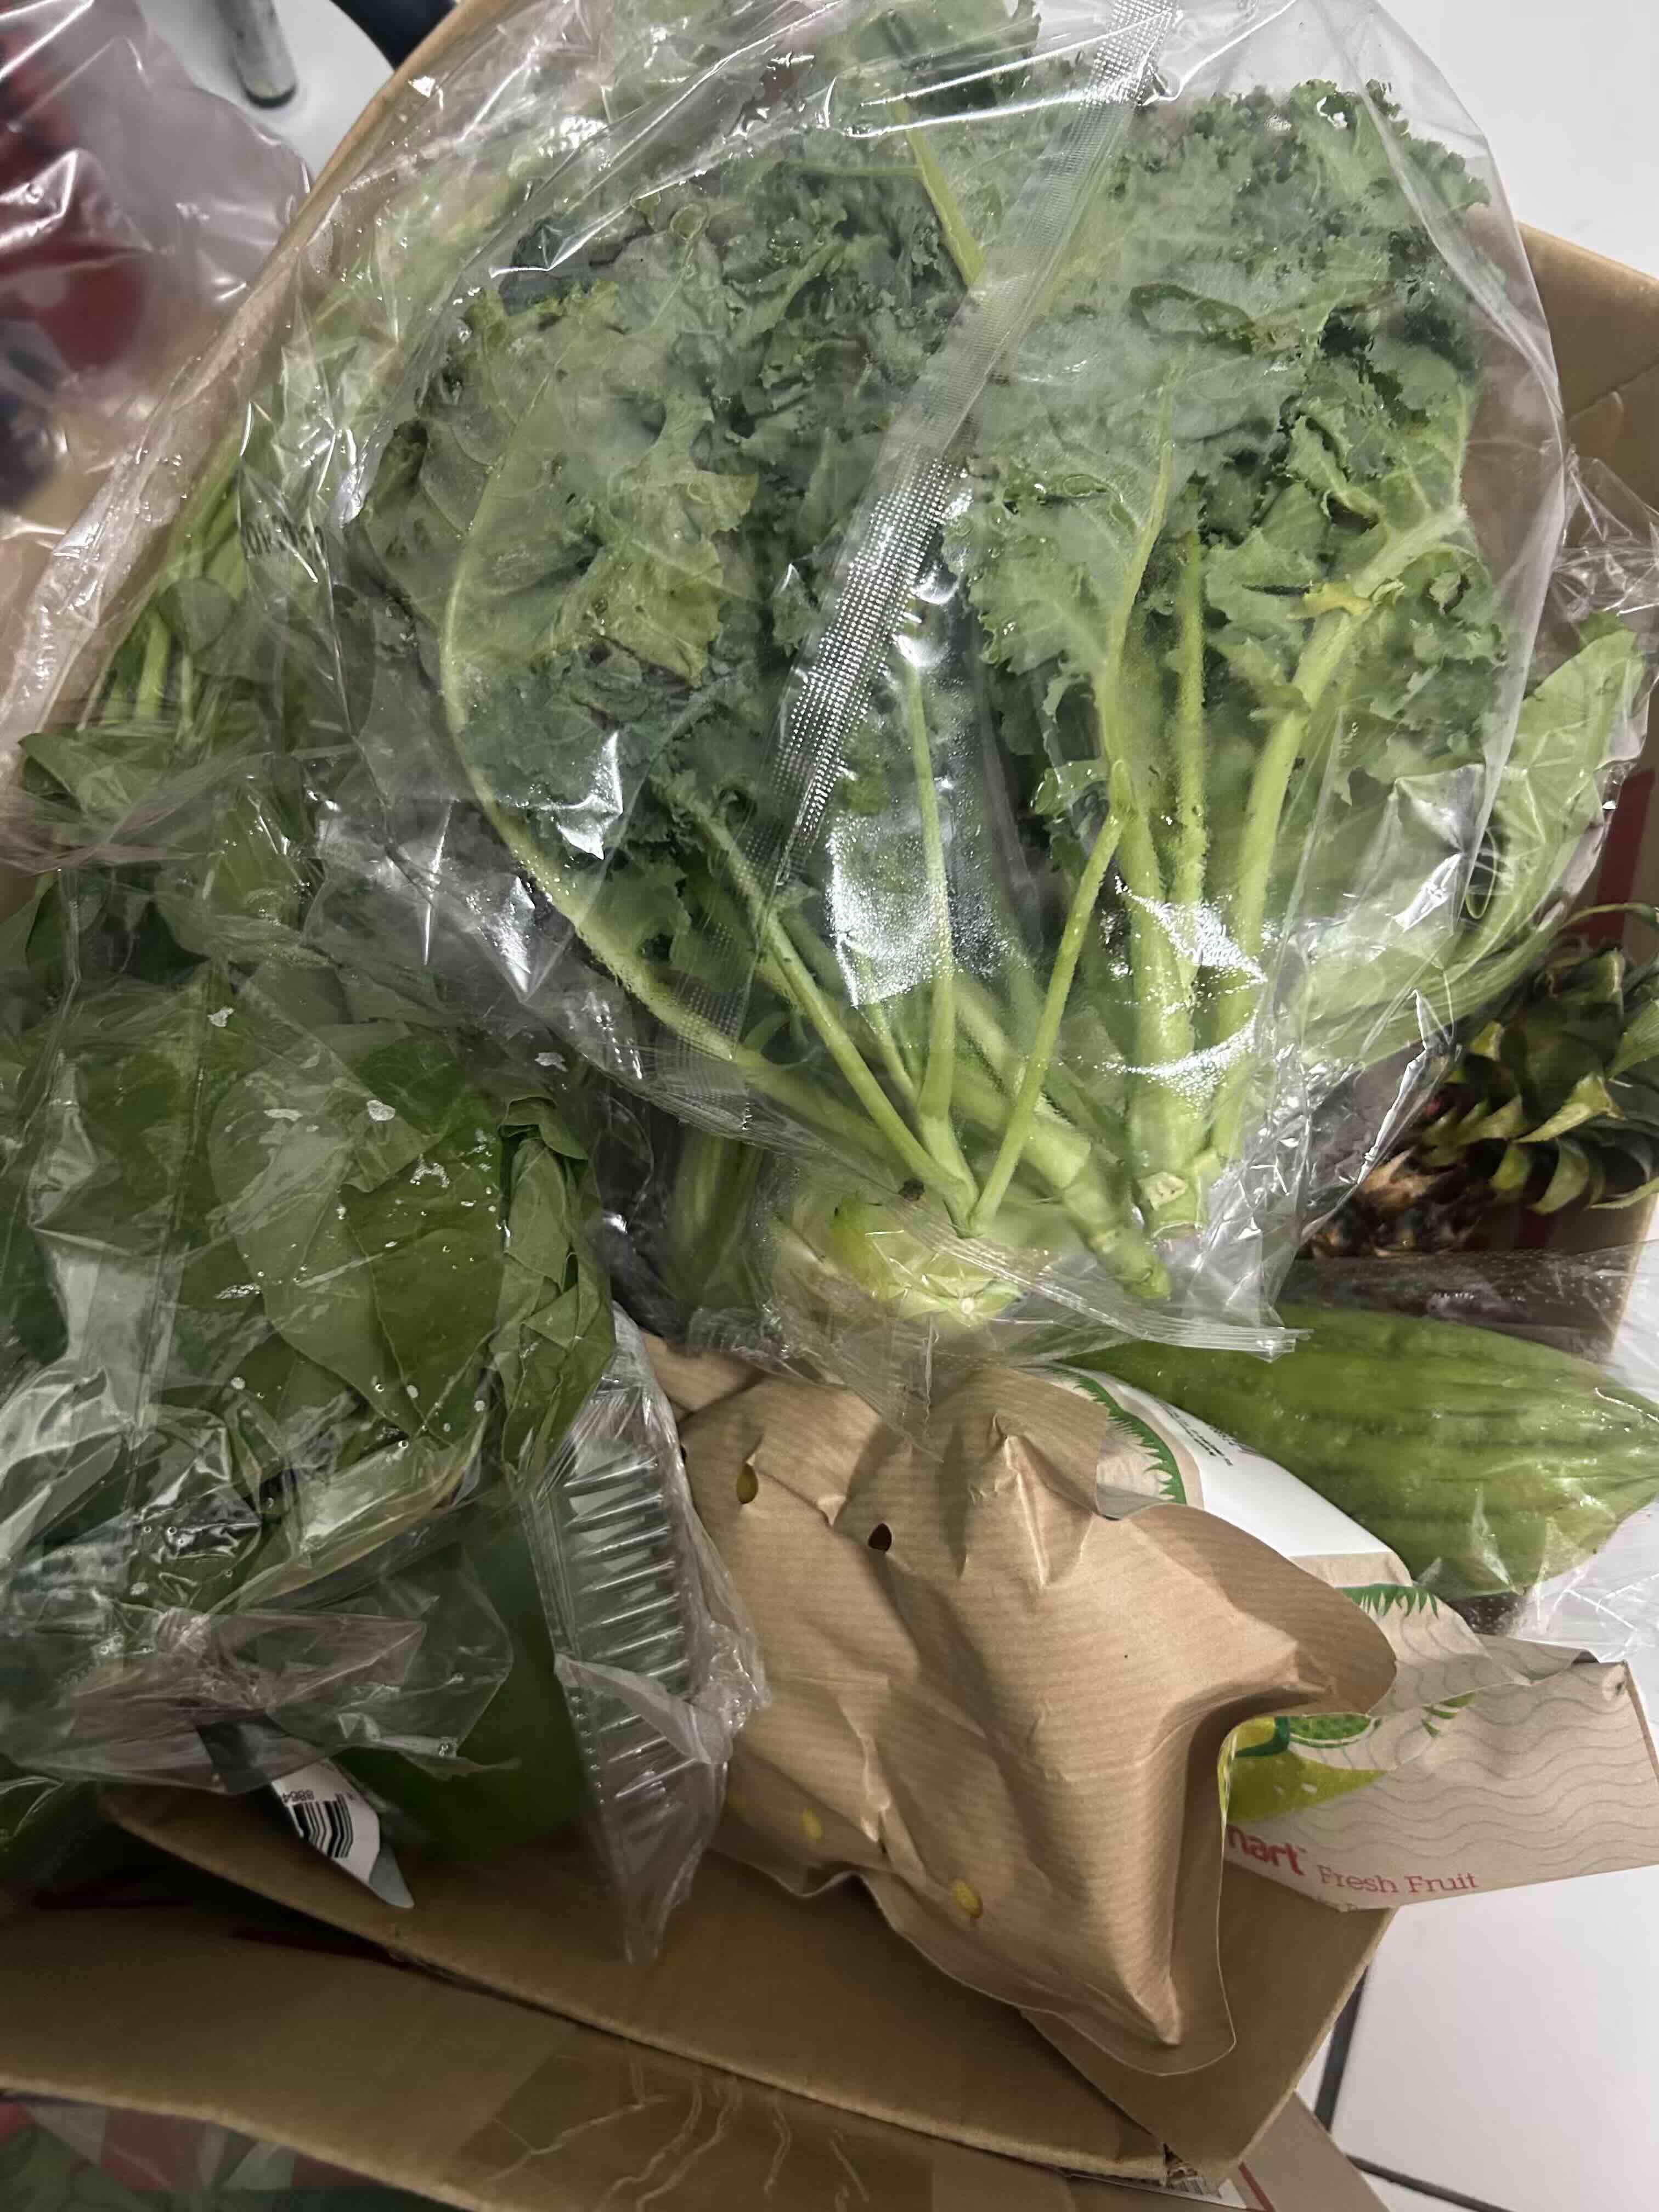
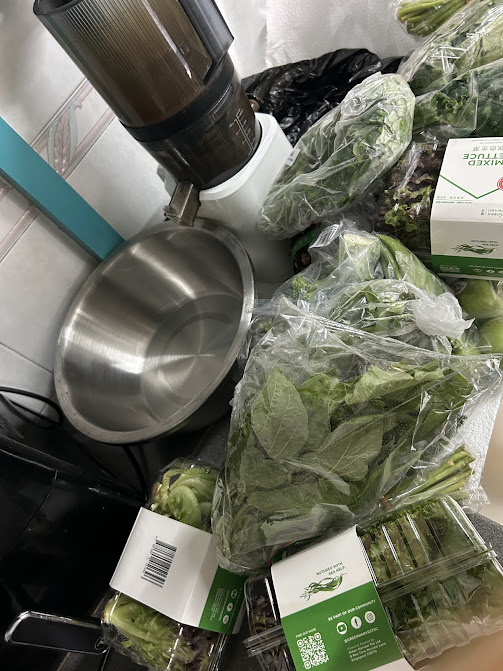
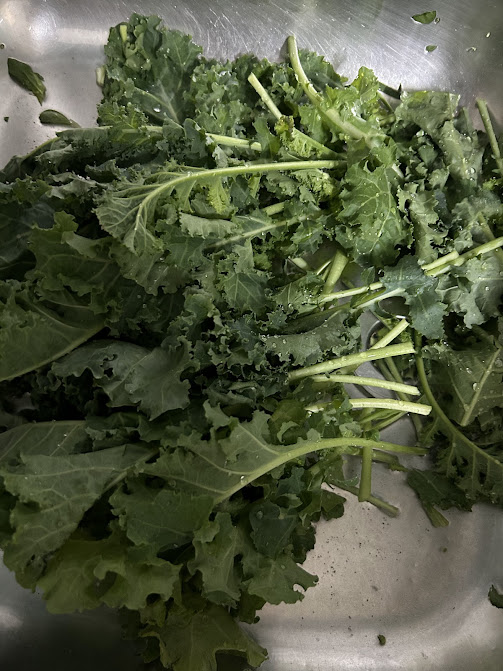
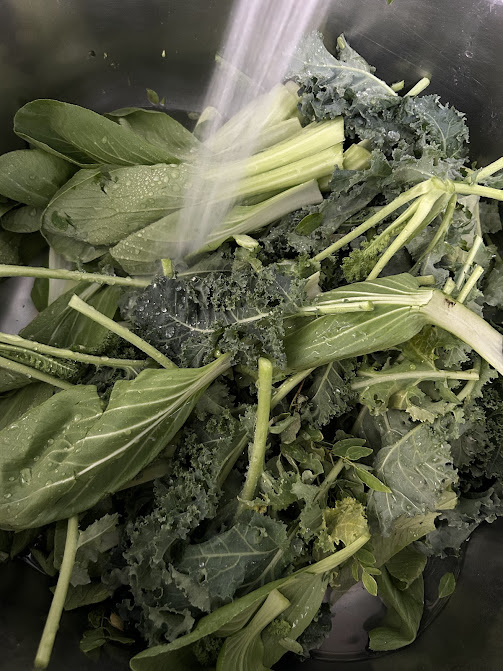
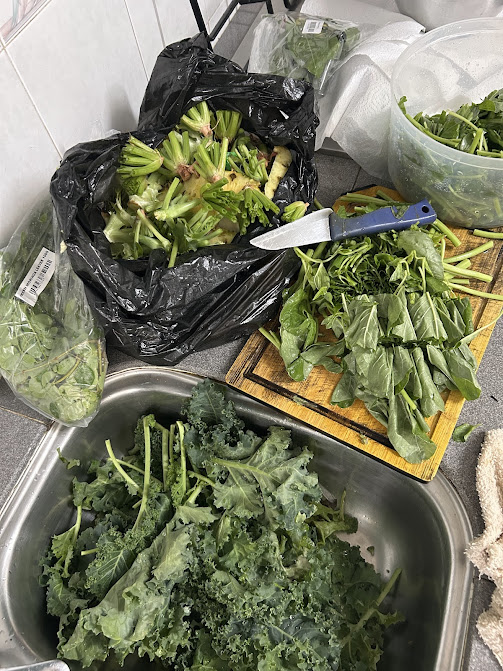
Unpack your fresh vegetables immediately upon store or online delivery, then soak and rinse thoroughly in standard tap water without any special soaps.
- 2
Slice your ingredients to easily clear your cold press juicer chute. If using a hands-free auto-feeder like a Nama, save time by chopping remaining veggies while the current batch processes.
- 3
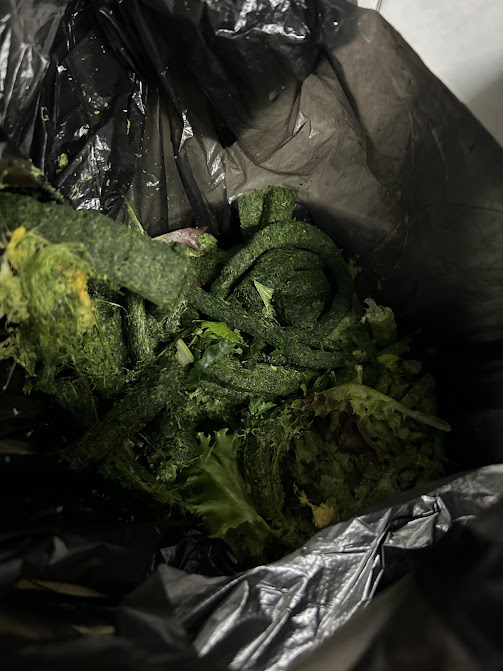
Place a clean plastic bag inside your external pulp collector bin before turning on the machine so you can easily tie it up and throw it away when finished.
- 4
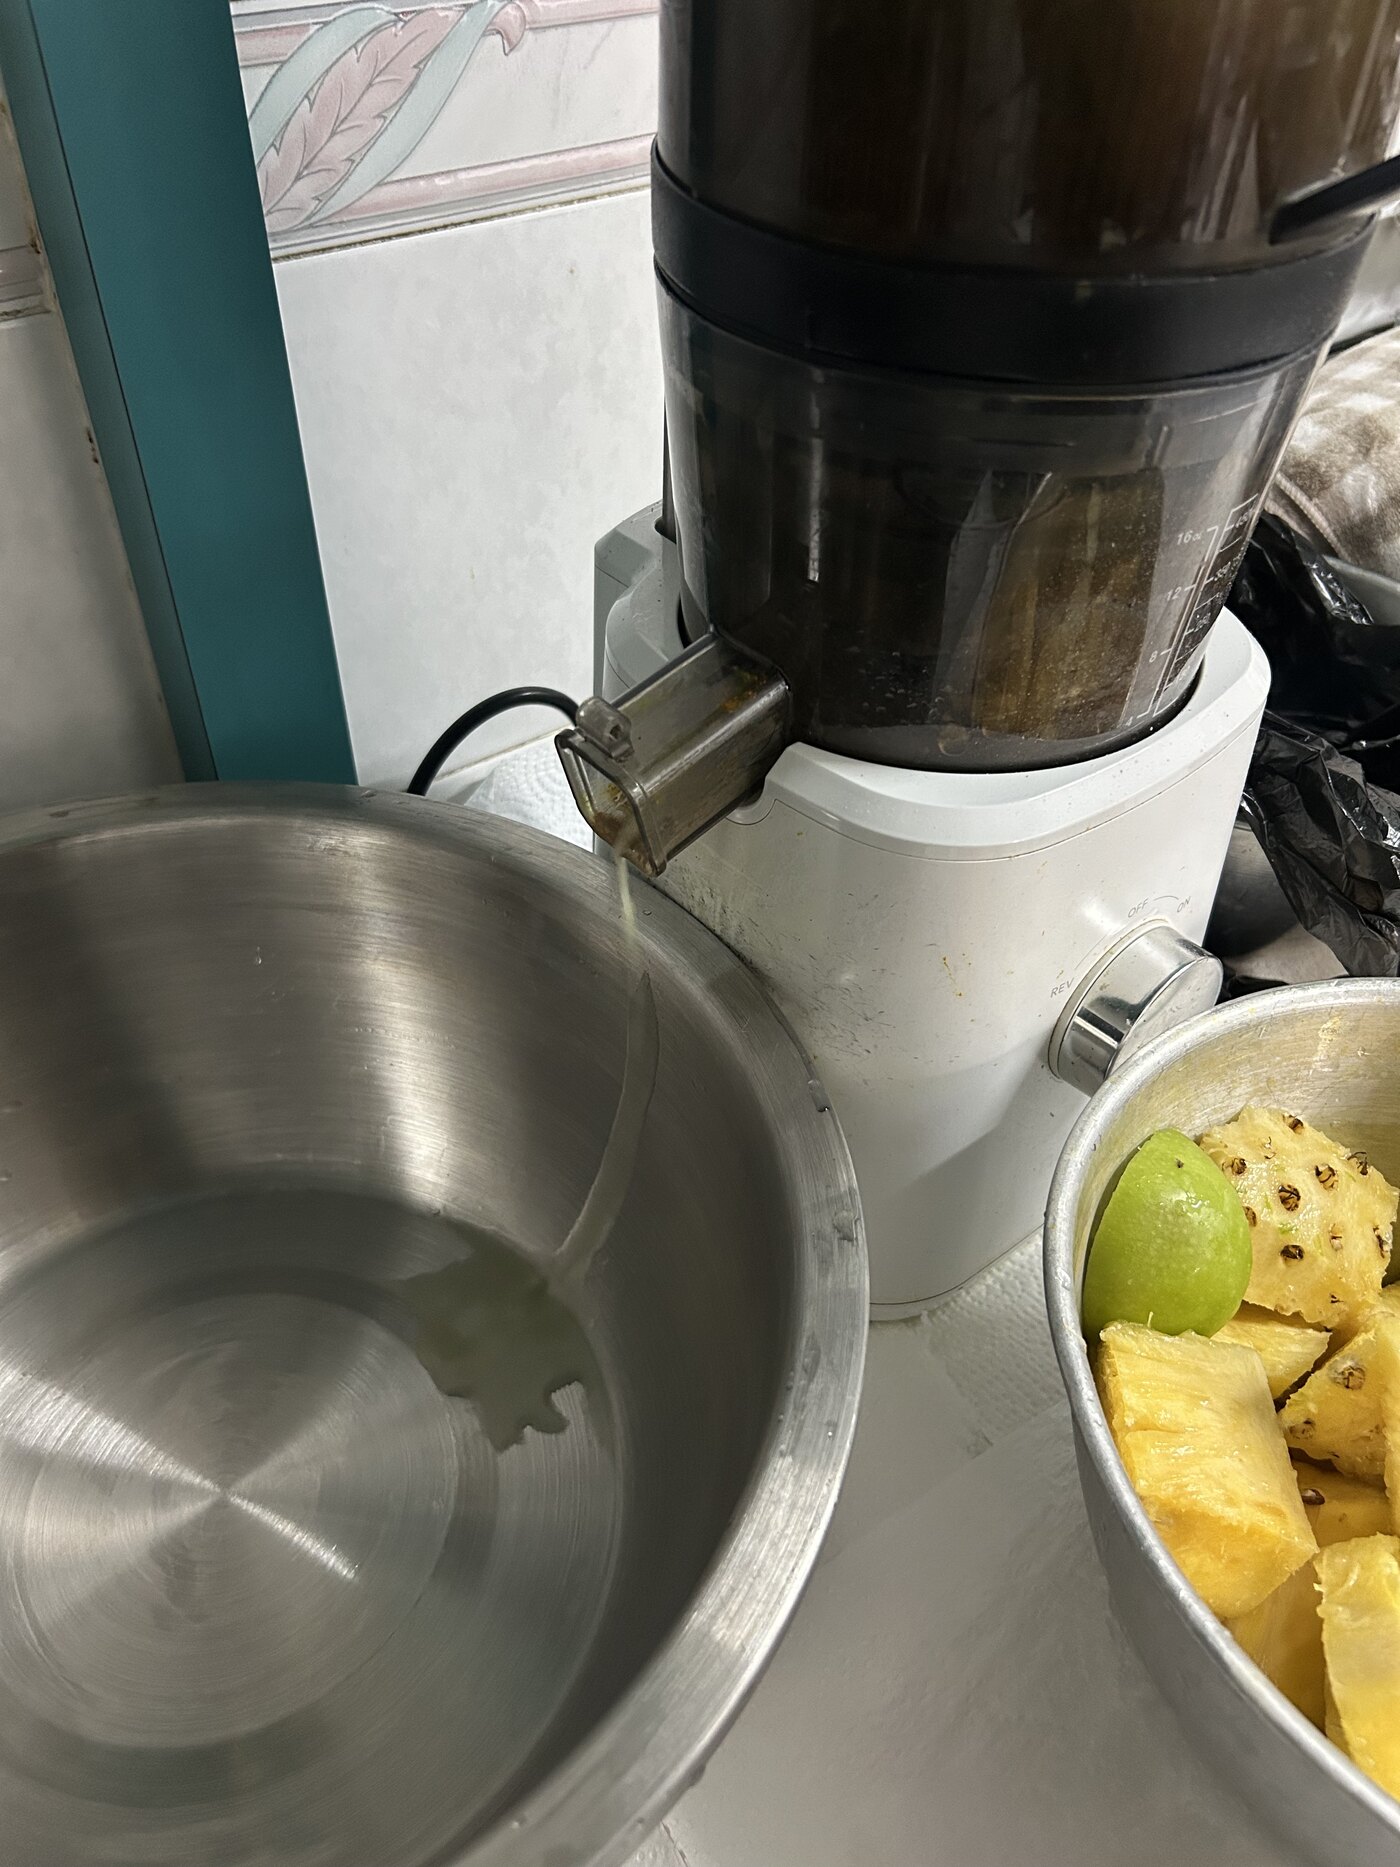
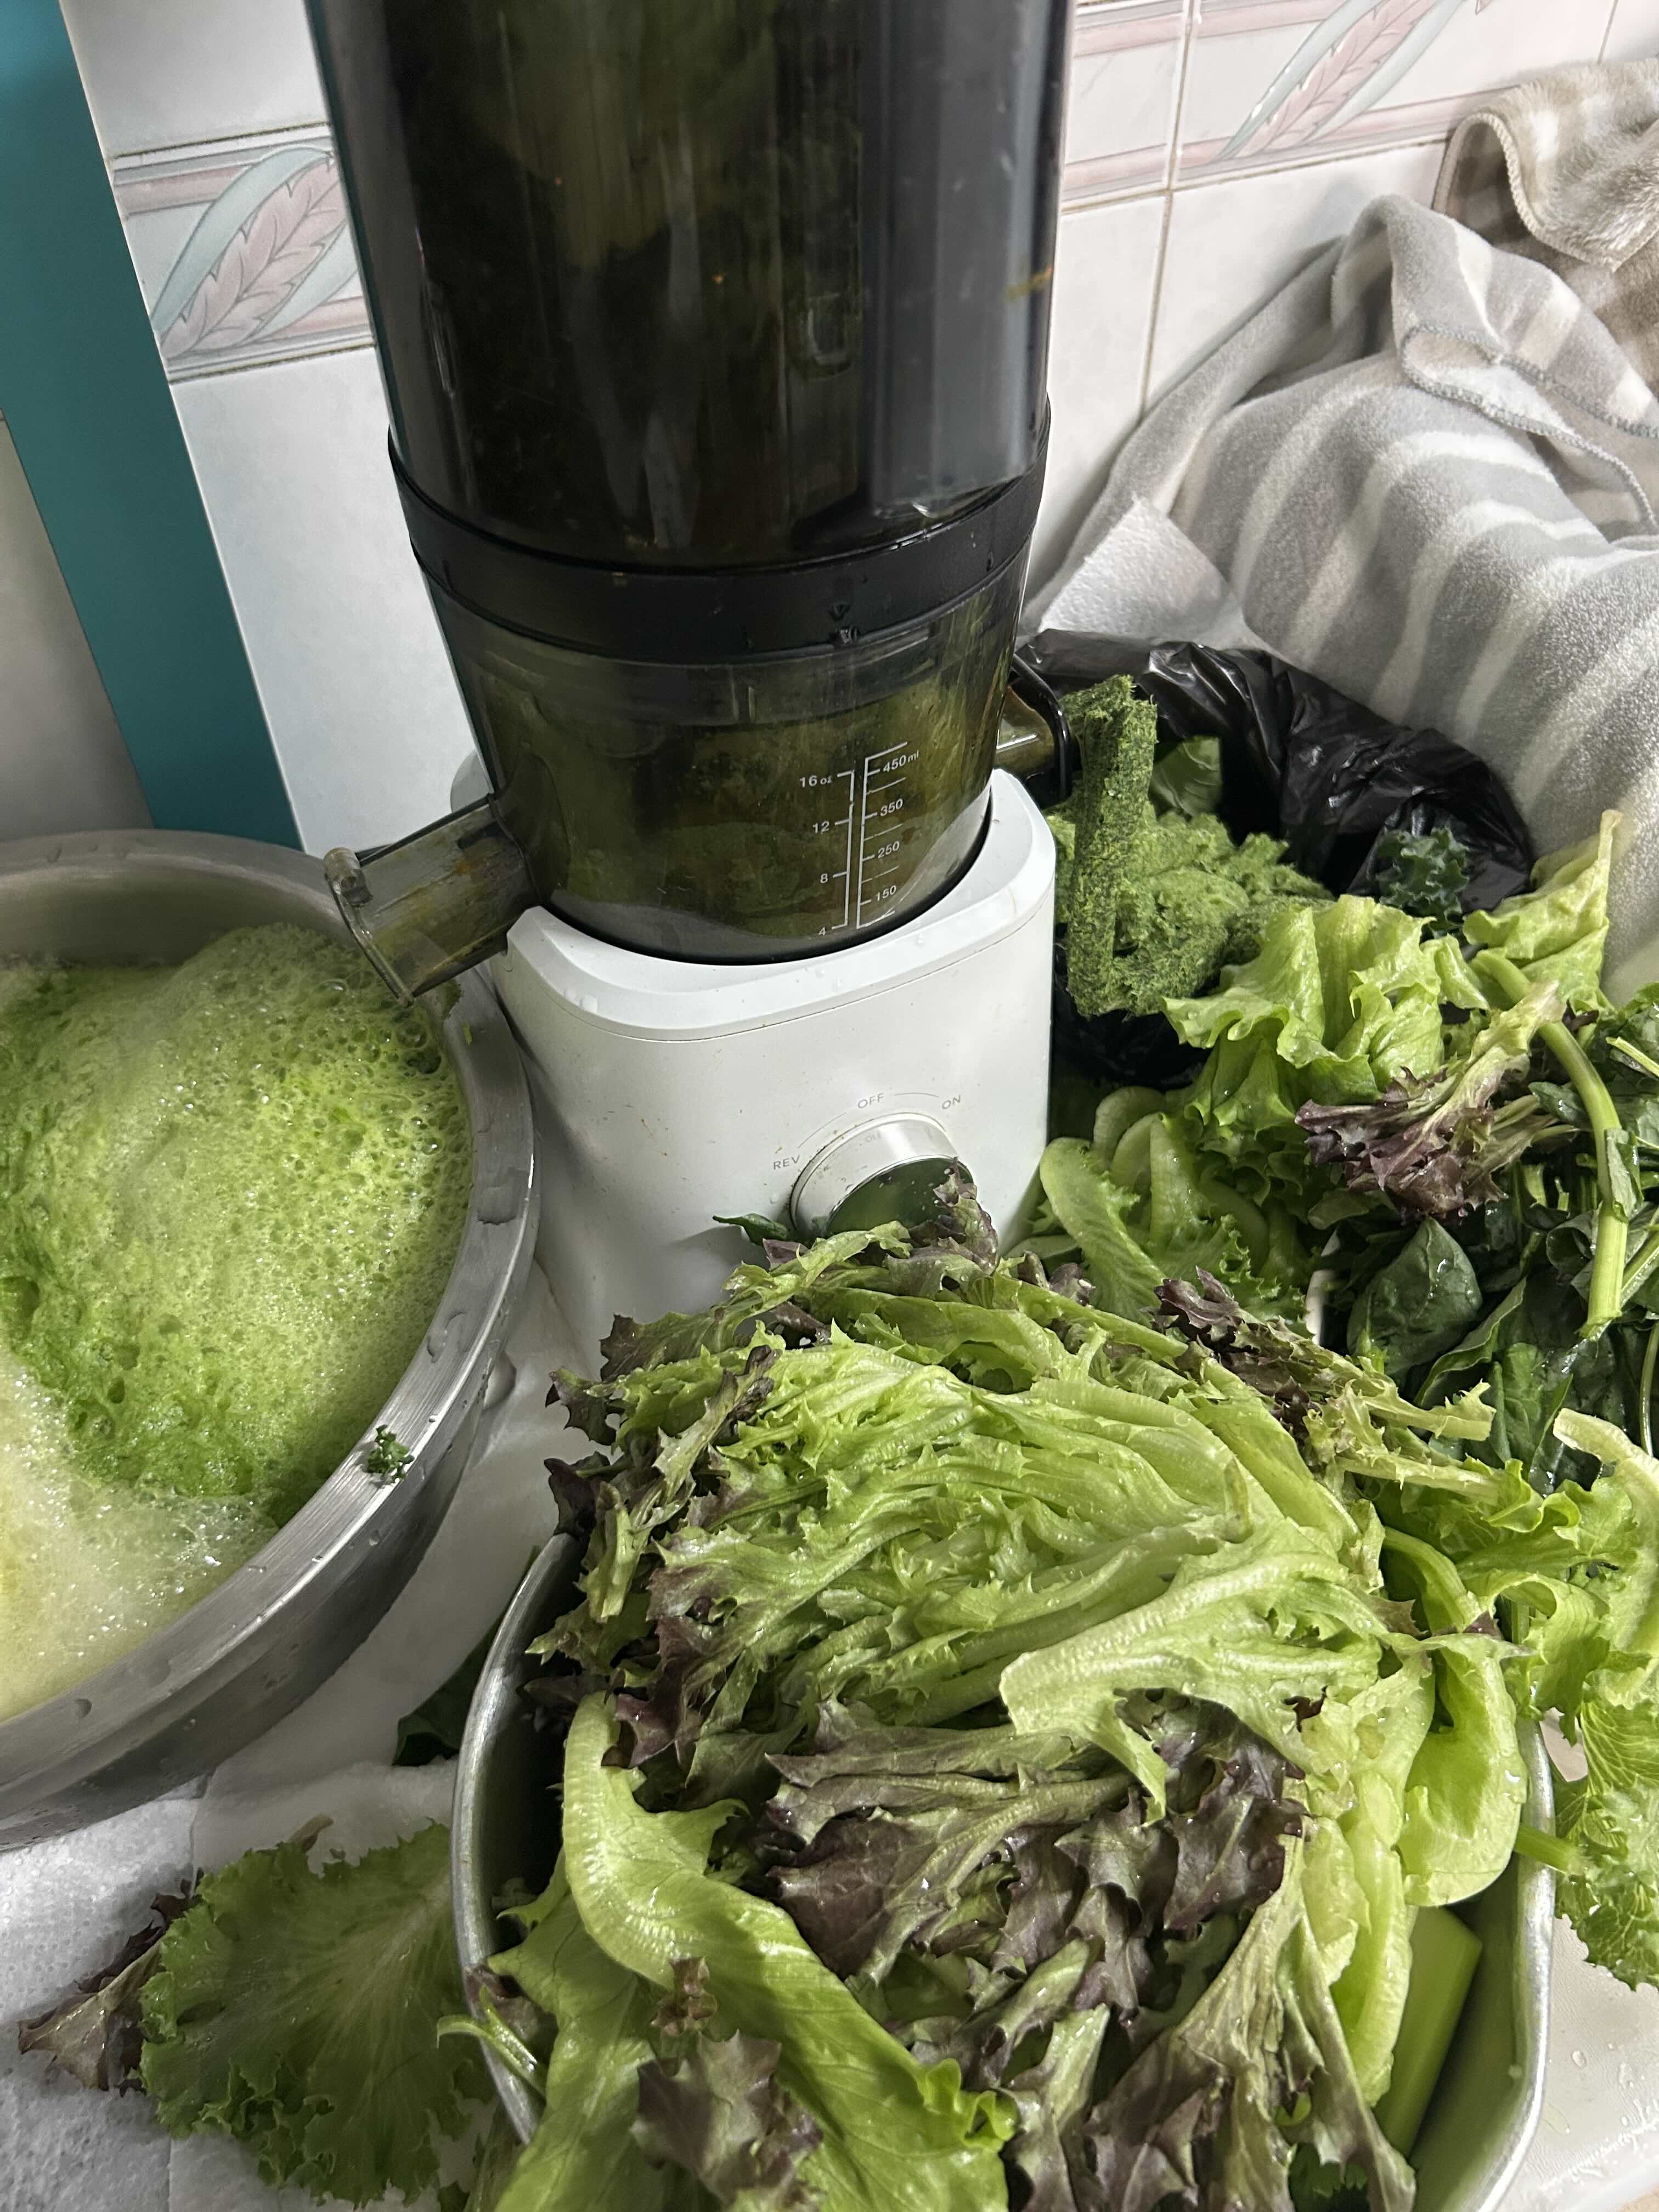
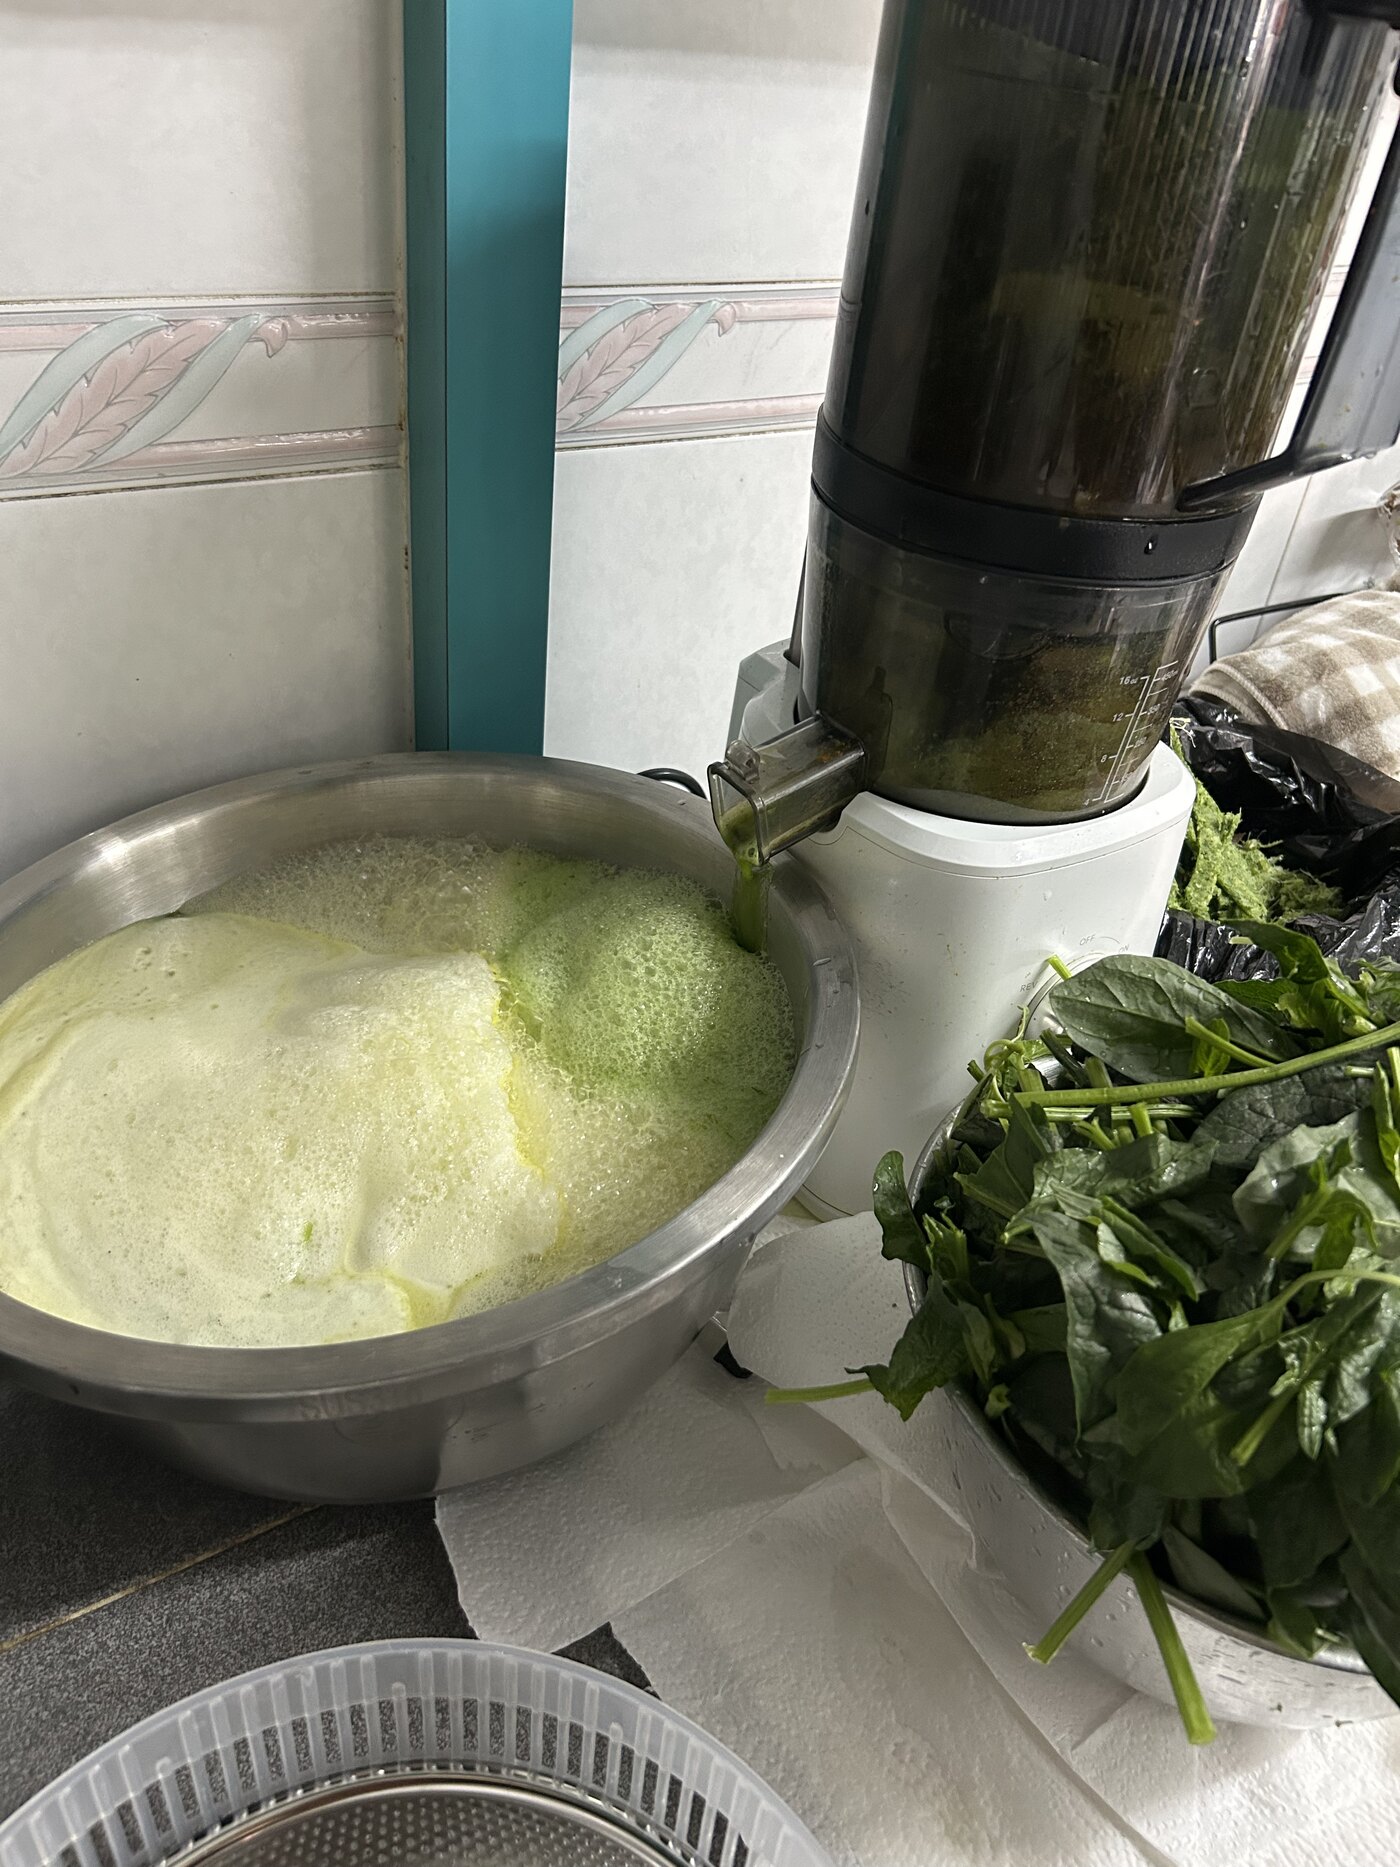
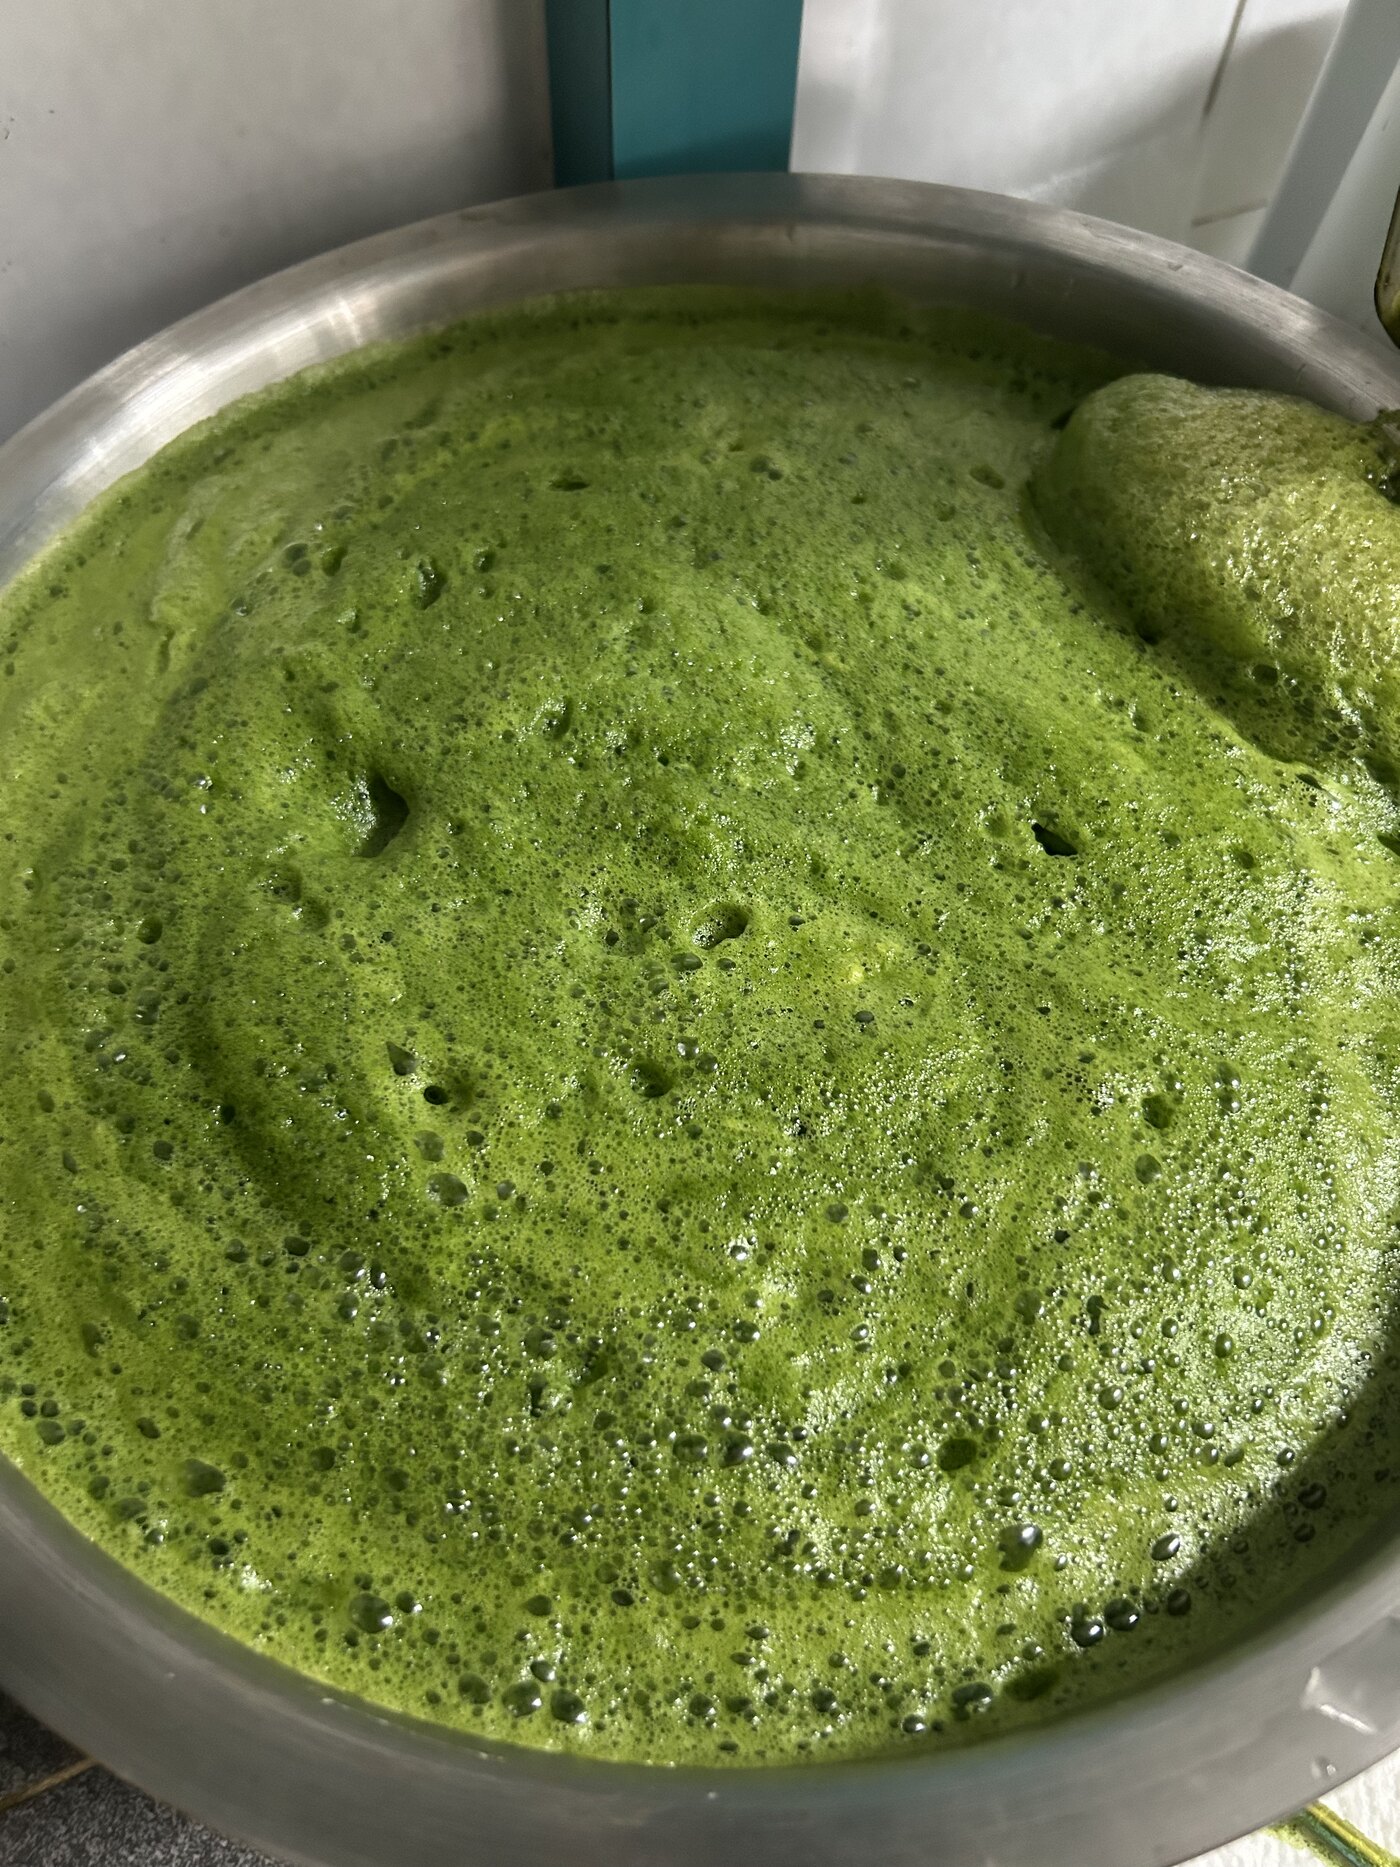
Collect the incoming extraction inside a large stainless steel container; this avoids swapping multiple vessels out mid-run and completely prevents permanent dark green stains.
- 5
Stir and blend the liquids occasionally as you add ingredients to ensure the active lemon components distribute evenly, keeping the batch from oxidizing quickly.
- 6
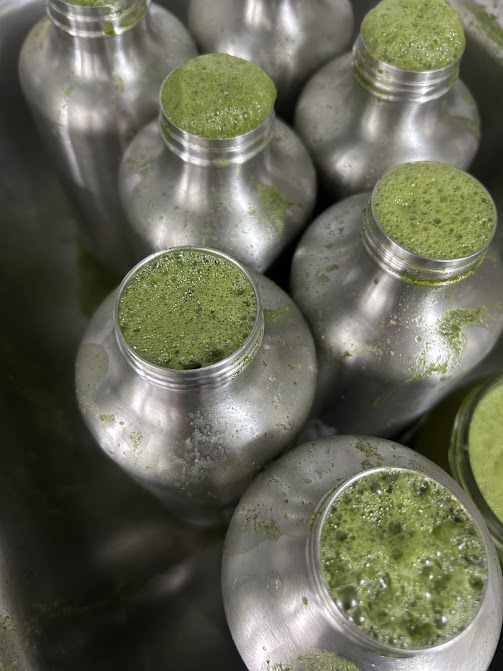
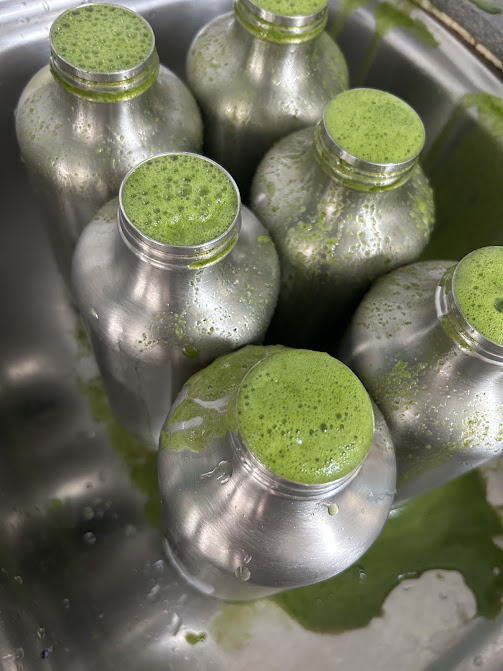
Line up your storage containers for final bottling. Use 700ml stainless steel flasks (such as those from Ikea) instead of hard-to-scrub plastic bottles.
- 7
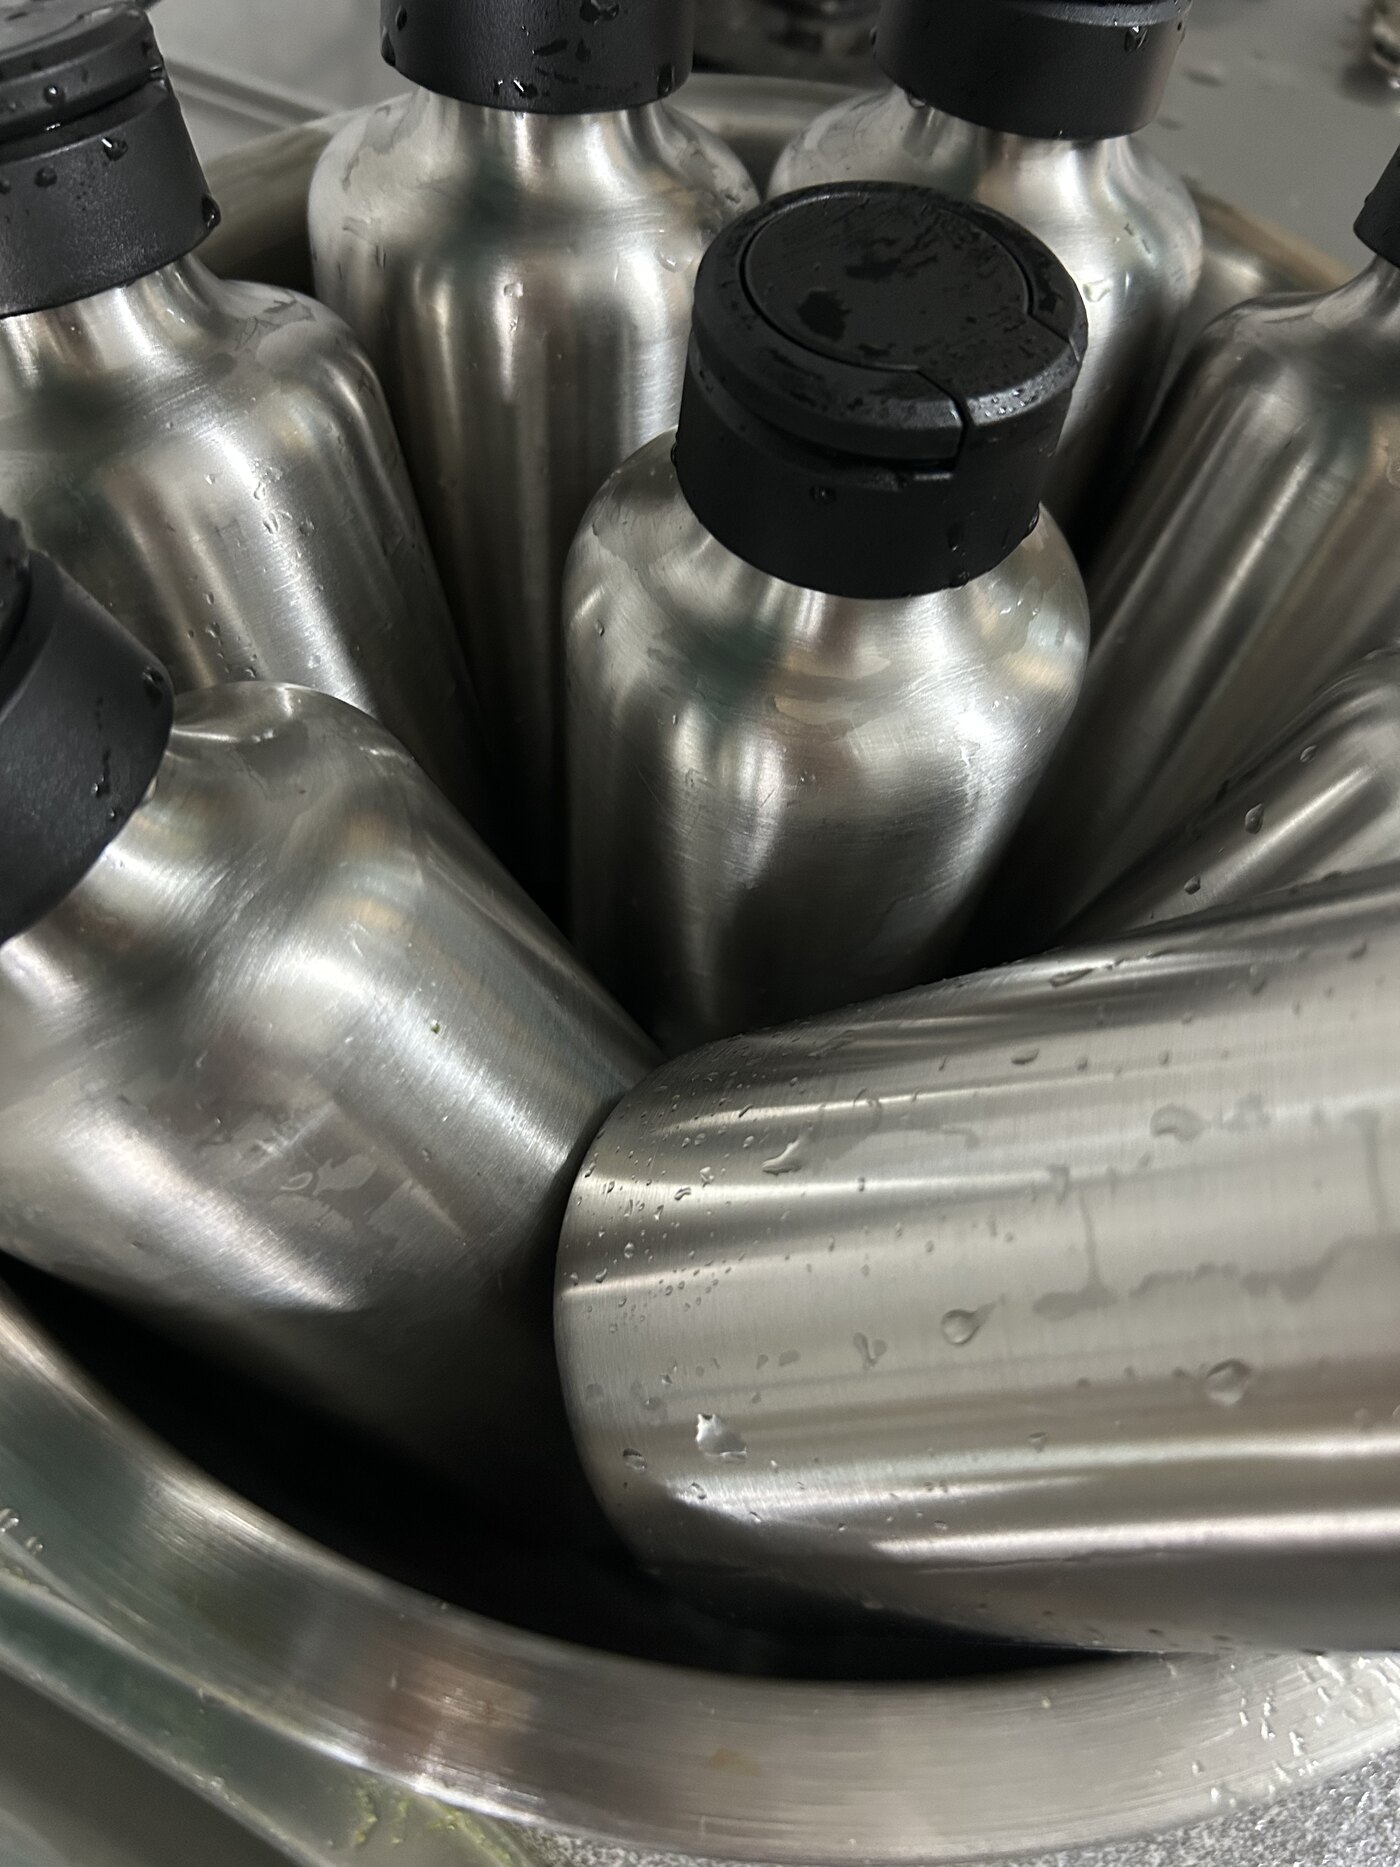
Seal all bottle caps firmly to guarantee a airtight, leak-proof environment. Keep stored inside the fridge for up to 7 days before nutrients degrade, or freeze for extended shelf life.
- 8
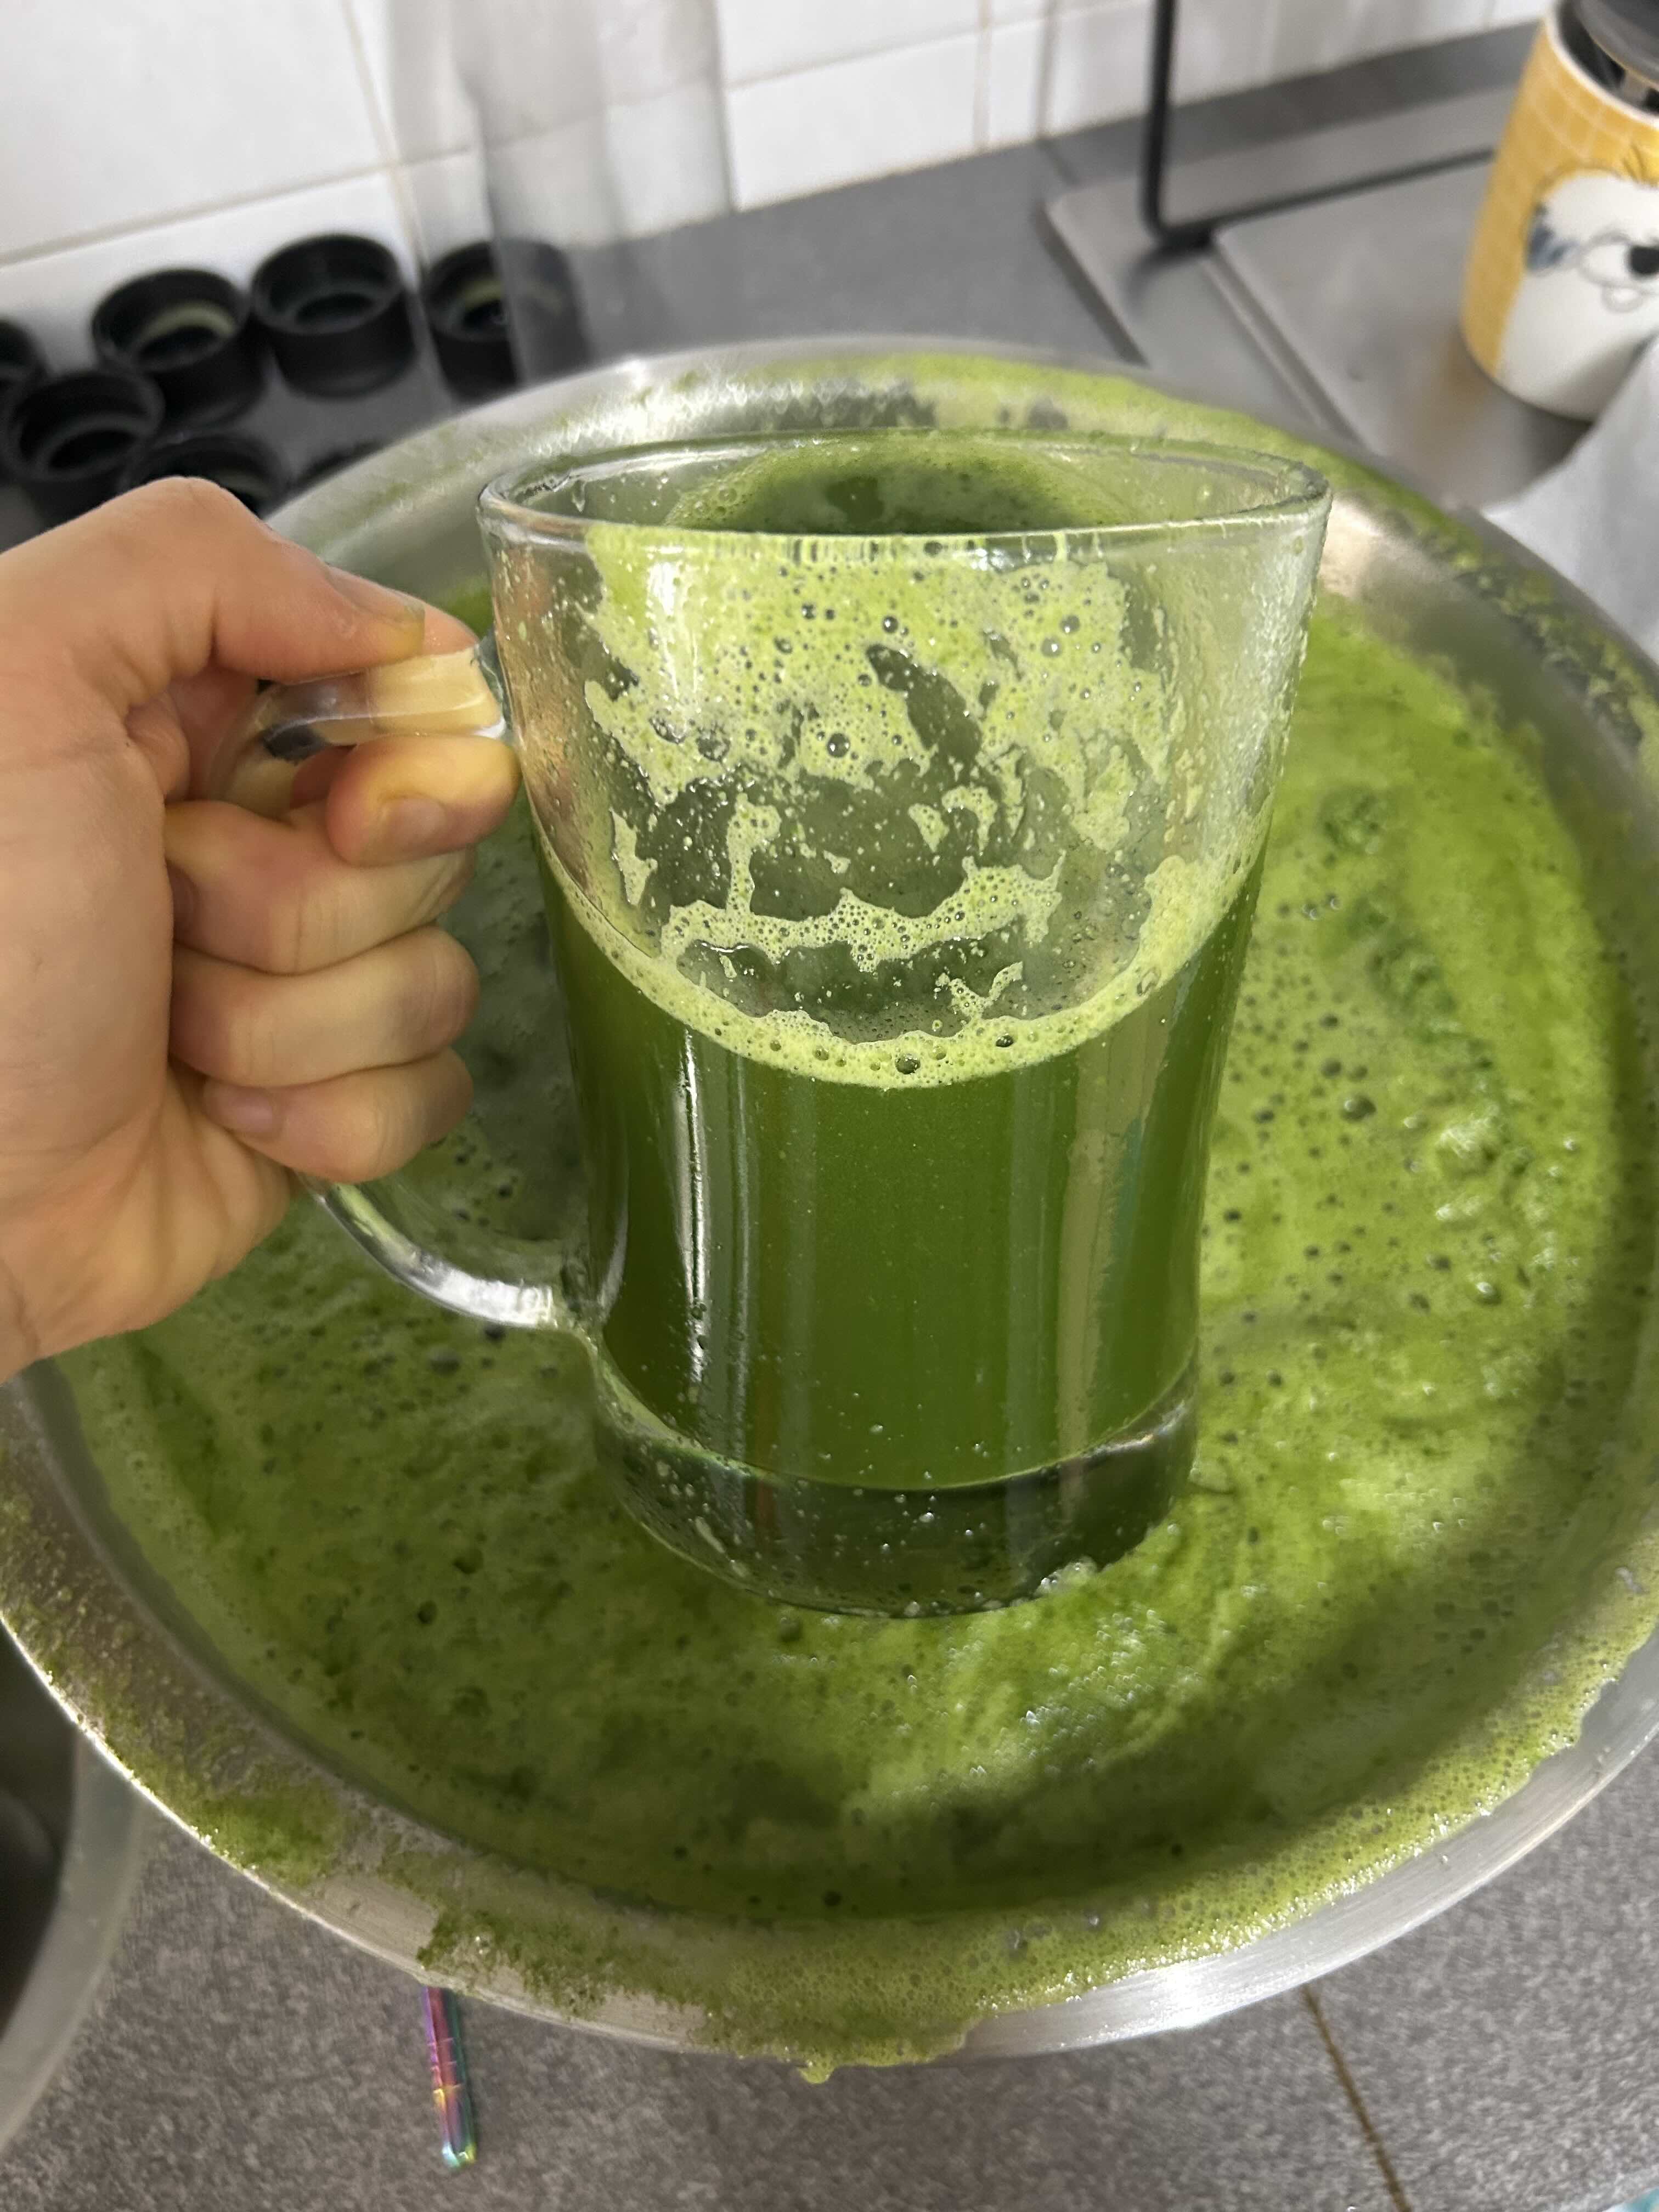
When serving, pour your fresh juice directly into a glass mug to make the experience more enjoyable. Utilizing a heavy beer mug works beautifully and feels much better than drinking straight from a storage container (even if it means you have one extra glass to wash!).