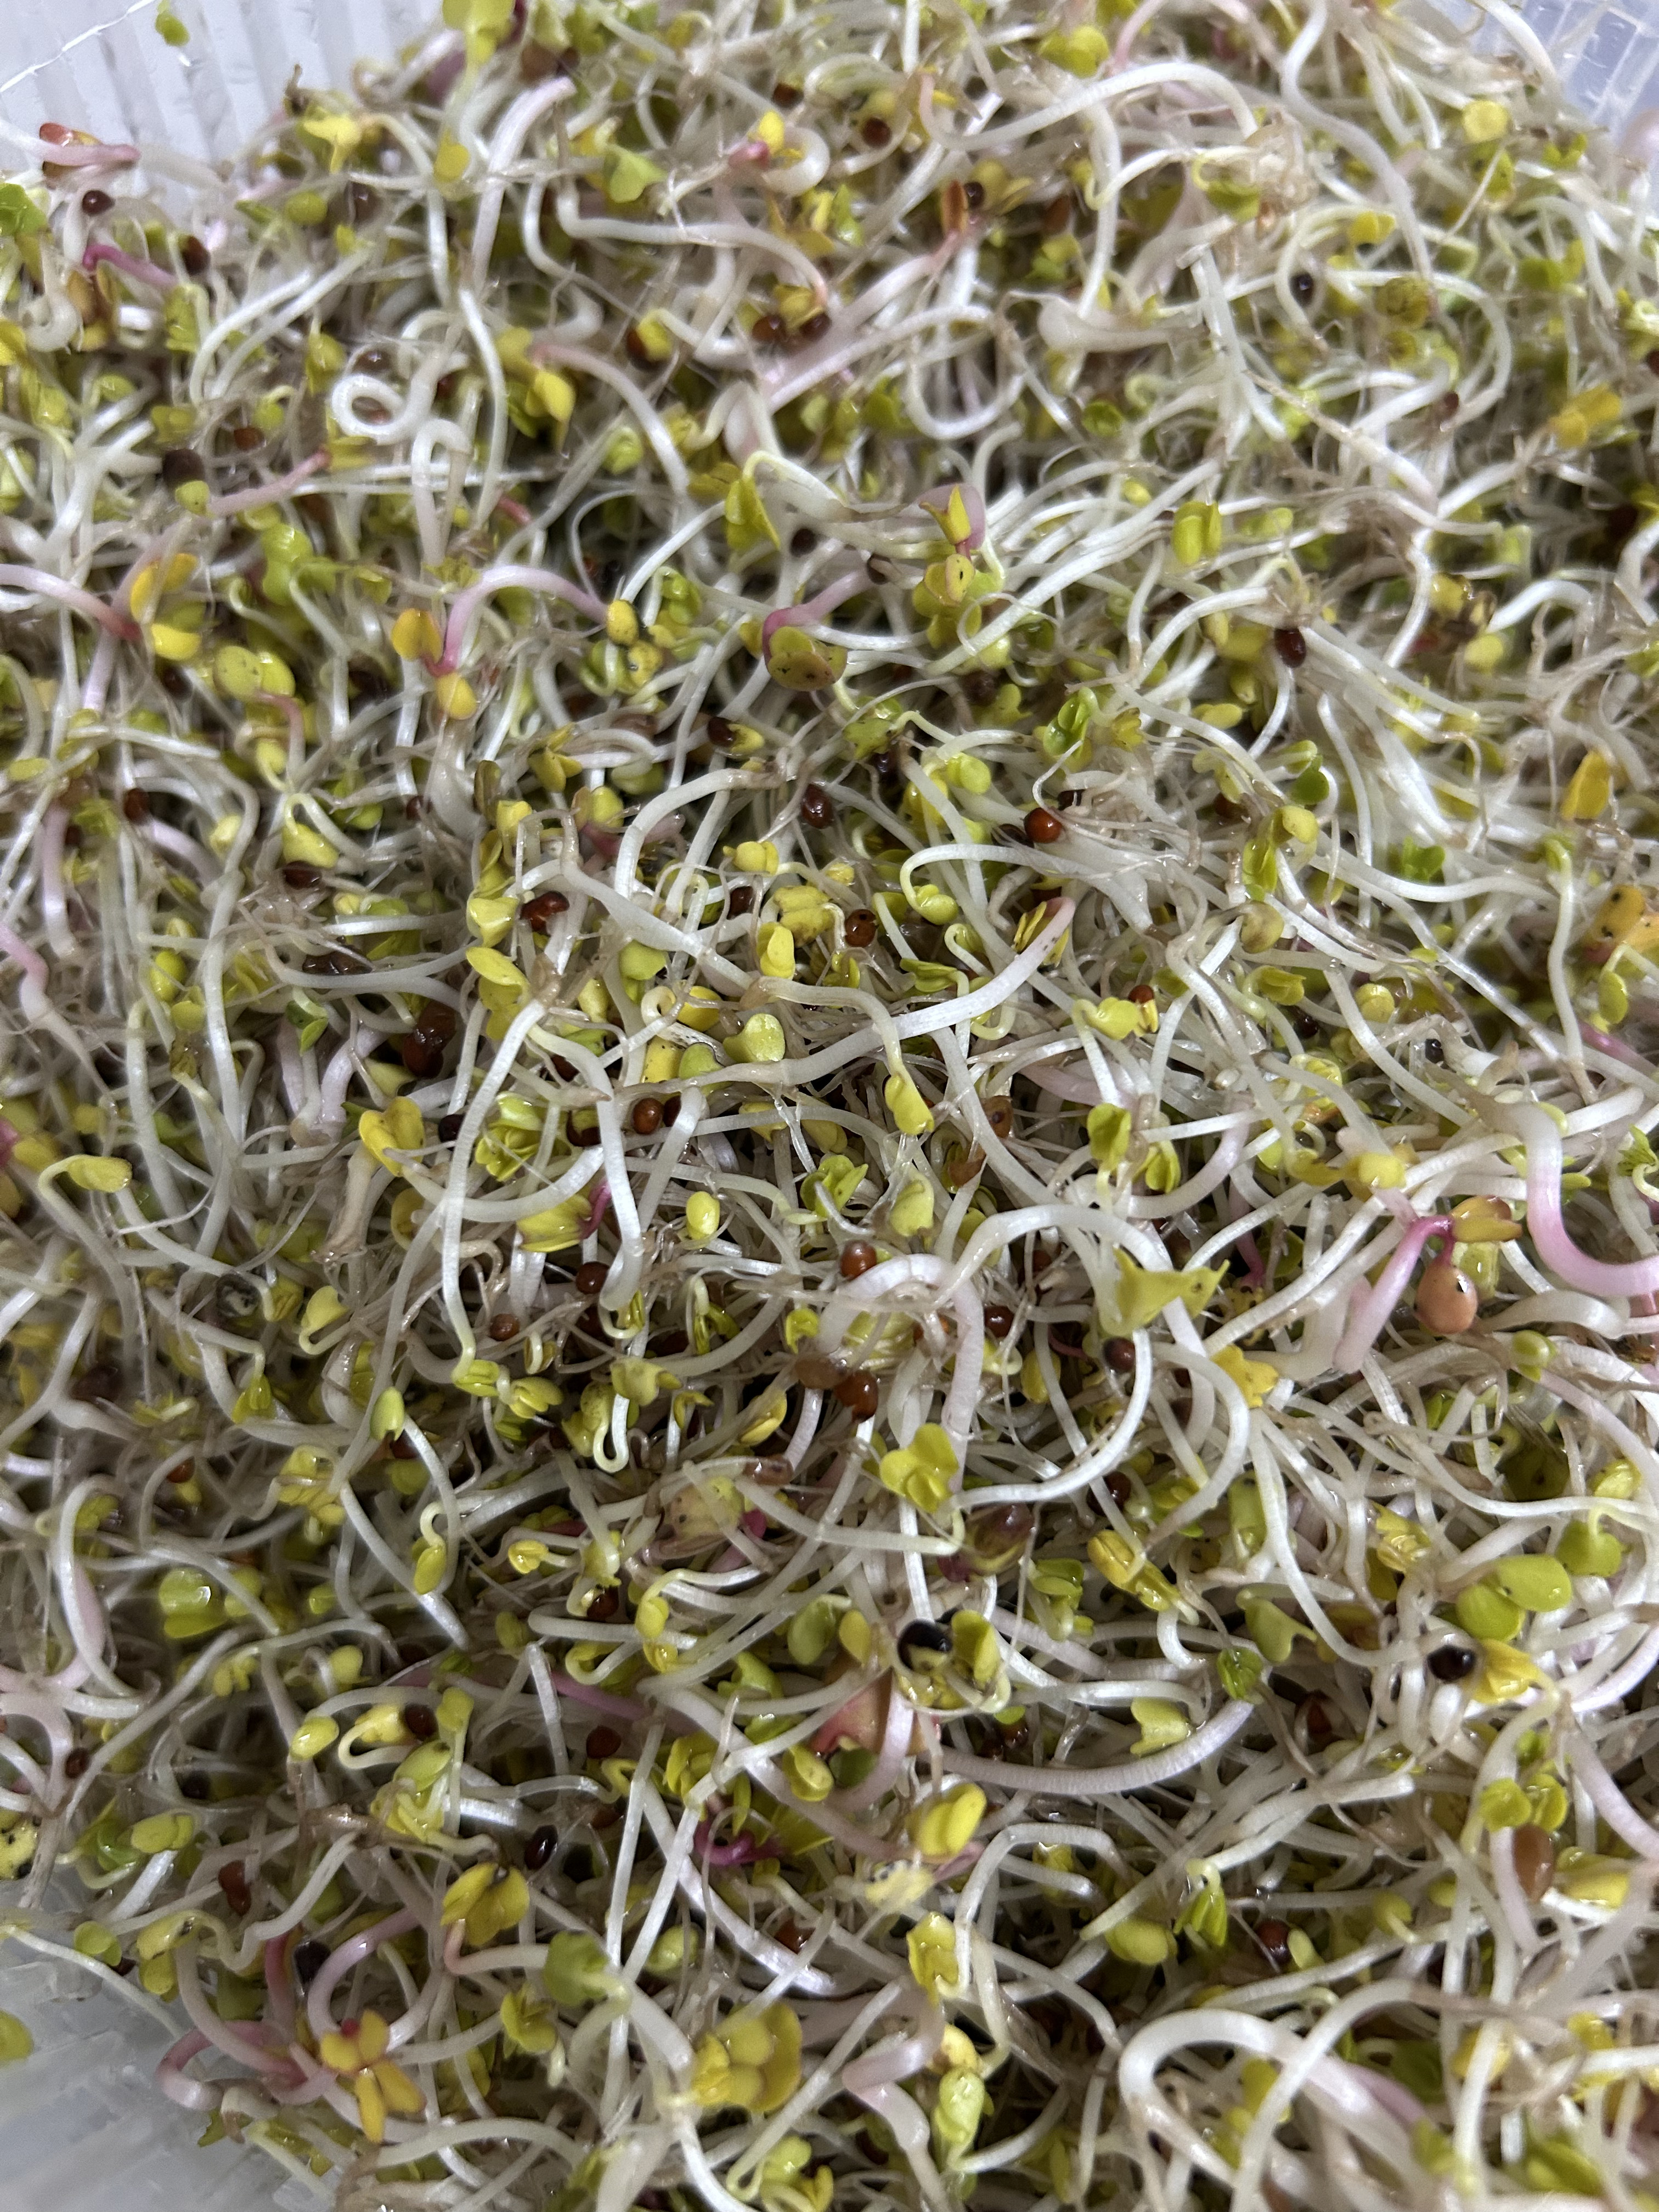
Mixed Sprouts (Radish and Broccoli)
5 mins (Prep)Sprouting
Intention: Cellular Protection & Antioxidant Boost
Yield: 2 large jars
- Germination Power — Awakening the dormant seeds with water unlocks highly bioavailable micronutrients and concentrated plant compounds.
- Sulforaphane Engine — As the broccoli seeds sprout, their levels of glucoraphanin shoot up, creating a massive defense shield against oxidative stress.
- Chlorophyll Activation — By days 3-4, exposing the tiny emerging leaves to ambient light develops green chlorophyll for fresh, clean enzymatic energy.
Ingredients
Sprouting Base
- 2 tbsp broccoli sprouting seeds per jar
- 2 tbsp radish sprouting seeds per jar
- Filtered water (for initial soaking and daily rinsing)
Equipment
- 2x large glass jars (mason jars, or recycled pickle/peanut butter bottles)
- Mesh sprouting lids or mesh cloth secured with a rubber band
- Jar inversion draining rack or glass containers to hold jars in a slanted position
- Dark cover or cloth (to block out light during early germination)
- Salad spinner (salad mixer)
- Airtight storage container & paper towels (tissue)
Simple Method
- 1Place your seeds inside large jars, cover with filtered water, and let them submerge to soak for just 1 to 2 hours.
- 2Rinse twice daily (morning and night), keeping them tilted and covered until day 3 or 4 when you uncover them to let light activate the green chlorophyll.
- 3On harvest day, rinse the sprouts inside a salad spinner 3 times to separate and wash away loose seed hulls, spin dry completely, and store in a container with paper towels to absorb excess moisture.
Detailed Method
- 1Measure out 2 tbsp of broccoli seeds and 2 tbsp of radish seeds into each clean glass jar.
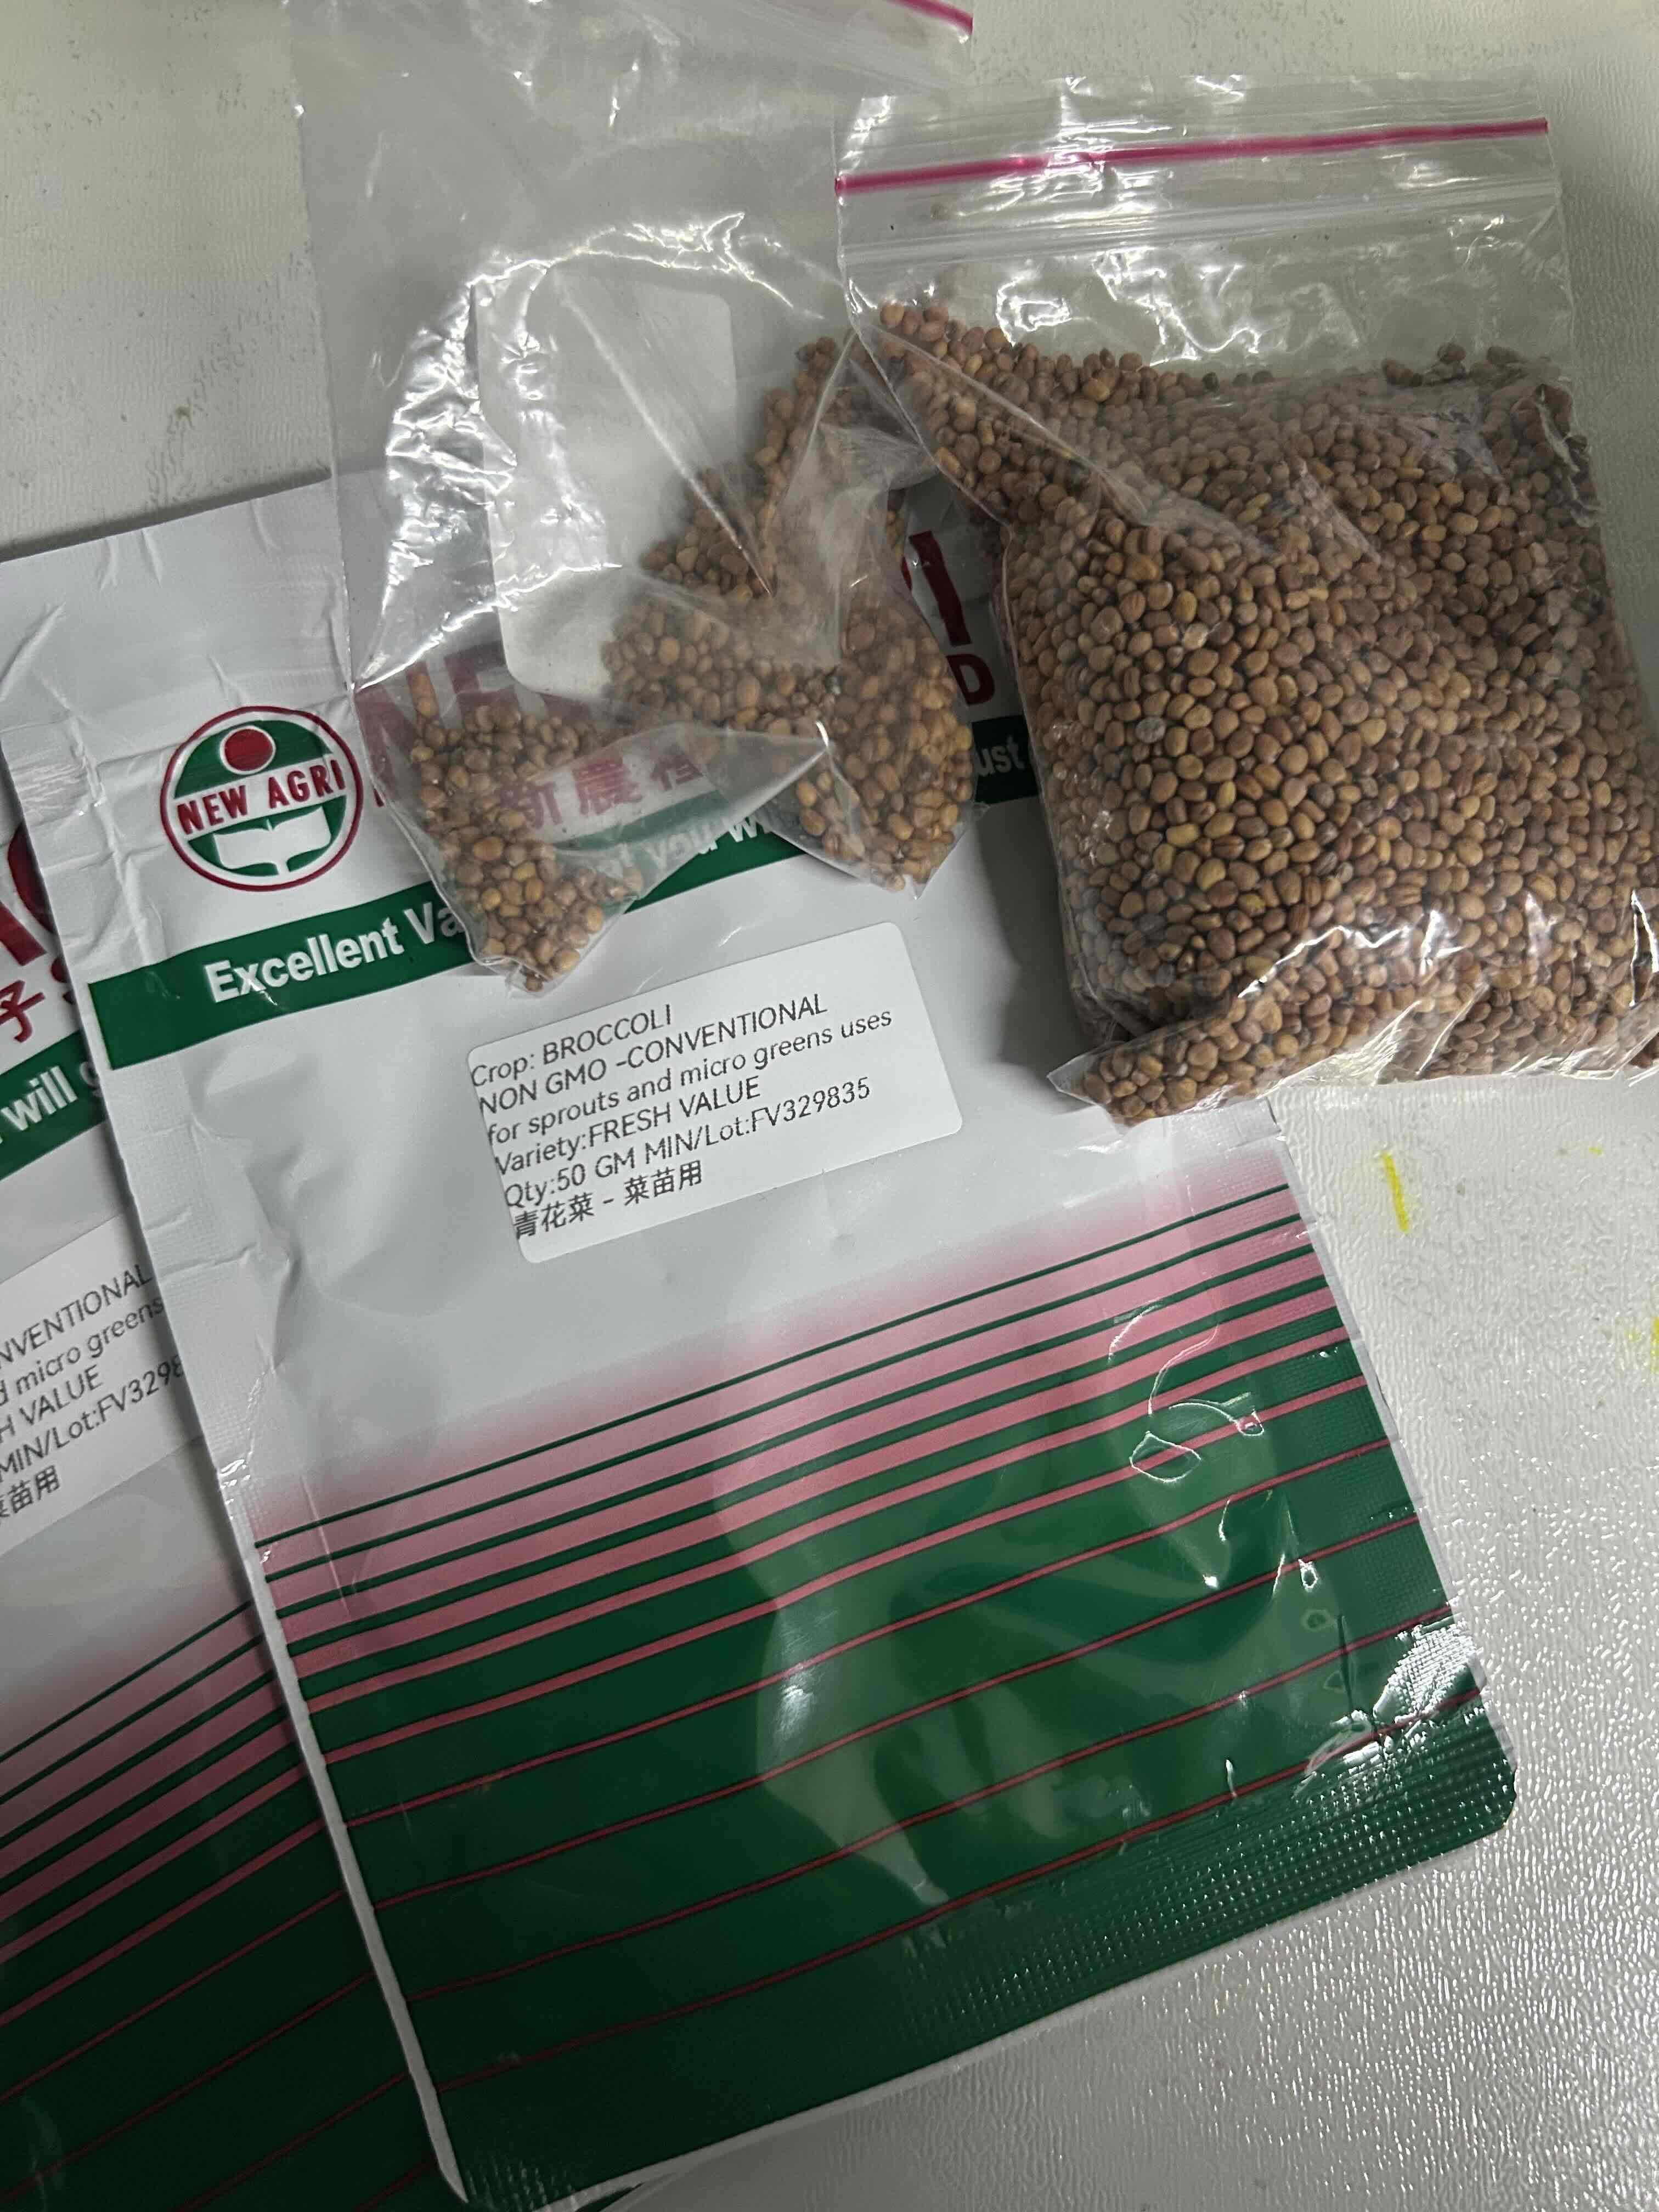
- 2Fill the jars with filtered water, attach your mesh lid or cover the opening with a mesh cloth secured tightly by a rubber band, and let the seeds soak for 1-2 hours.
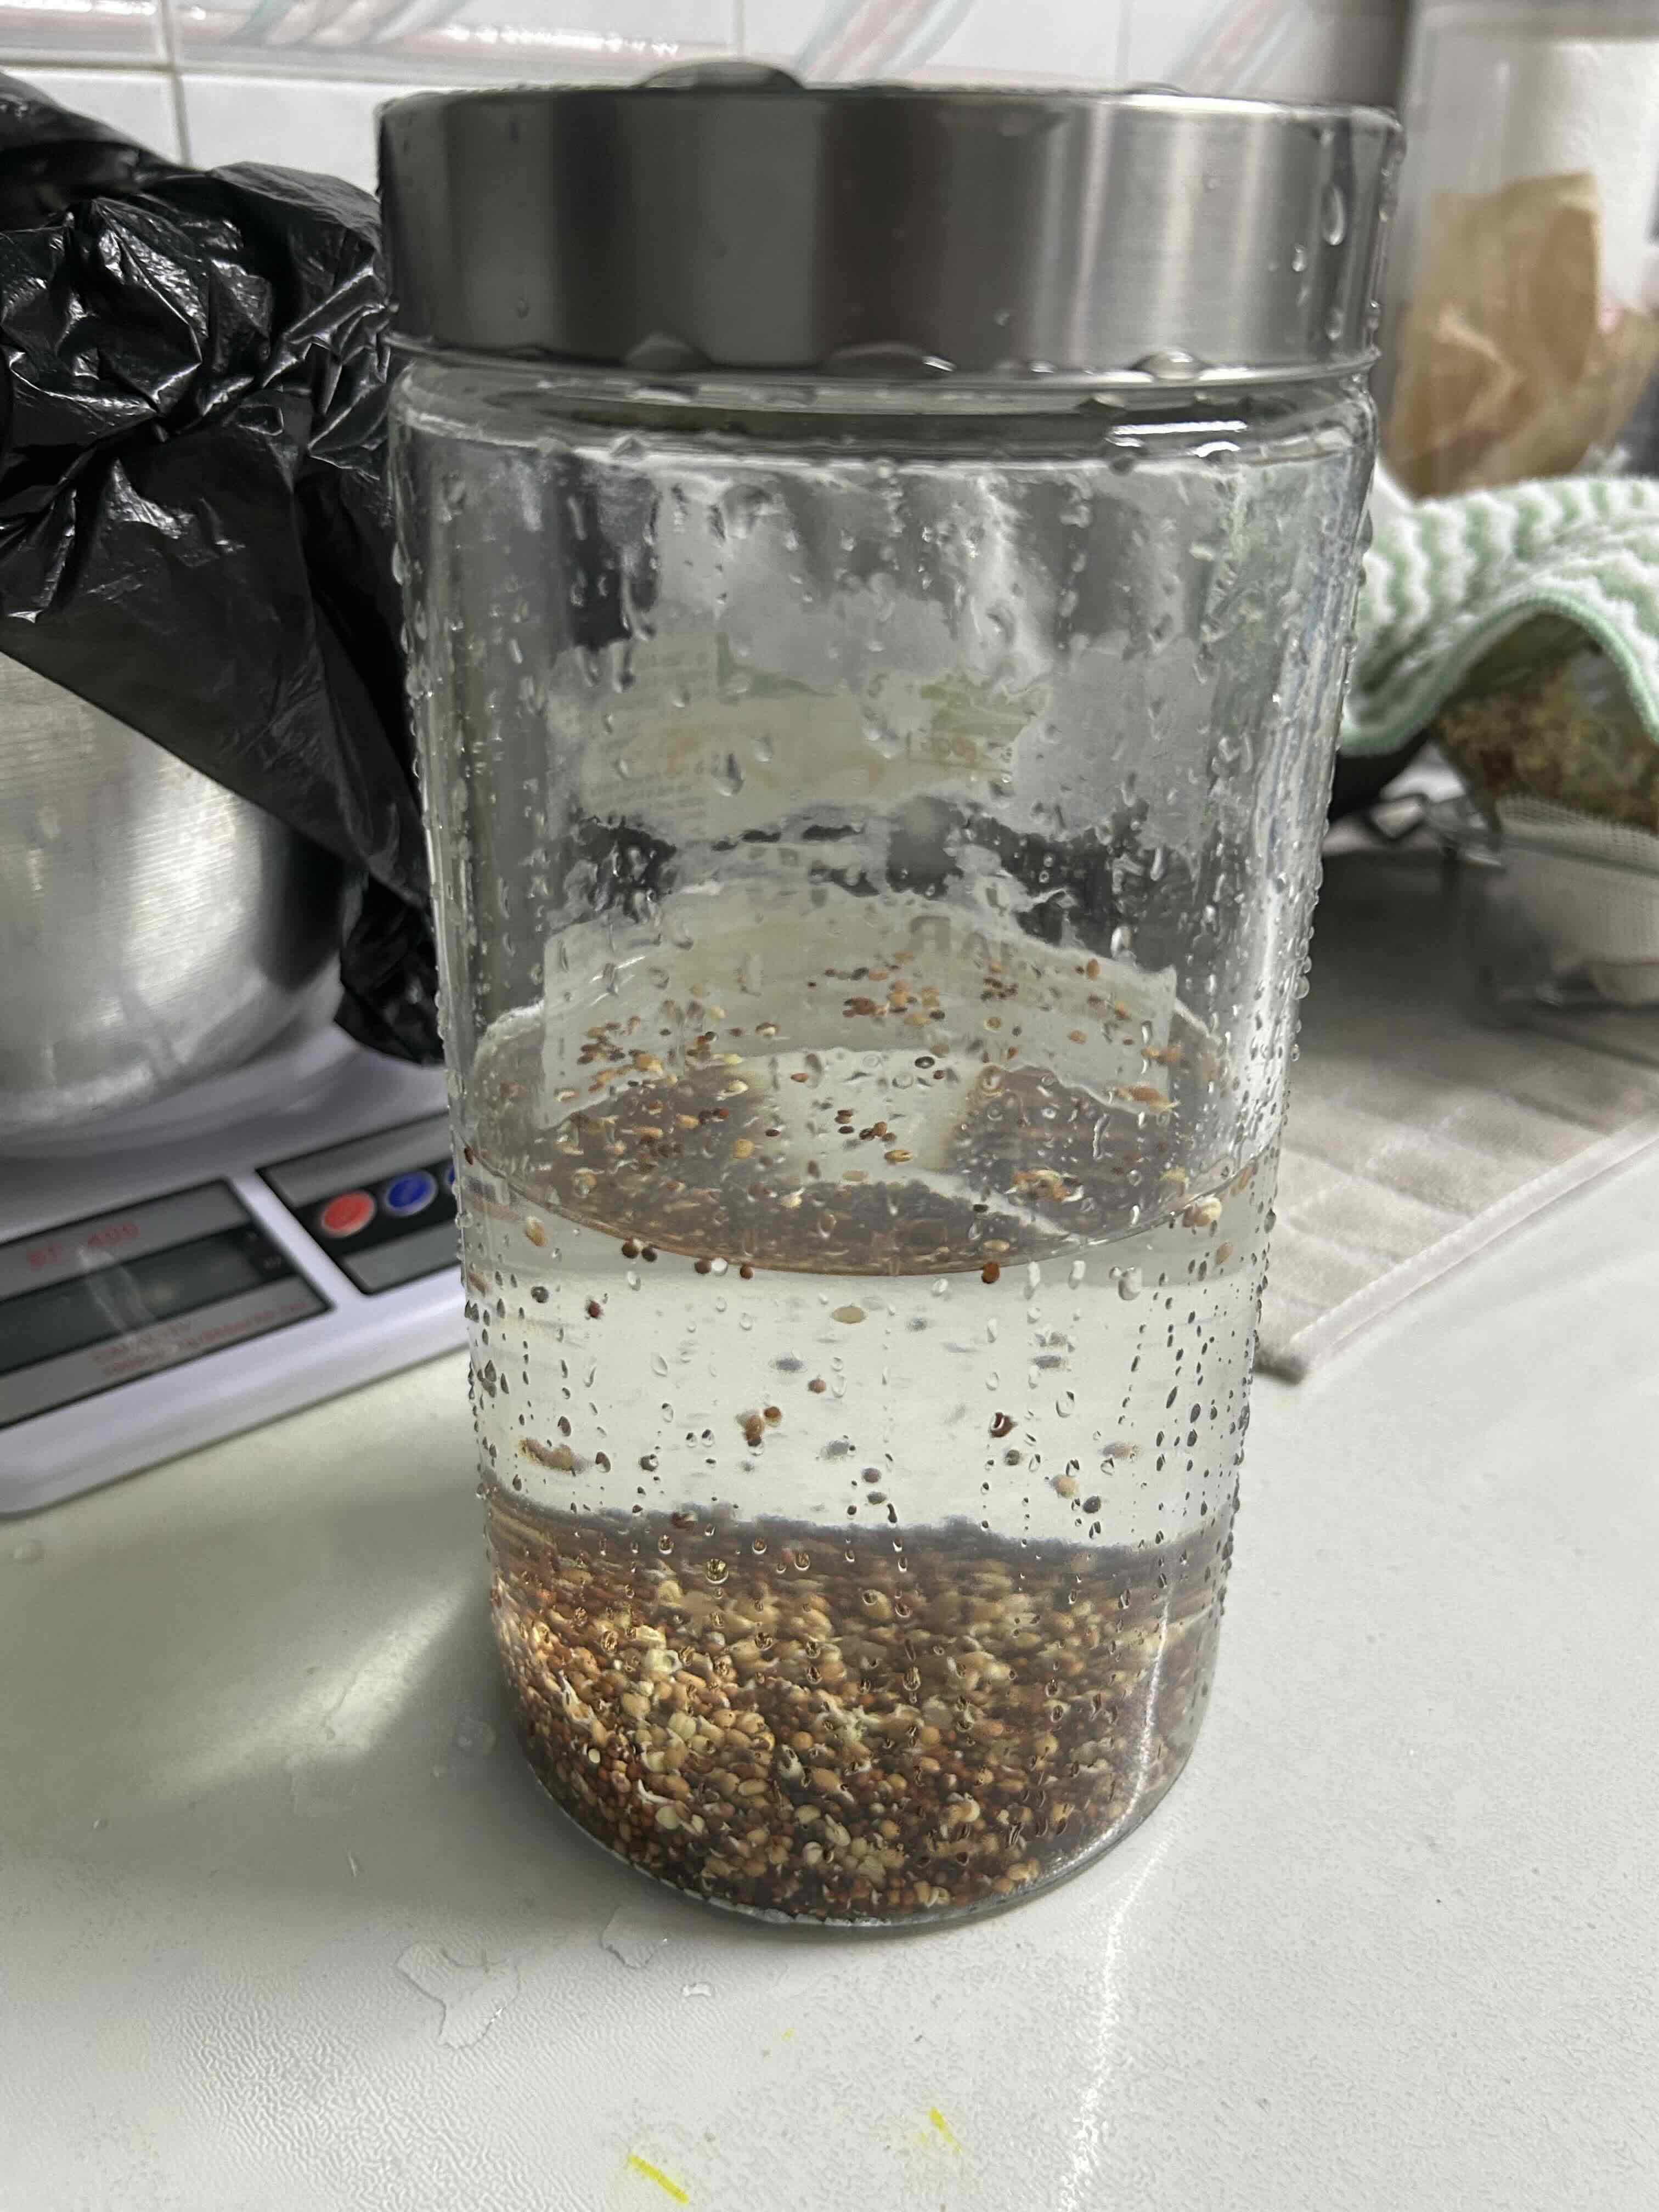
- 3Drain the initial soaking water completely out through the mesh screen.
- 4Rinse the seeds immediately with fresh cold water, drain thoroughly, and give the jar a firm shake so the damp seeds stick evenly along the glass sides for optimal air exposure.
- 5Prop your jars upside down in a slanted, tilted position inside a glass container or on a draining rack to pull residual water away and maintain steady air circulation.
- 6Cover the setup with a dark cloth to block out the light and encourage fast, healthy germination.
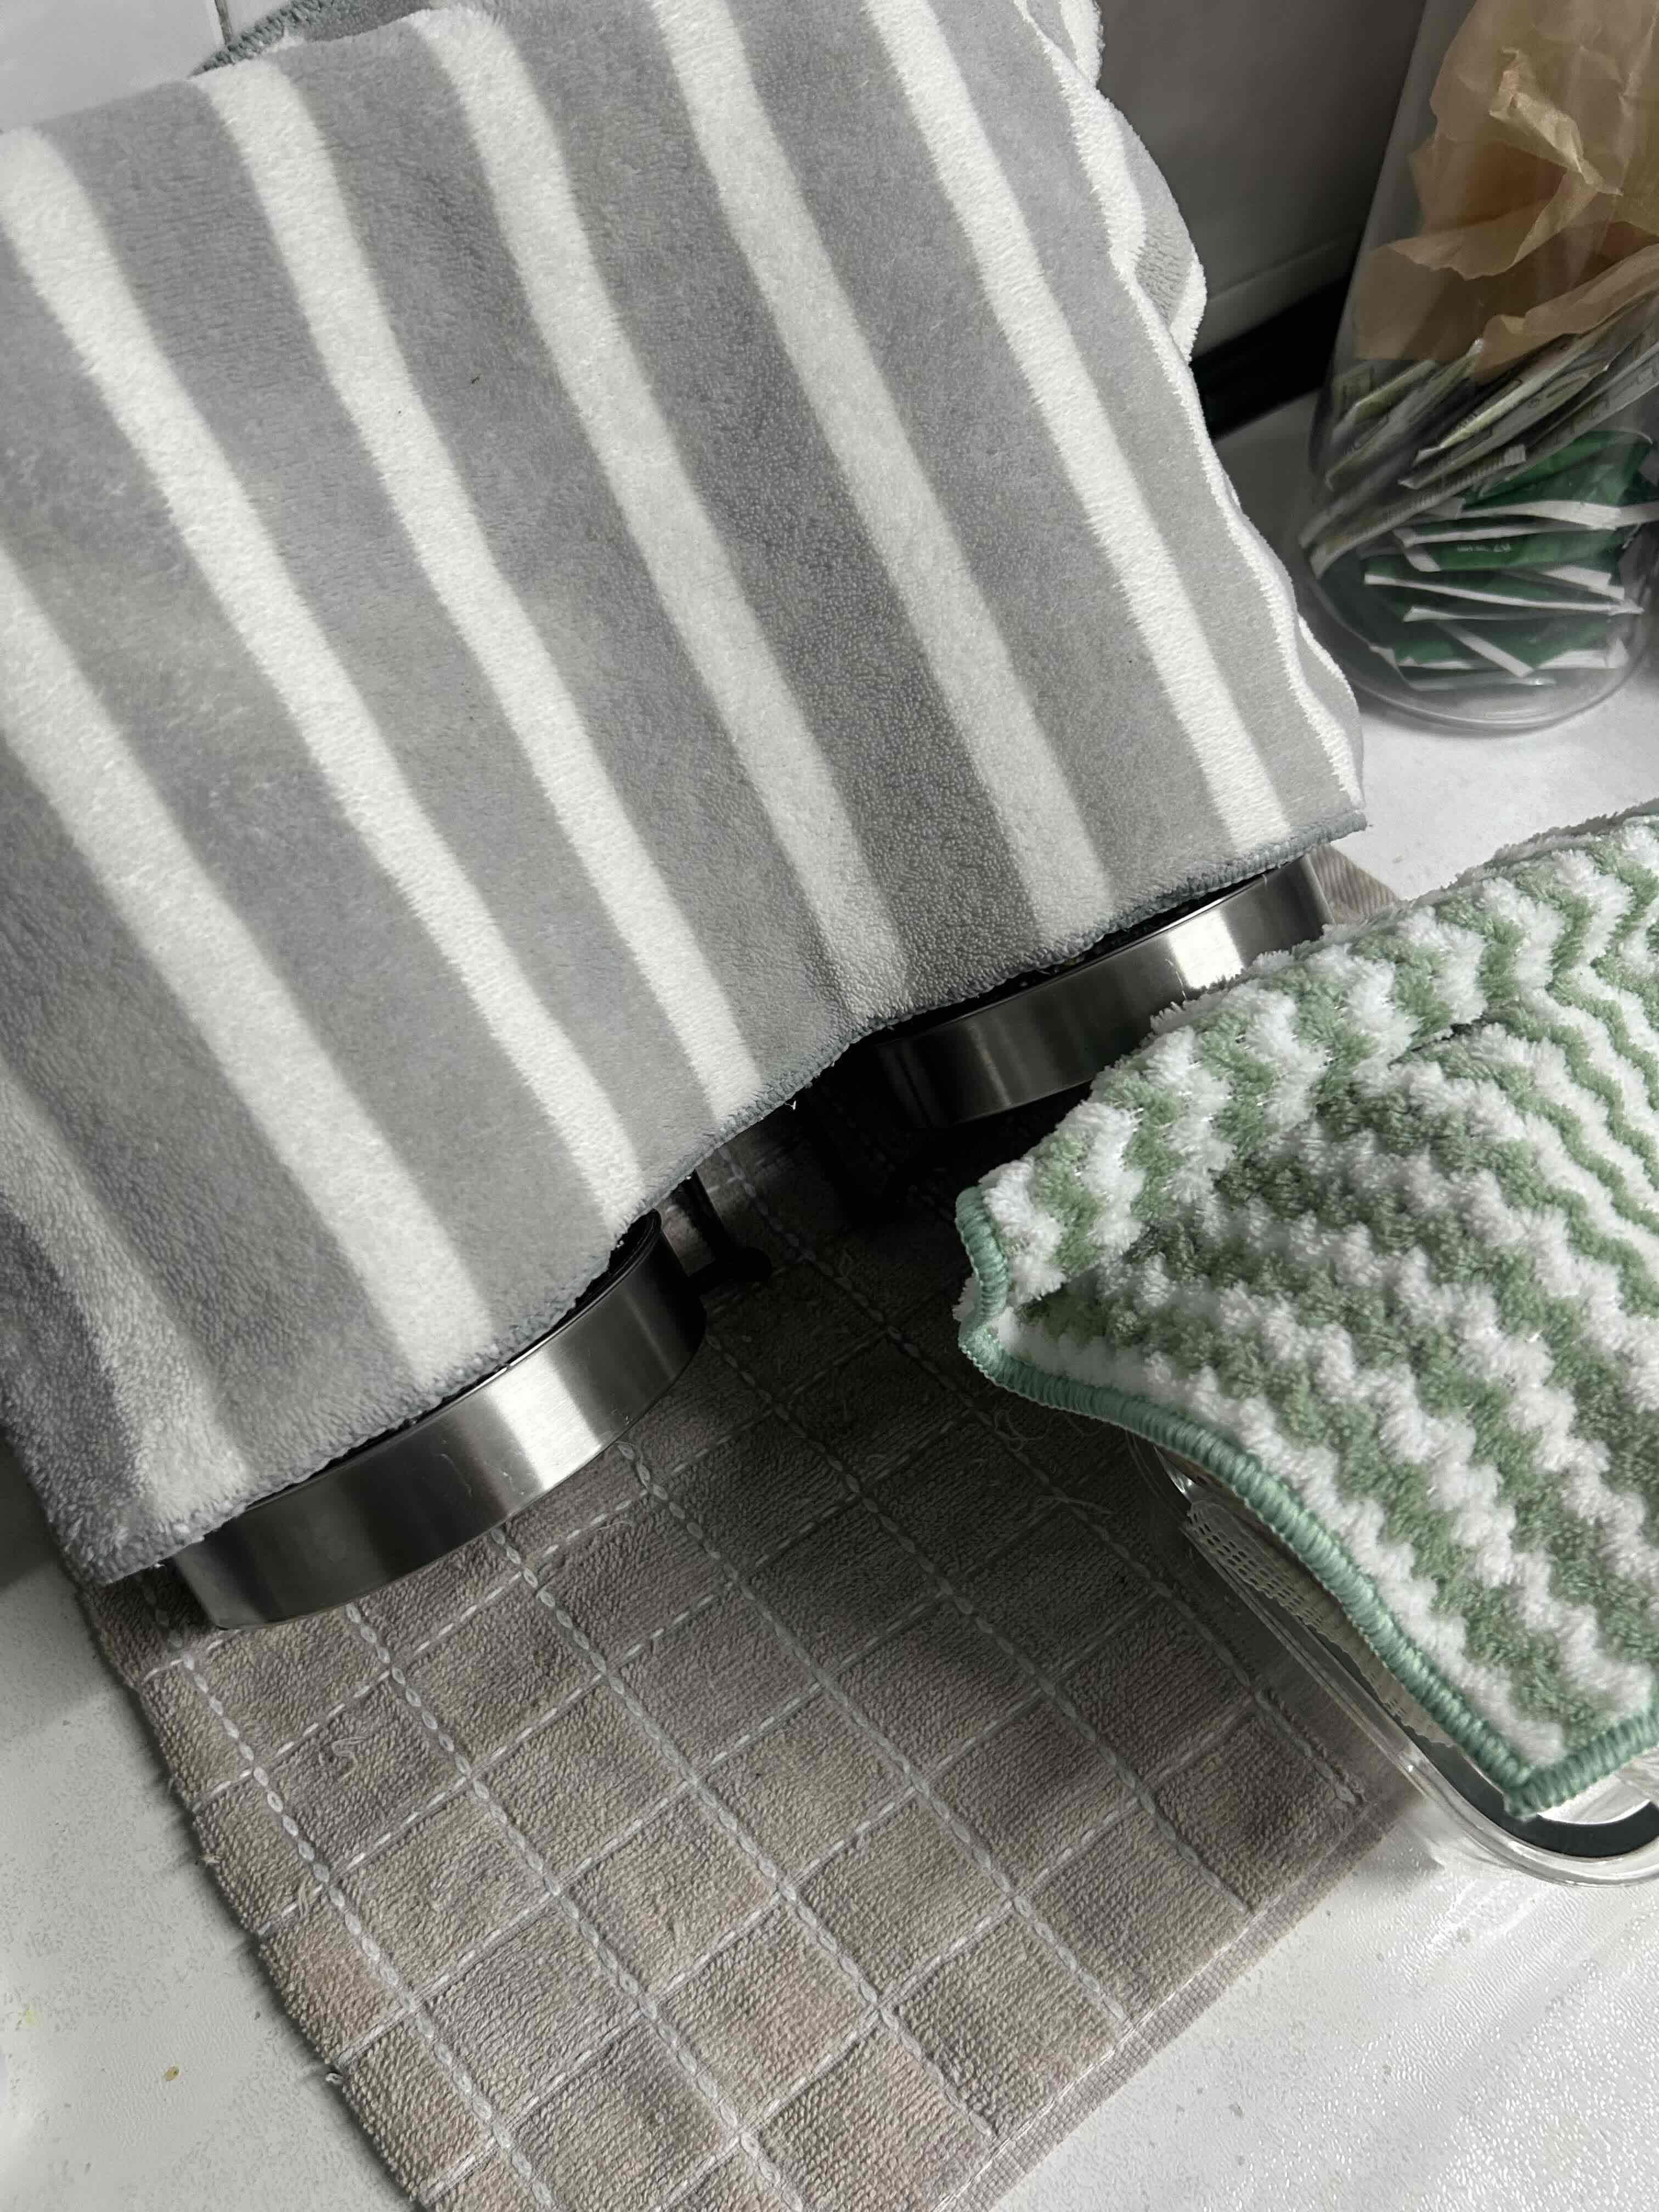
- 7On the next day, rinse the seeds thoroughly twice (once in the morning and once at night), draining fully and returning them to their slanted, covered position.
- 8On the 3rd or 4th day, permanently uncover the jars to expose the growing sprouts to ambient room light, allowing them to rapidly develop green chlorophyll.
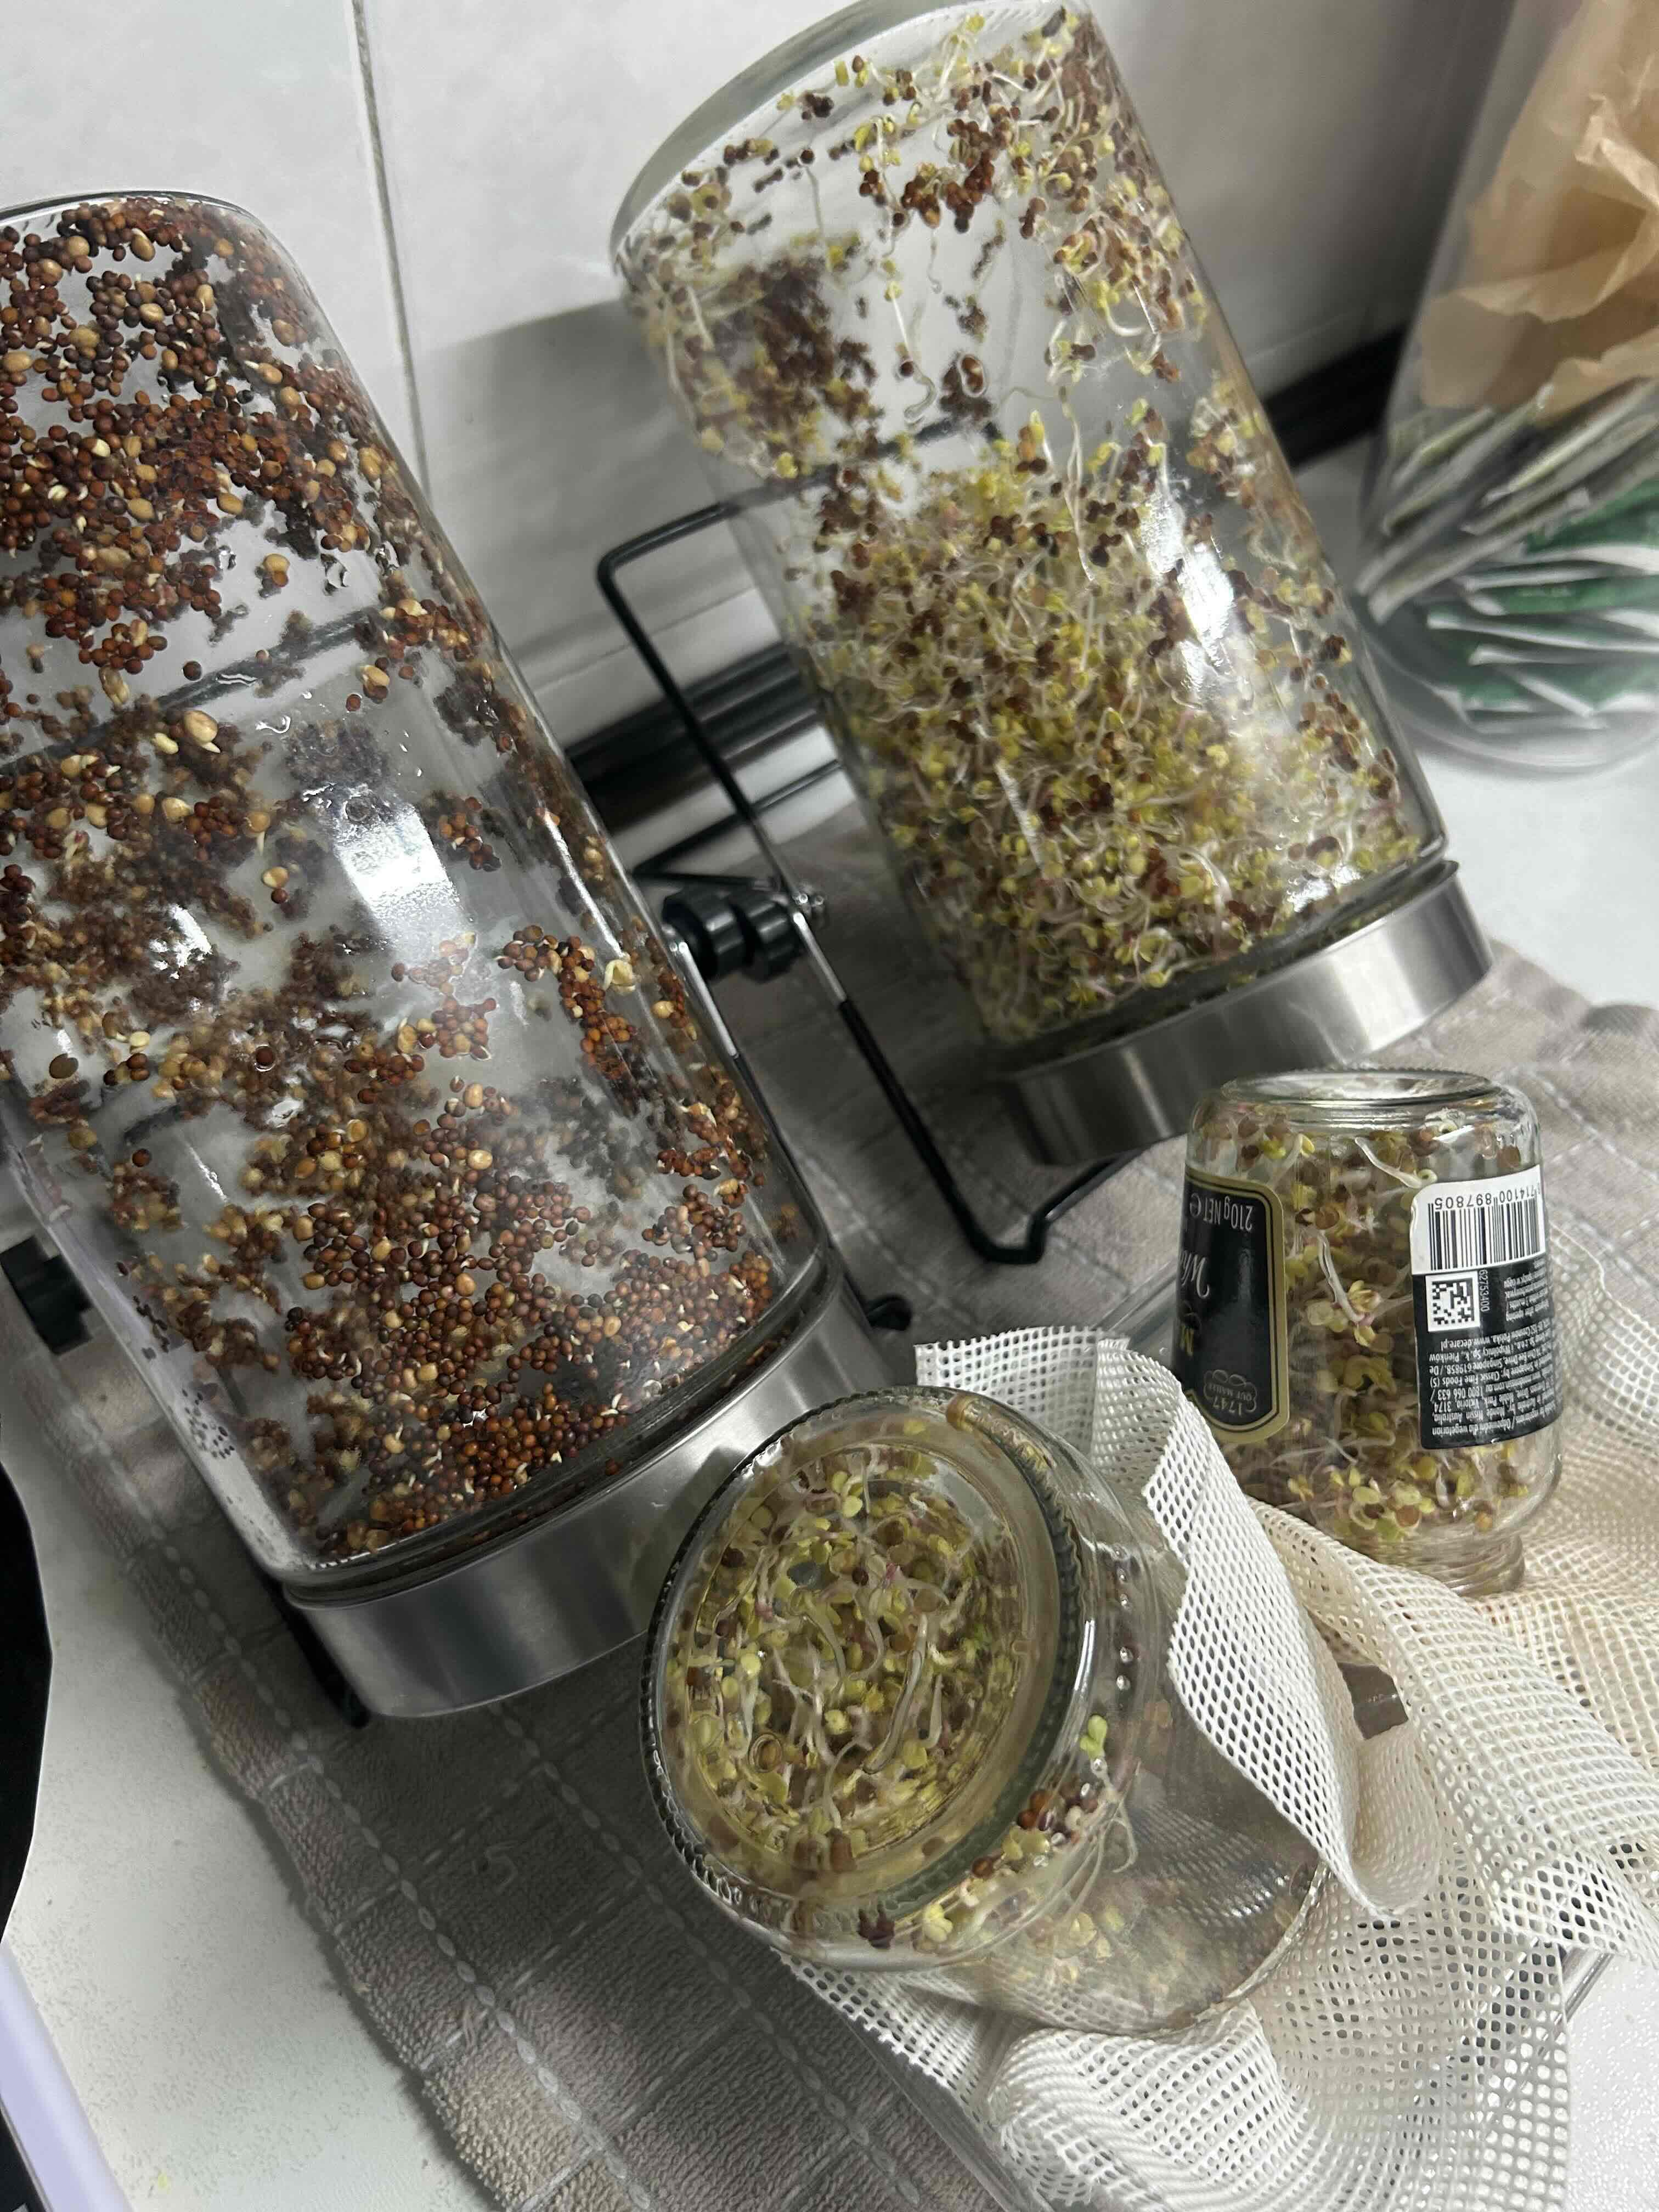
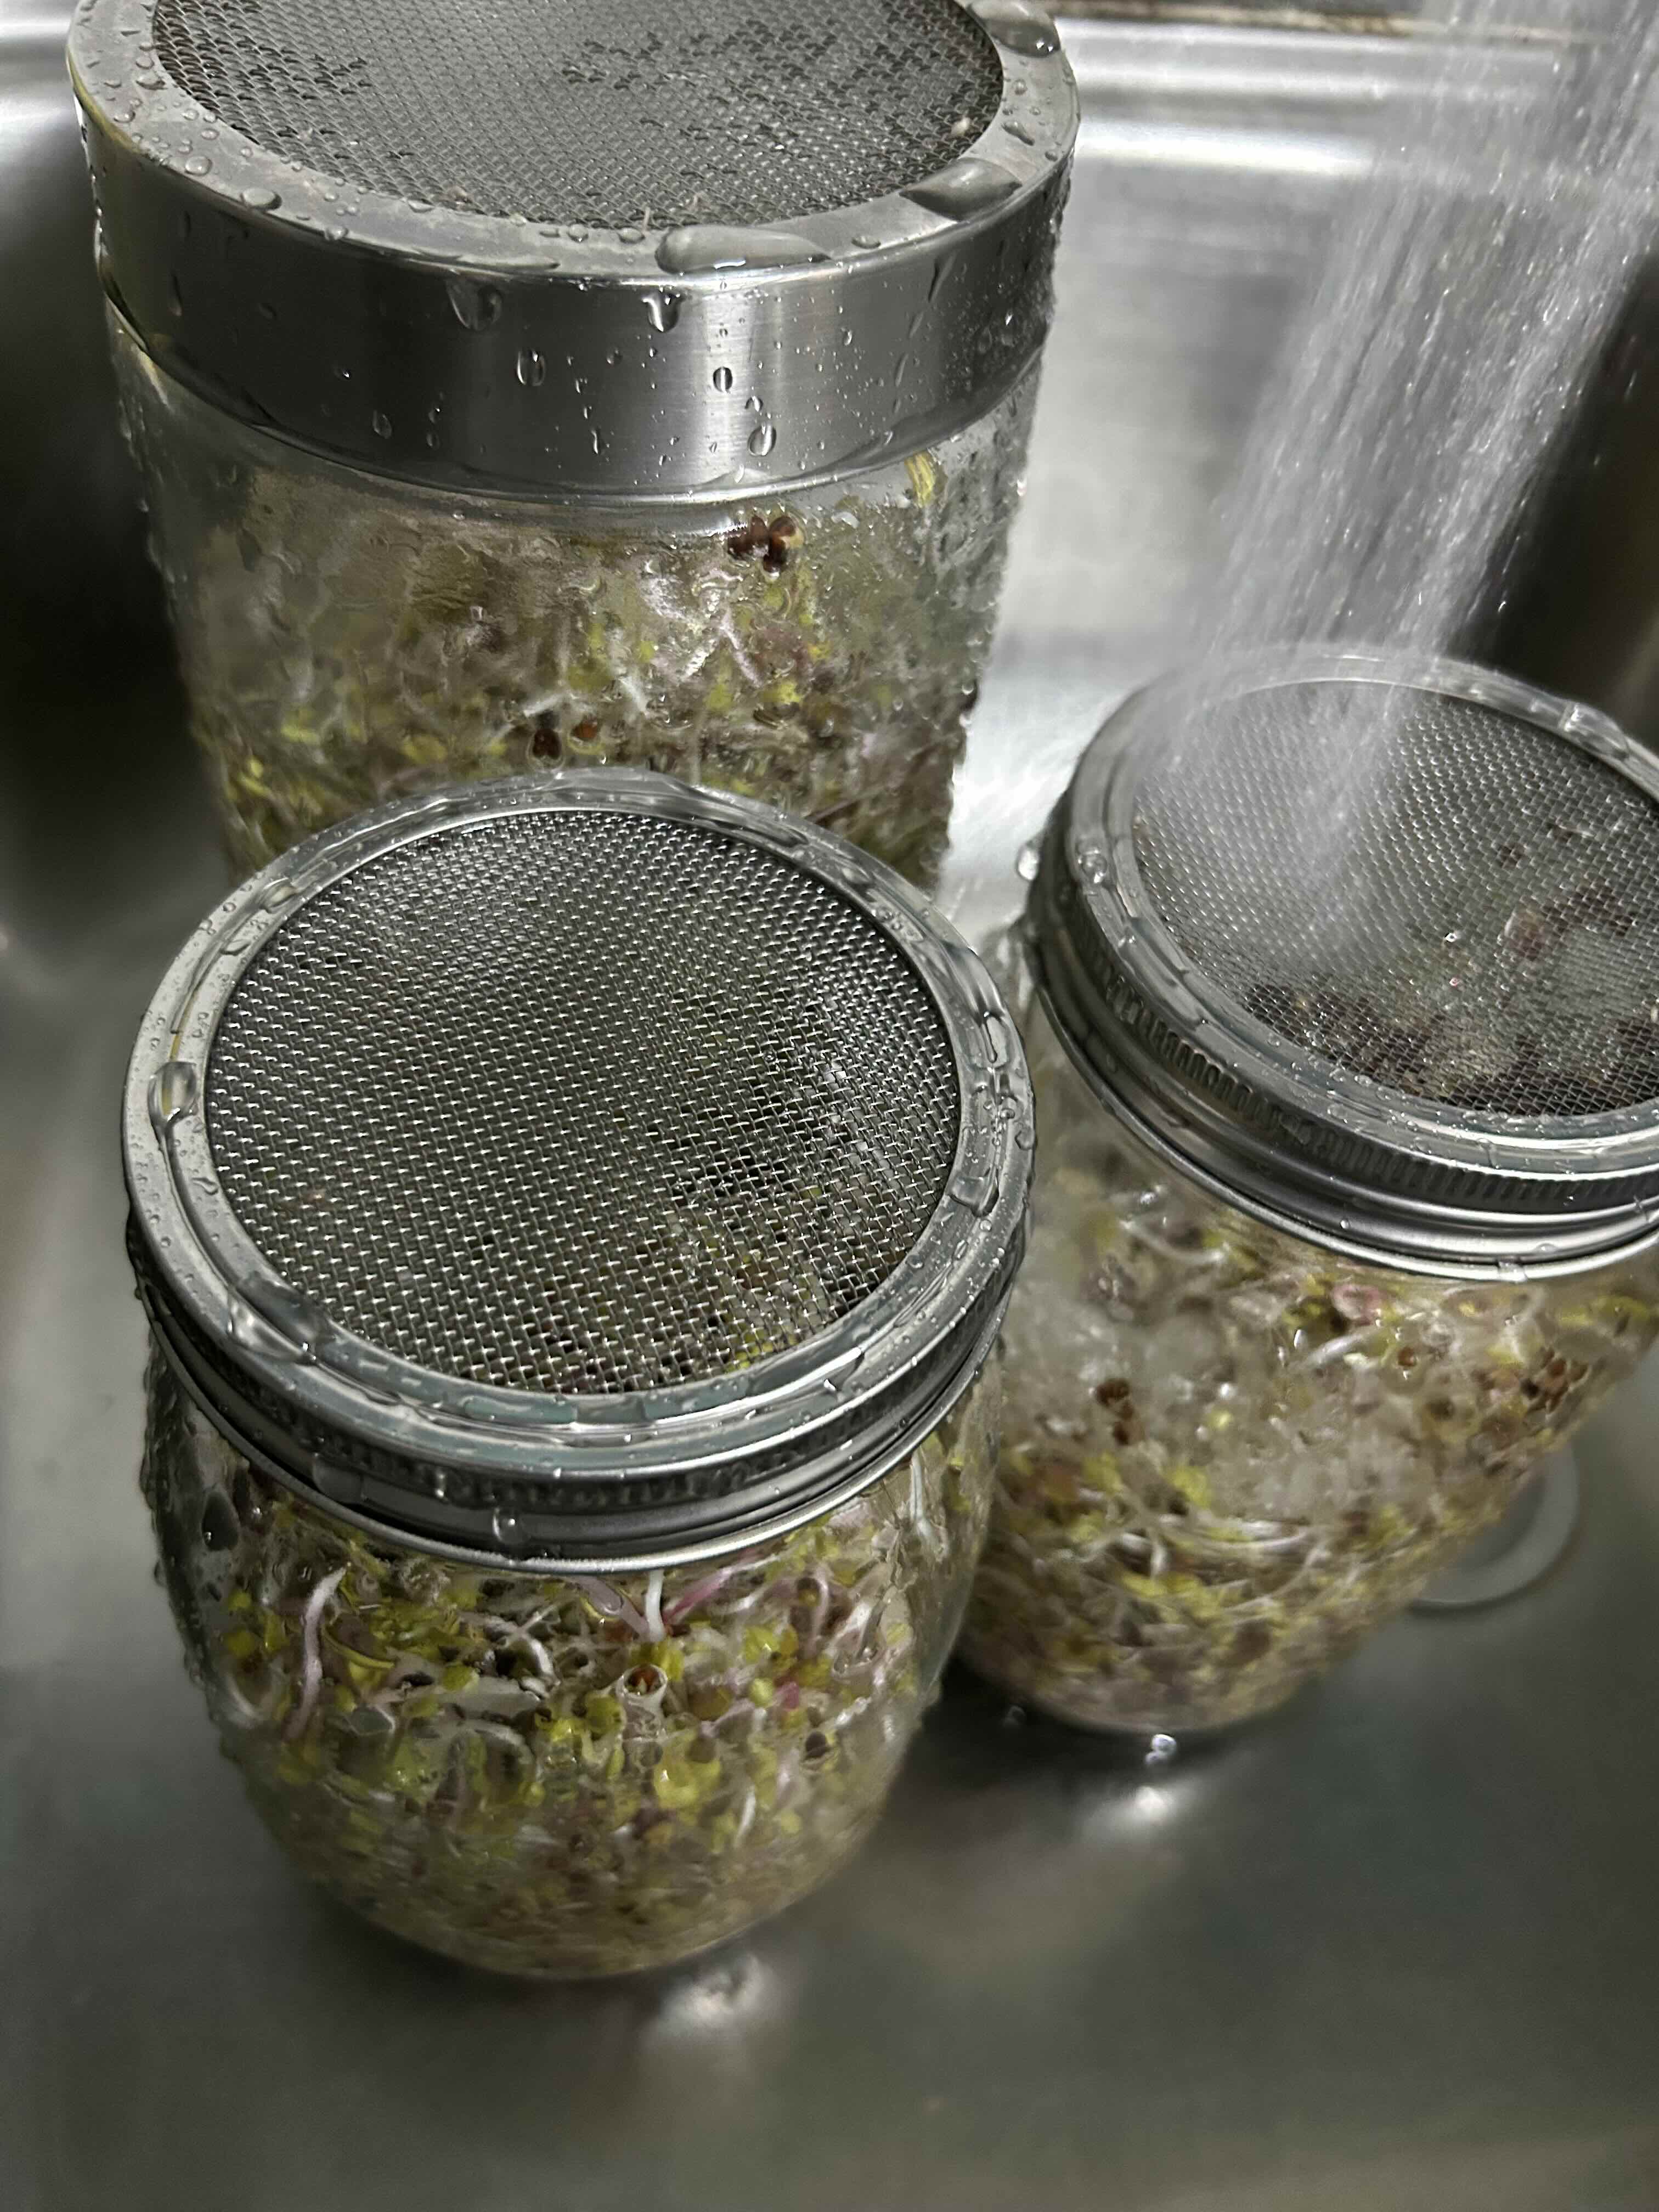
- 9Continue the daily two-stage rinse routine until the sprouts grow distinct tails or the jar is completely filled.
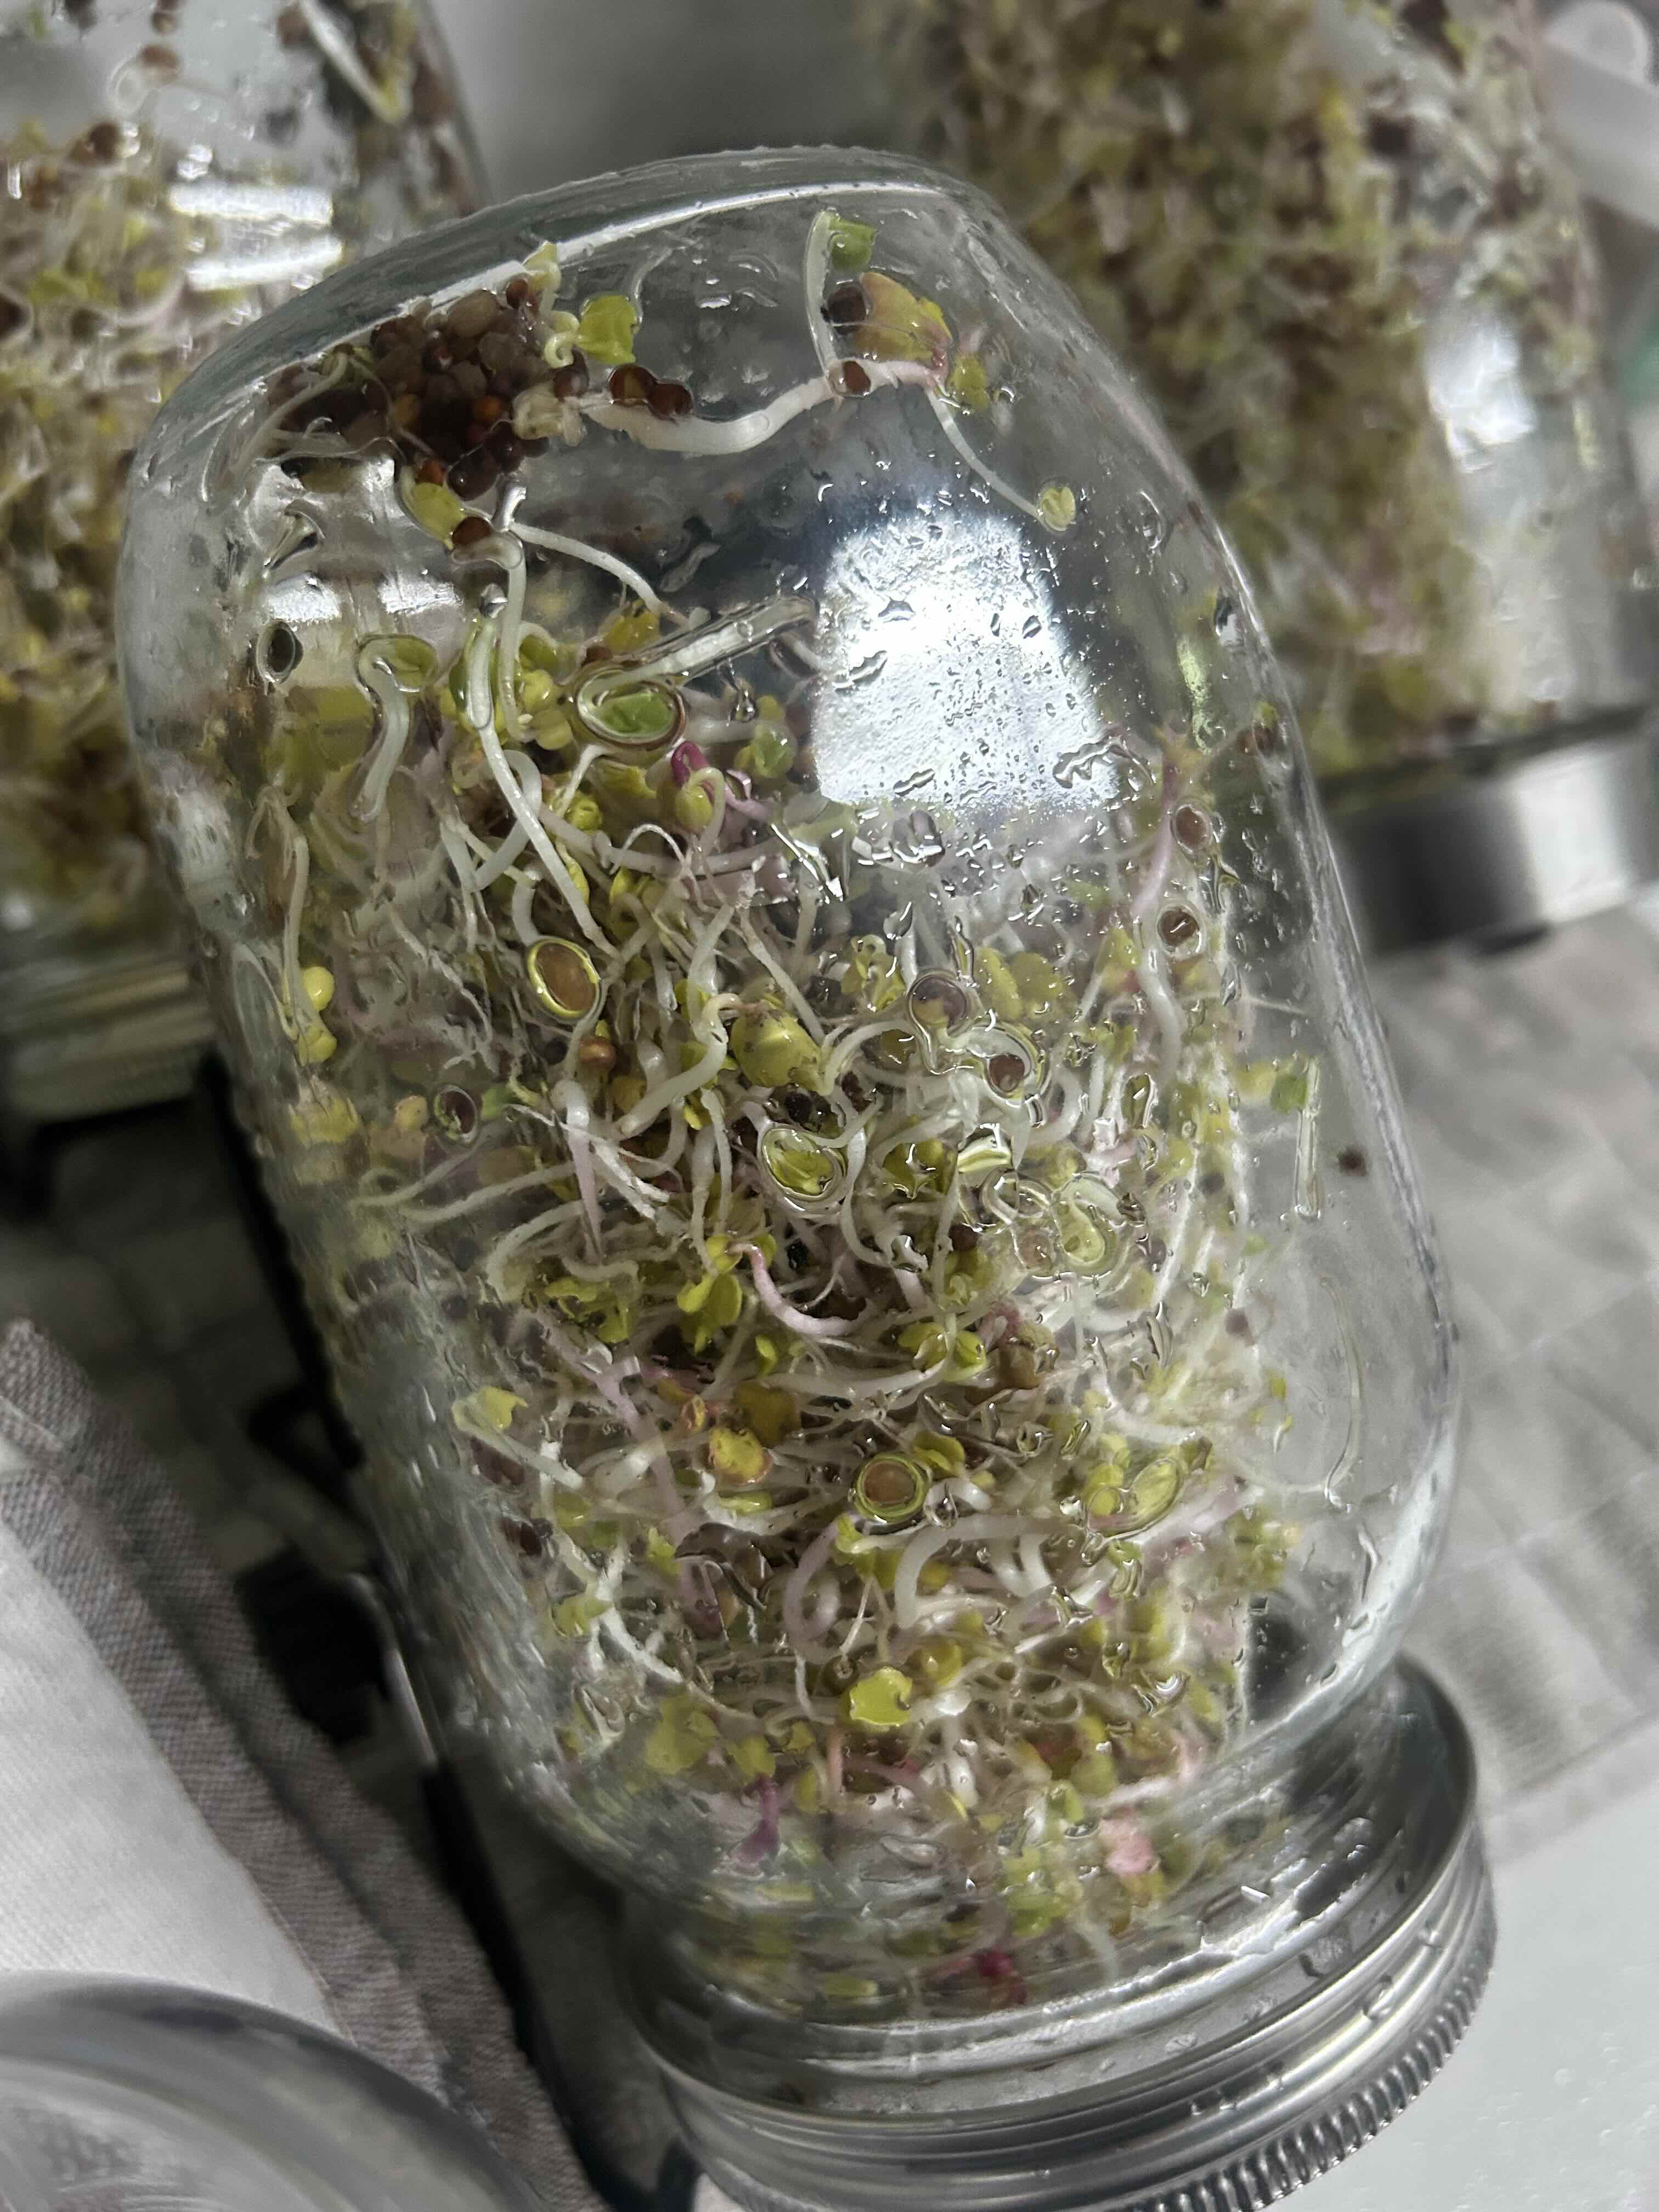
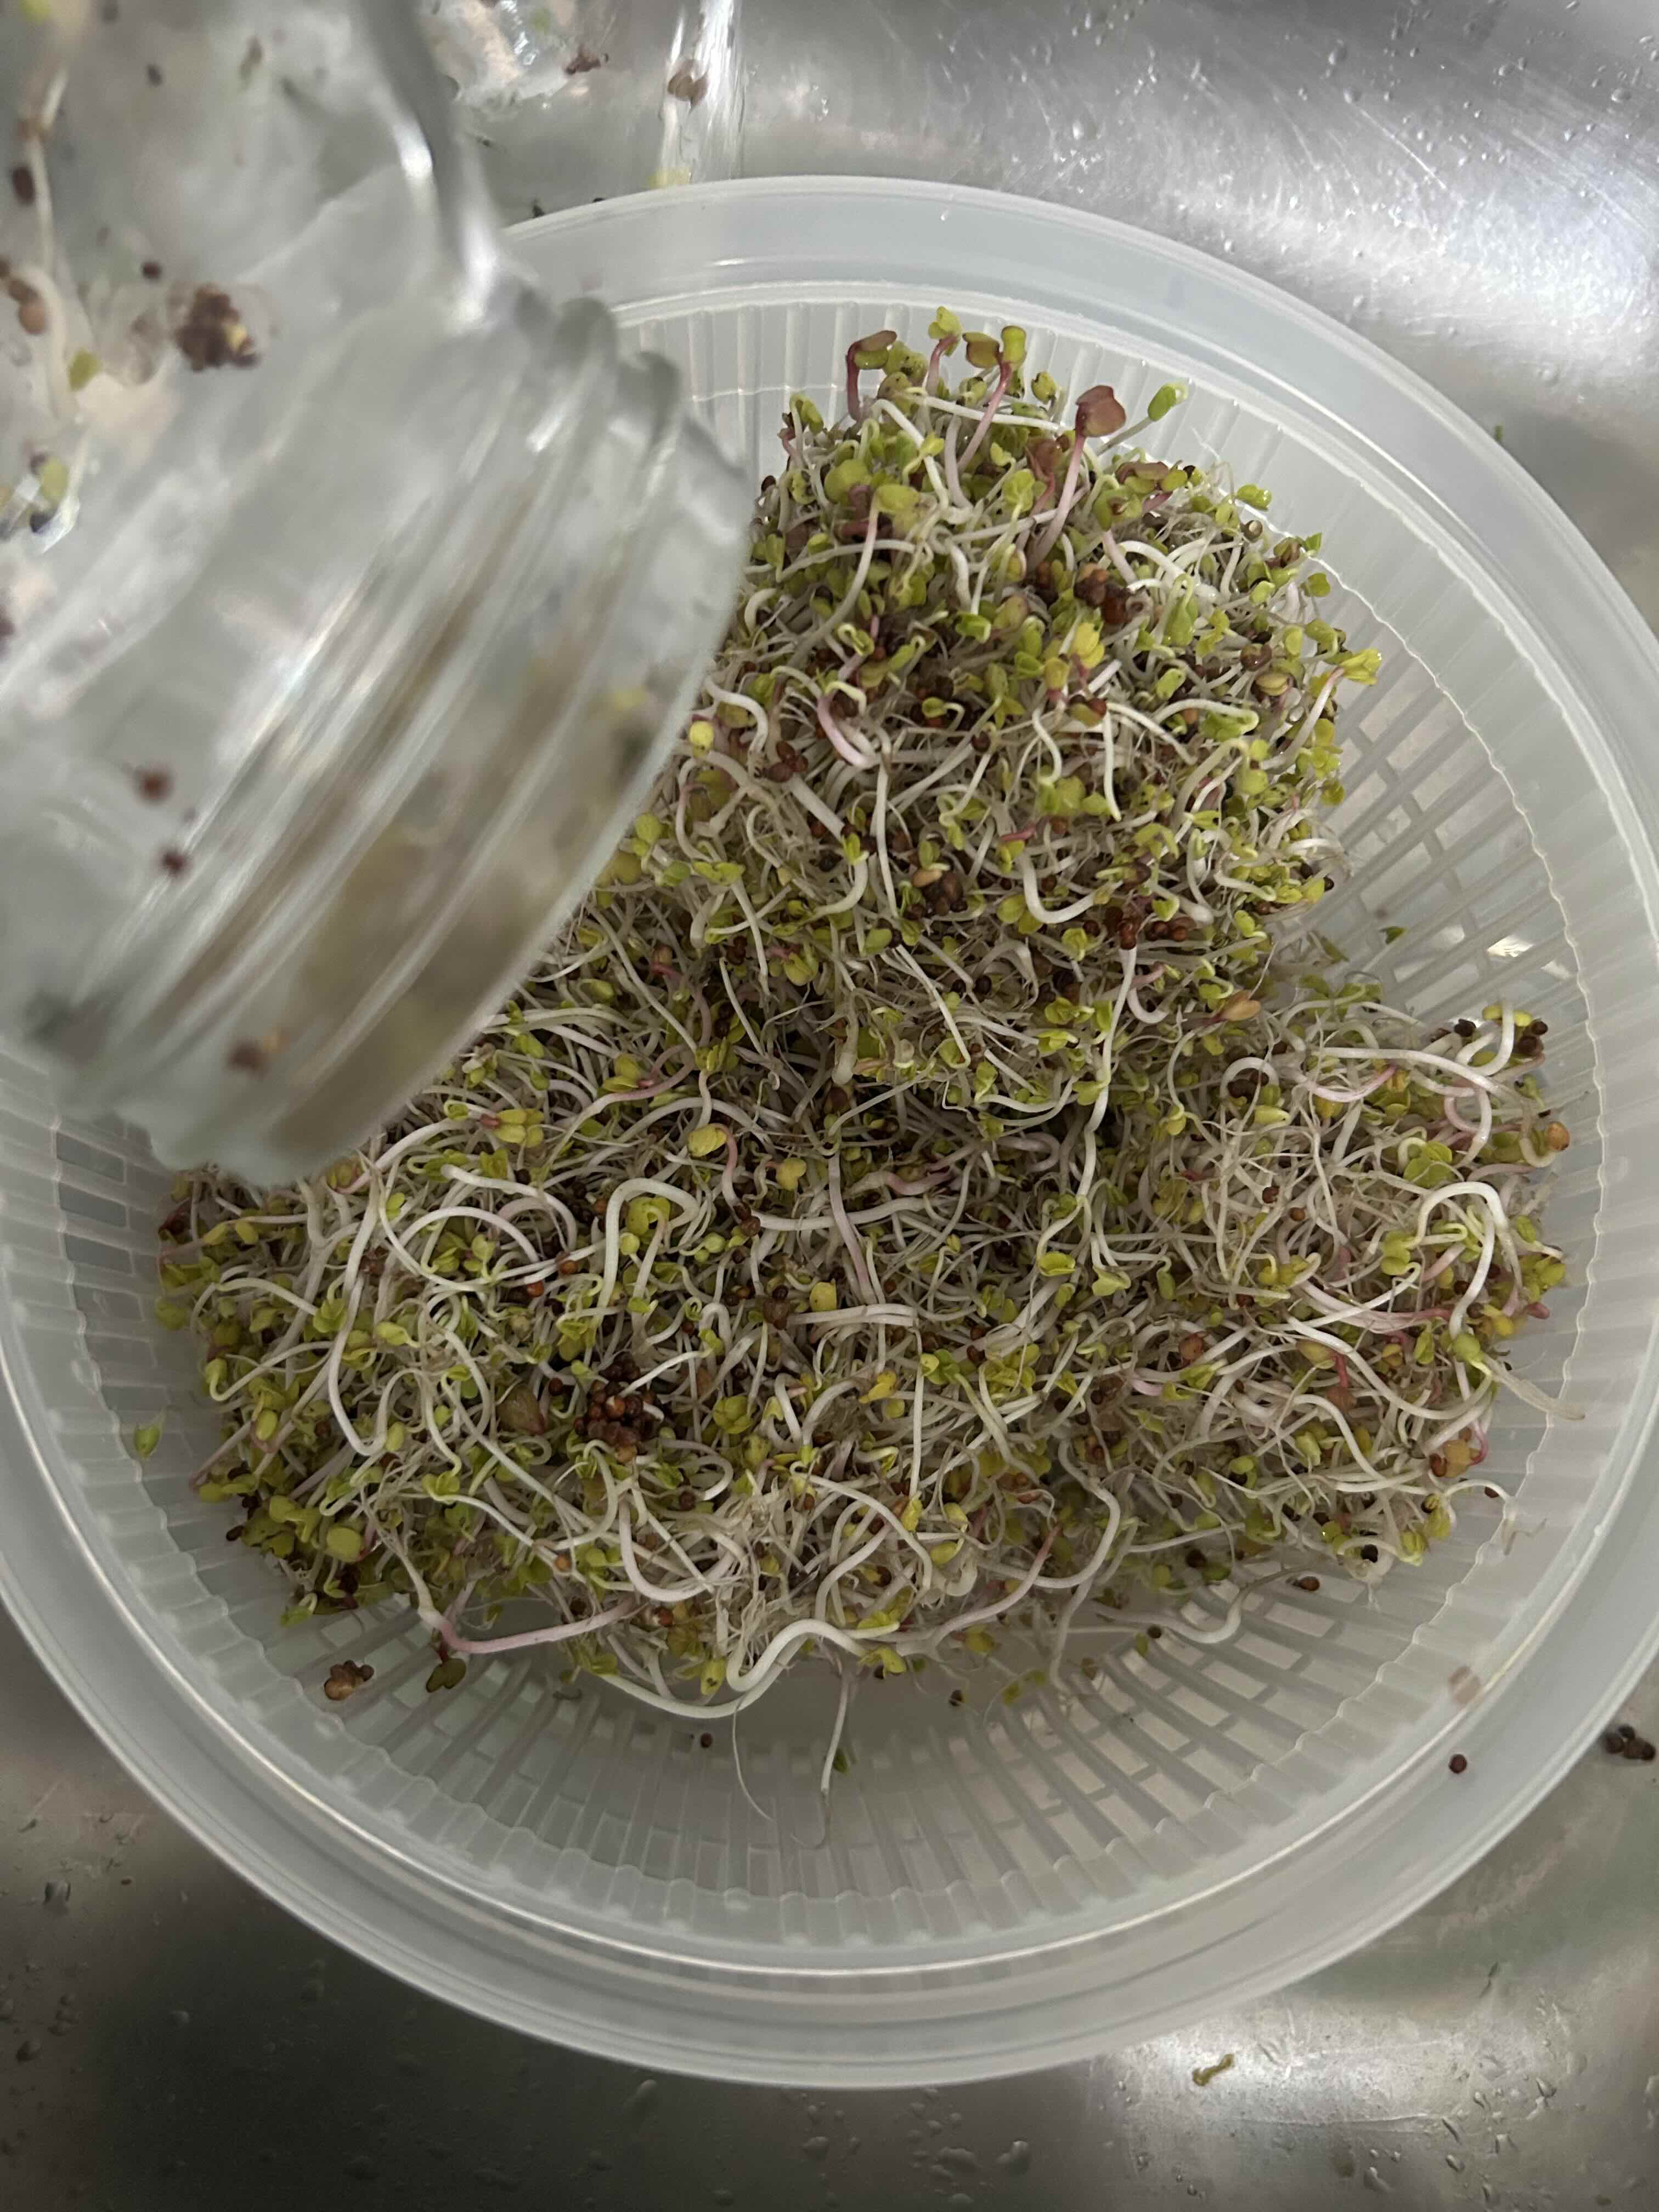
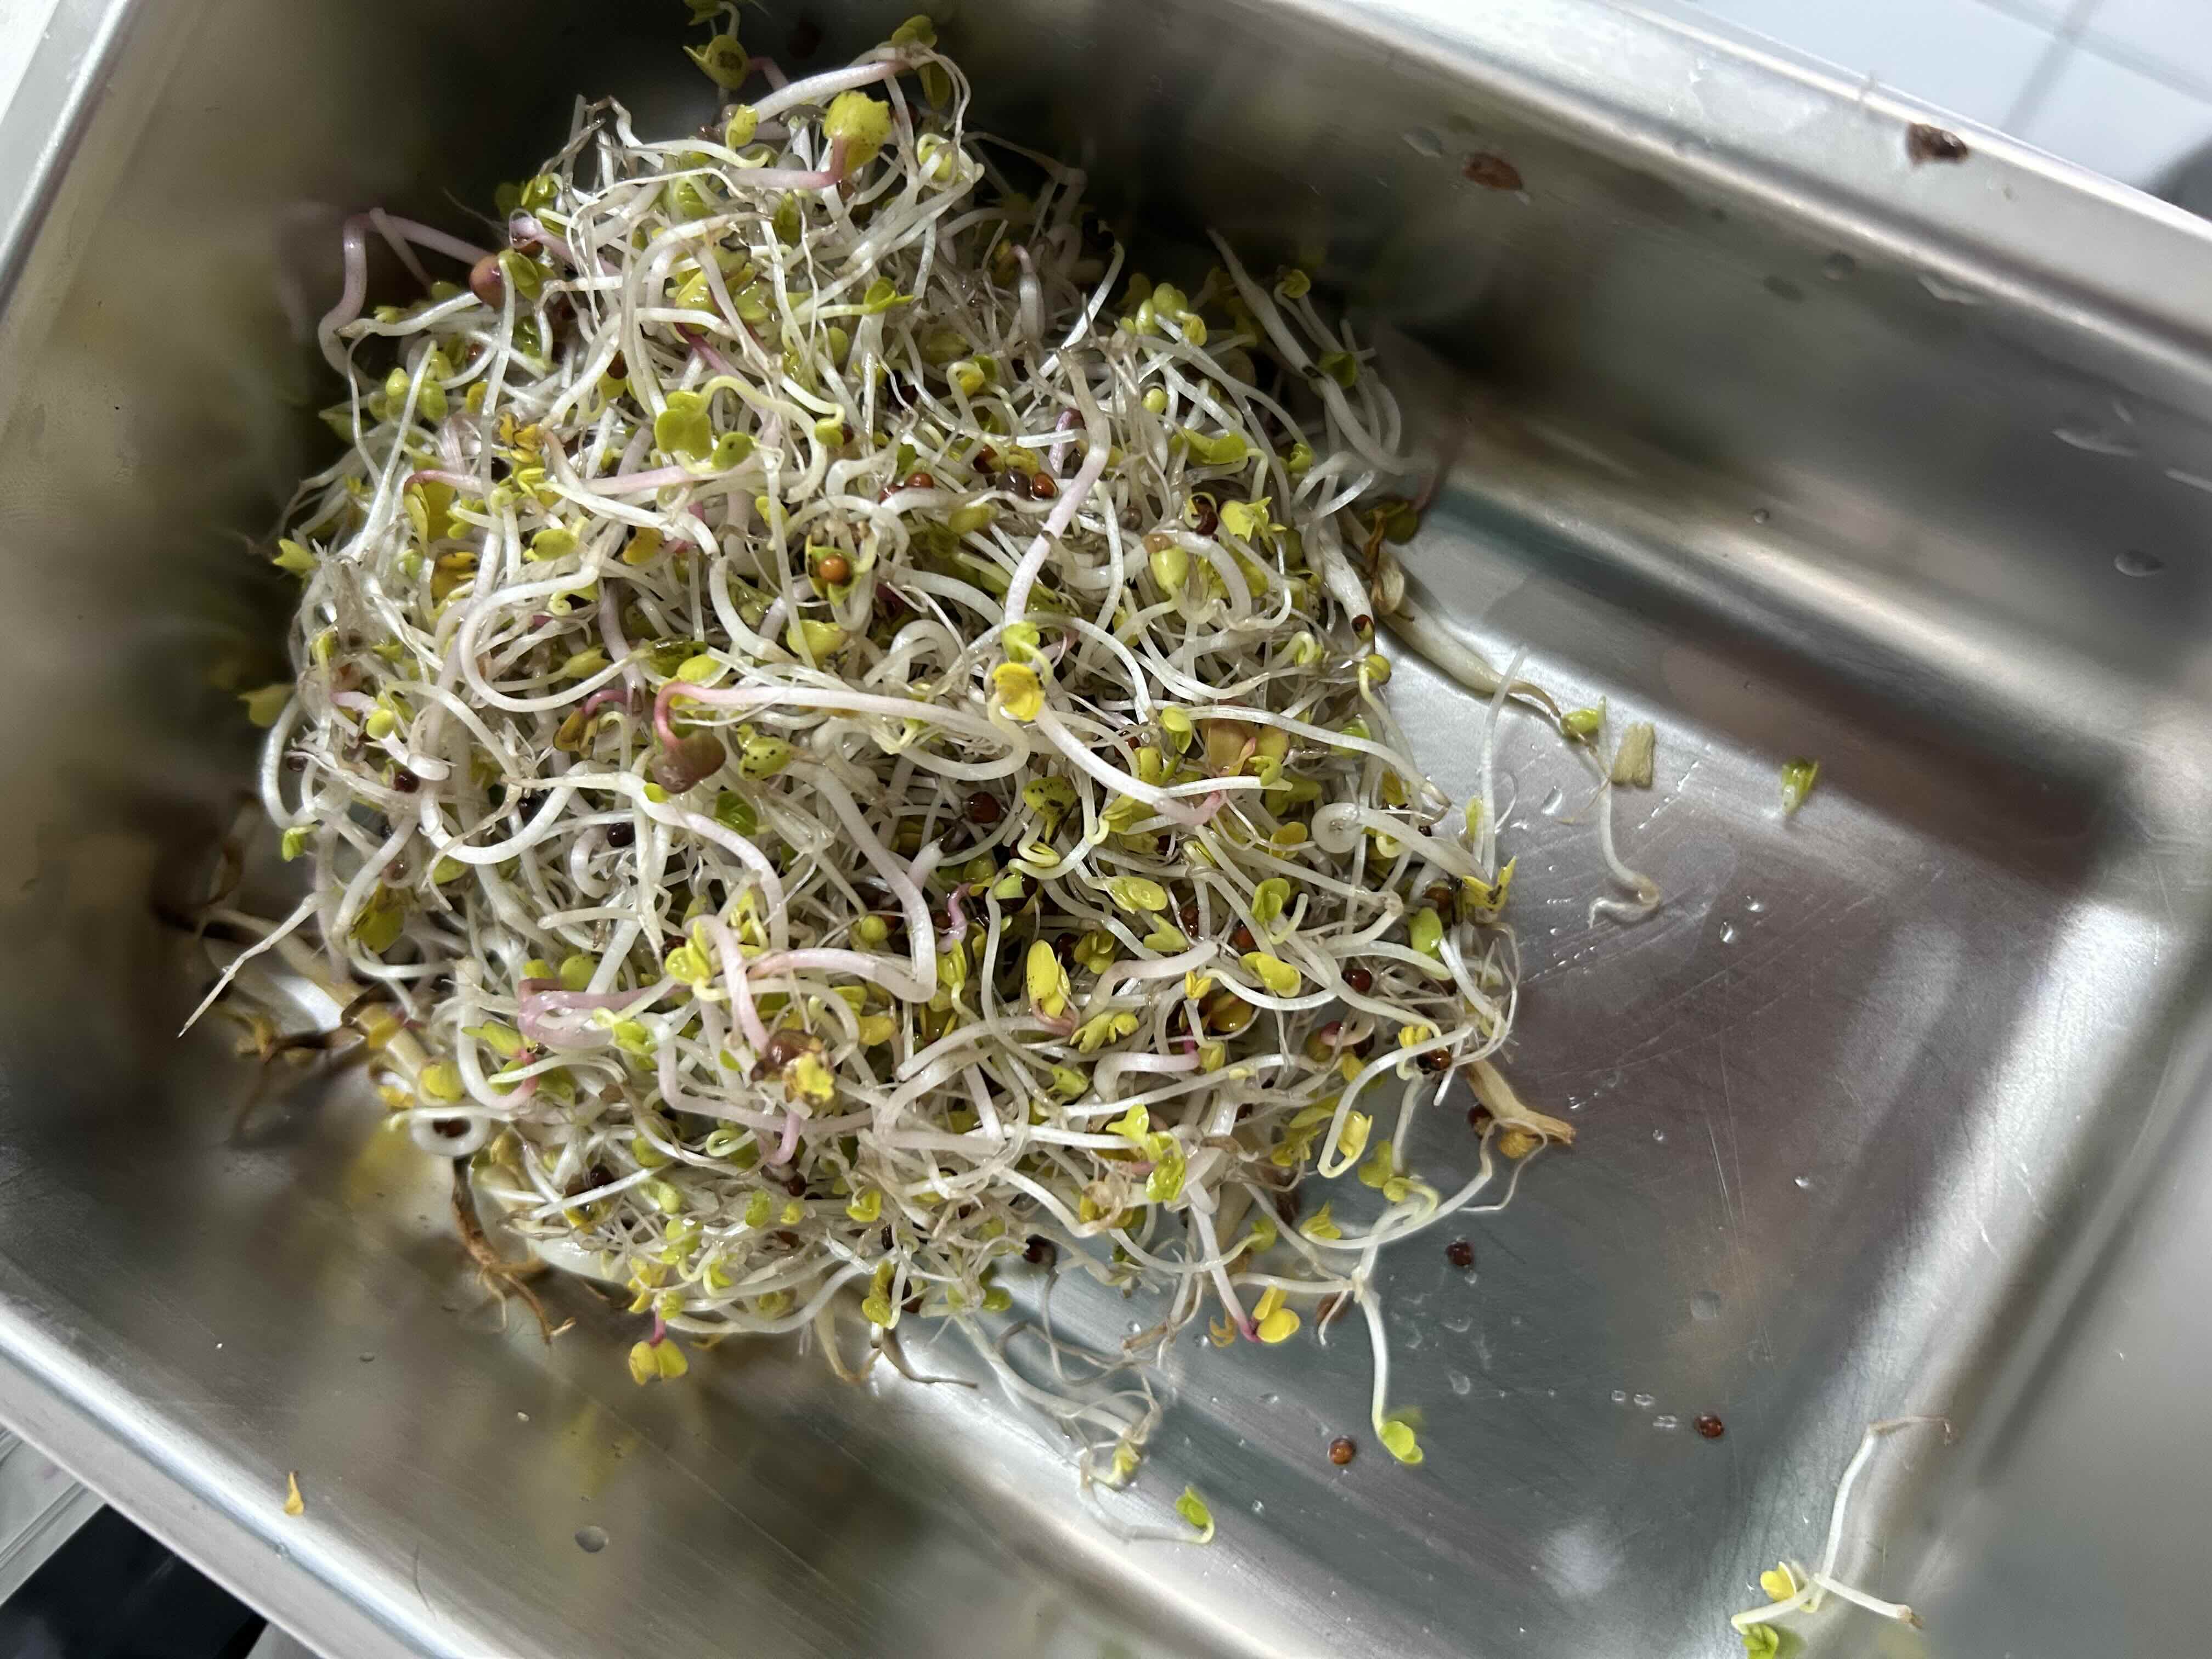
- 10On harvest day, transfer all the sprouts into a salad spinner filled with water and agitate gently so the unsprouted loose seed hulls separate and fall off easily.
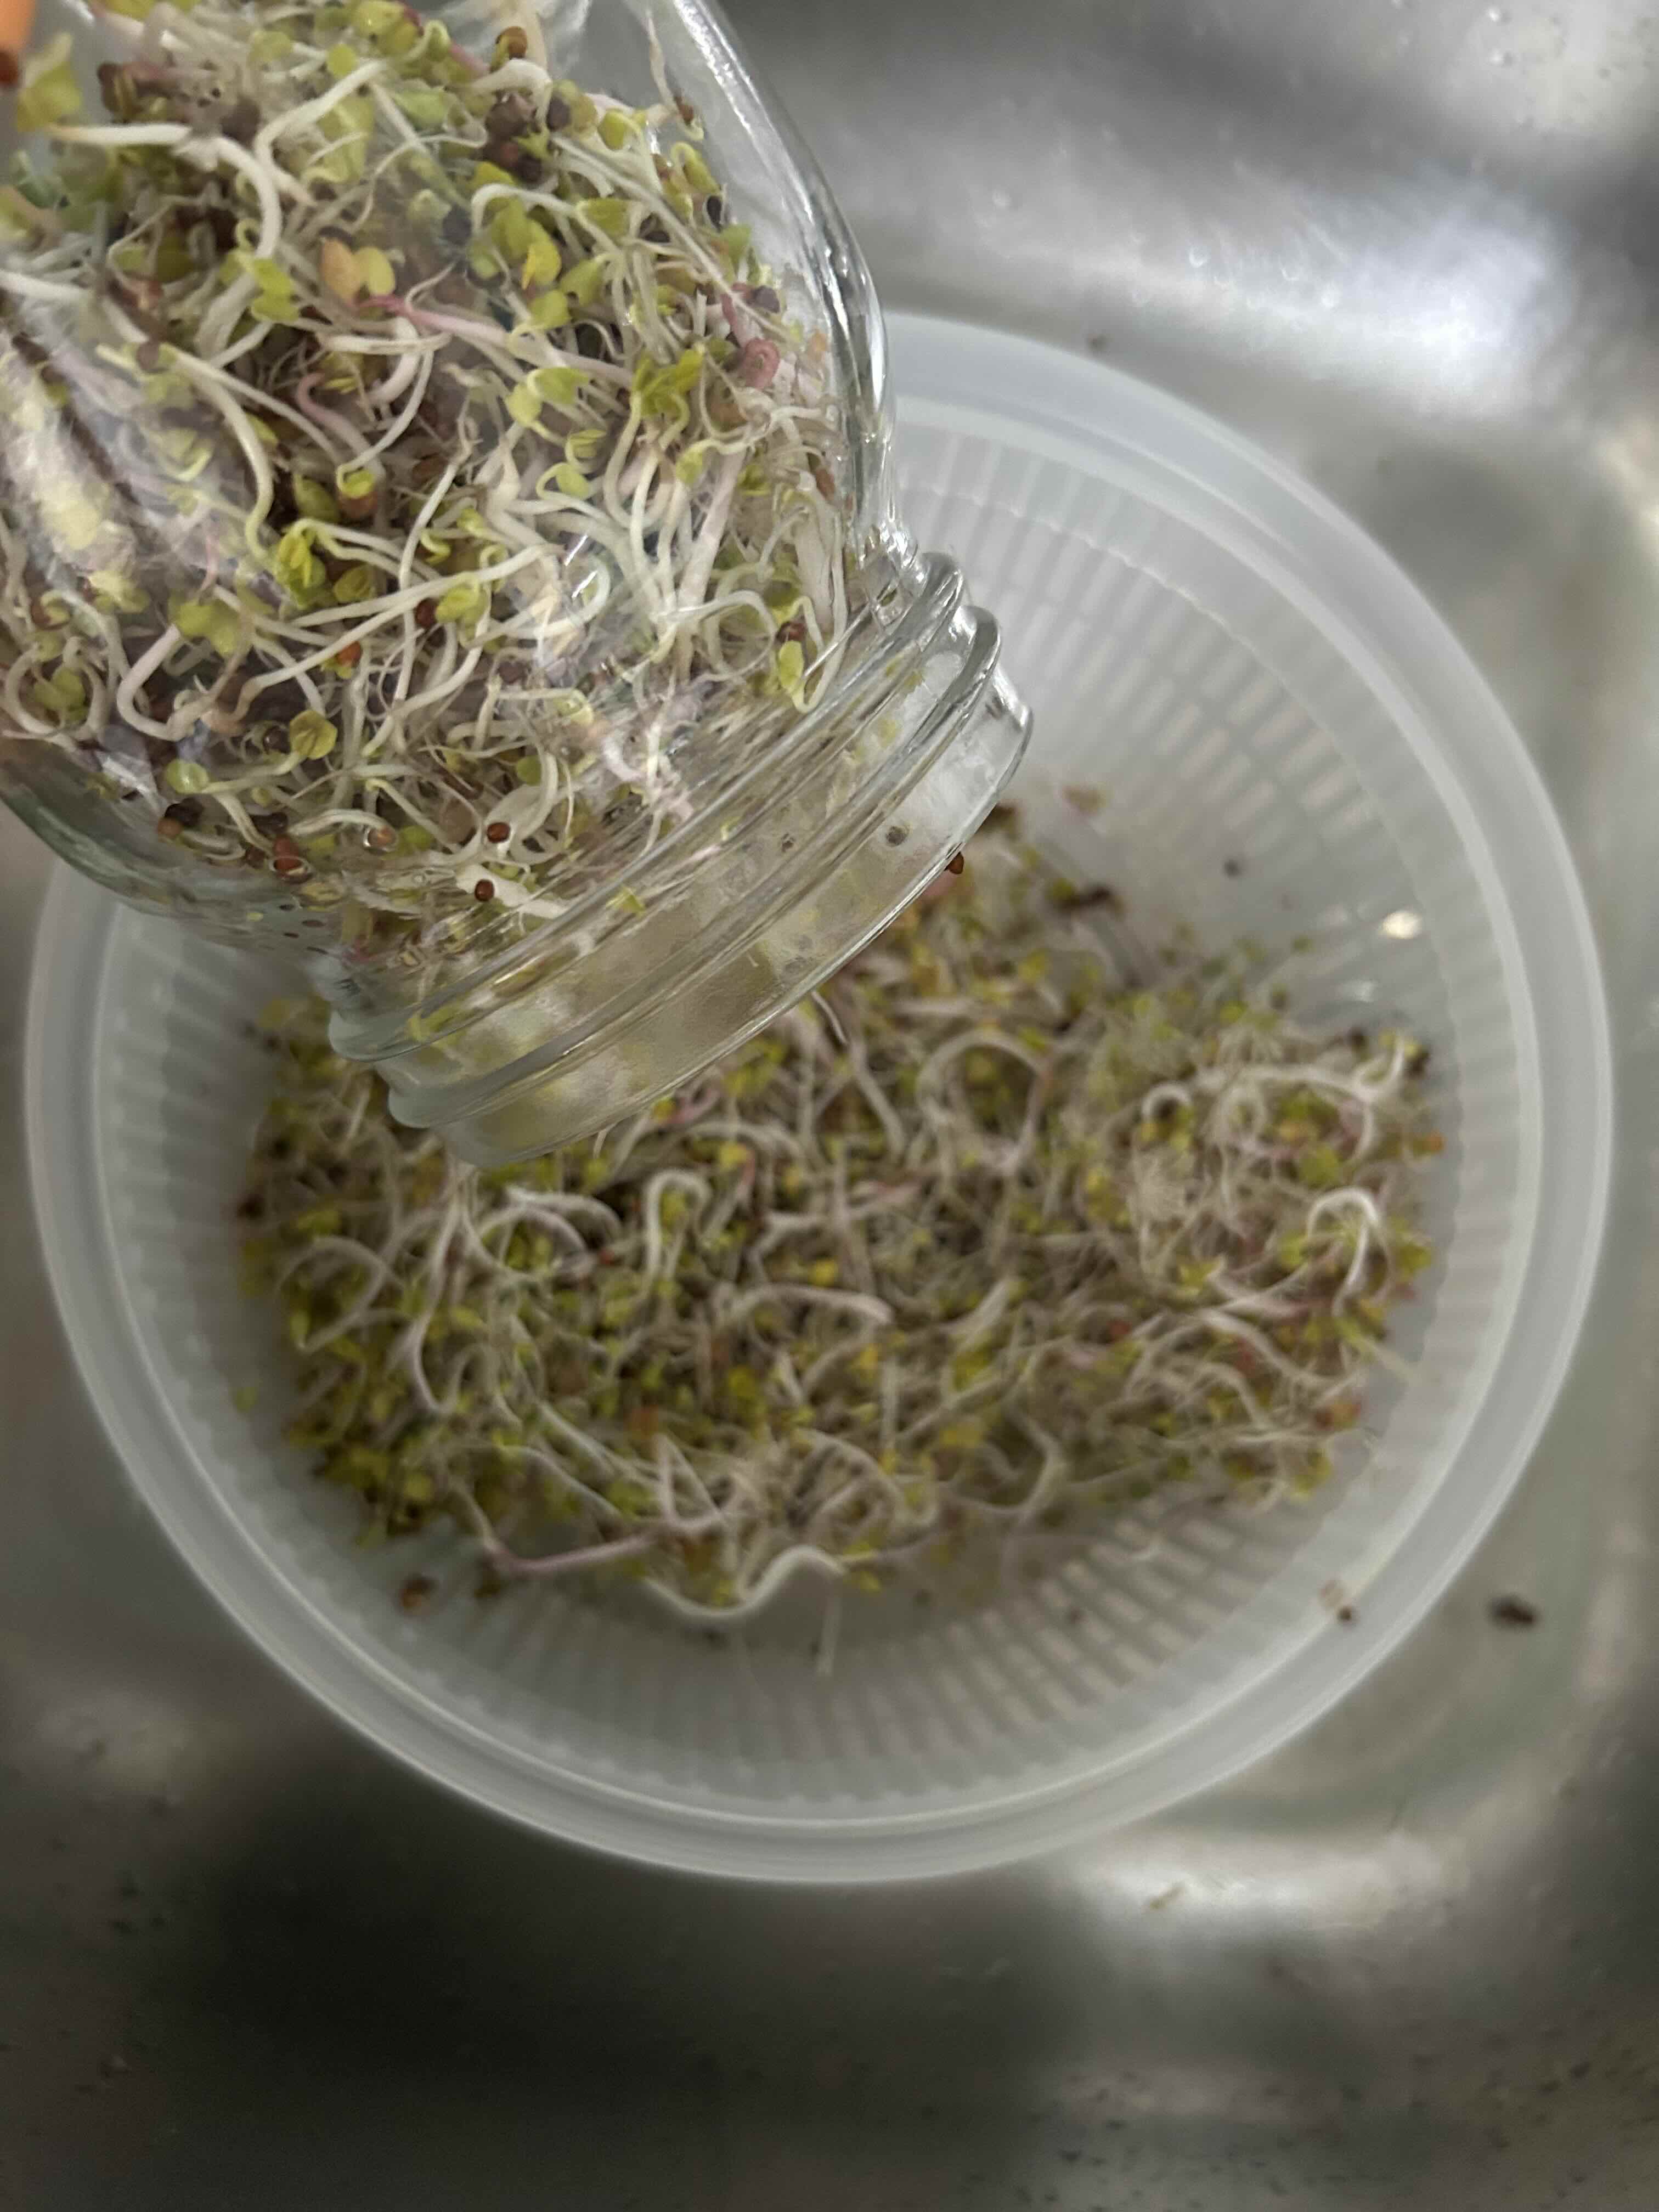
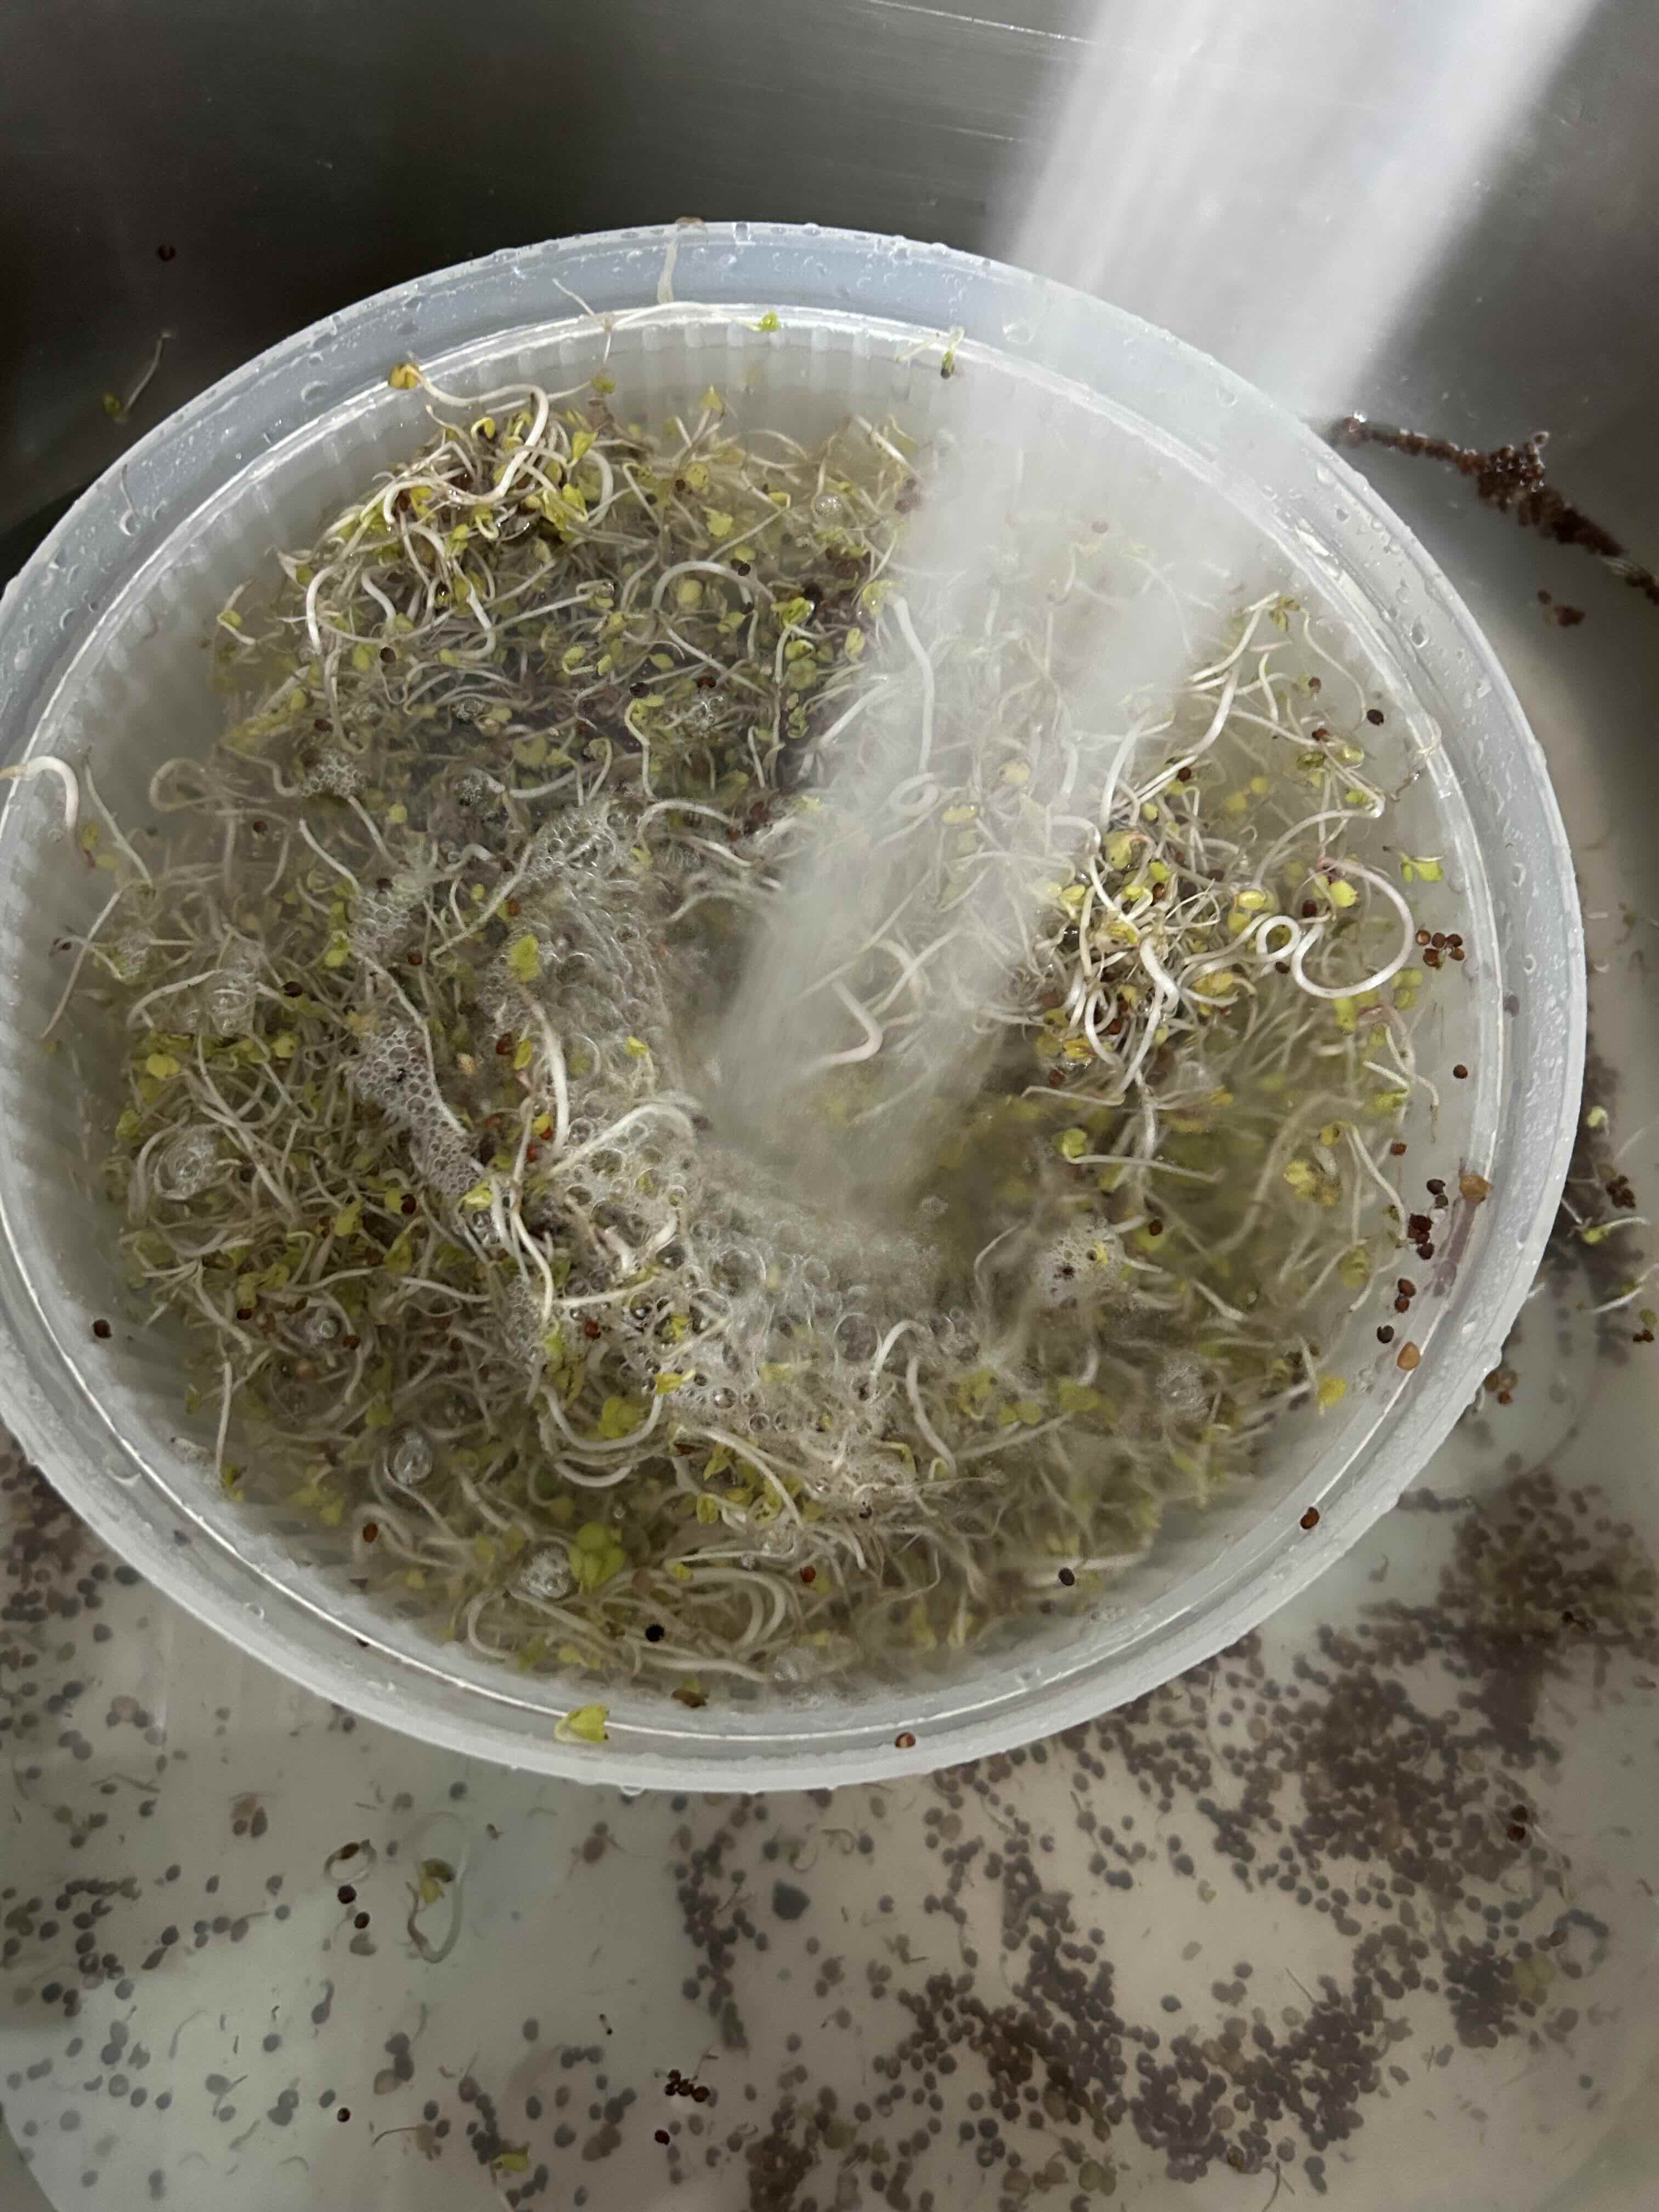
- 11Repeat this rinsing process 3 times, changing the water each time, until no more loose seeds remain.
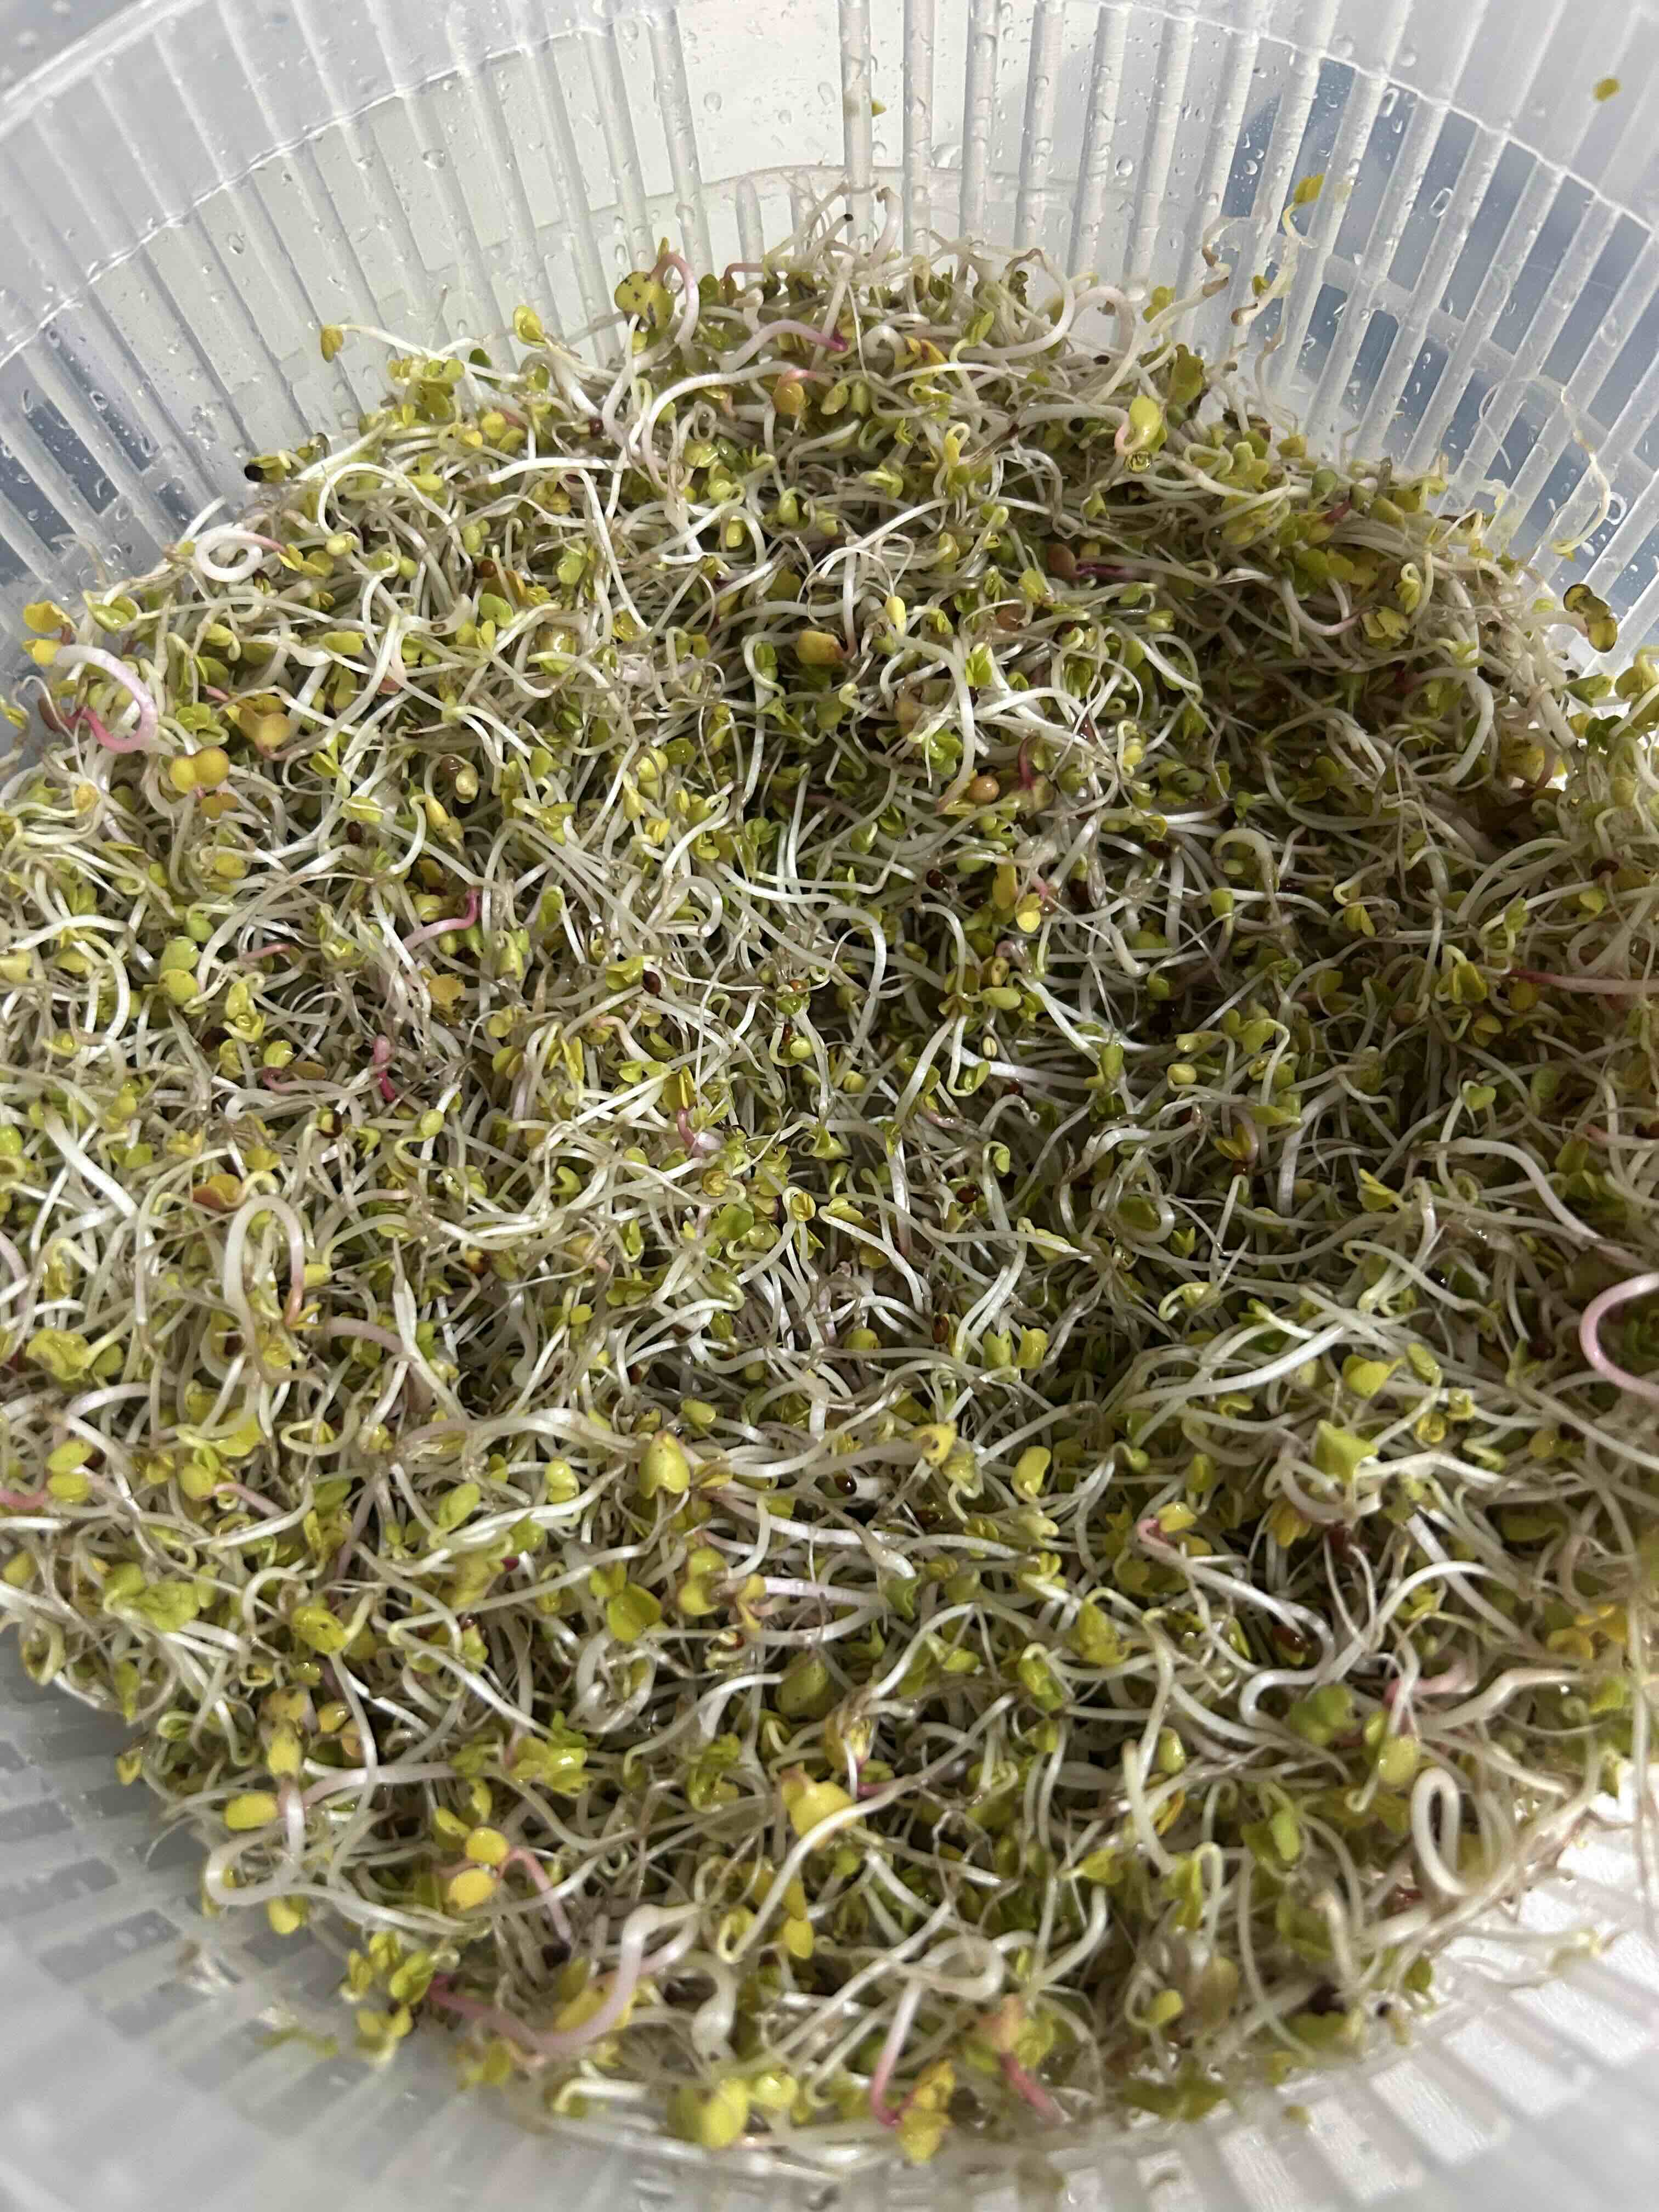
- 12Drain the water completely and use the mechanical action of the salad spinner to whirl away all remaining surface moisture from the sprouts.
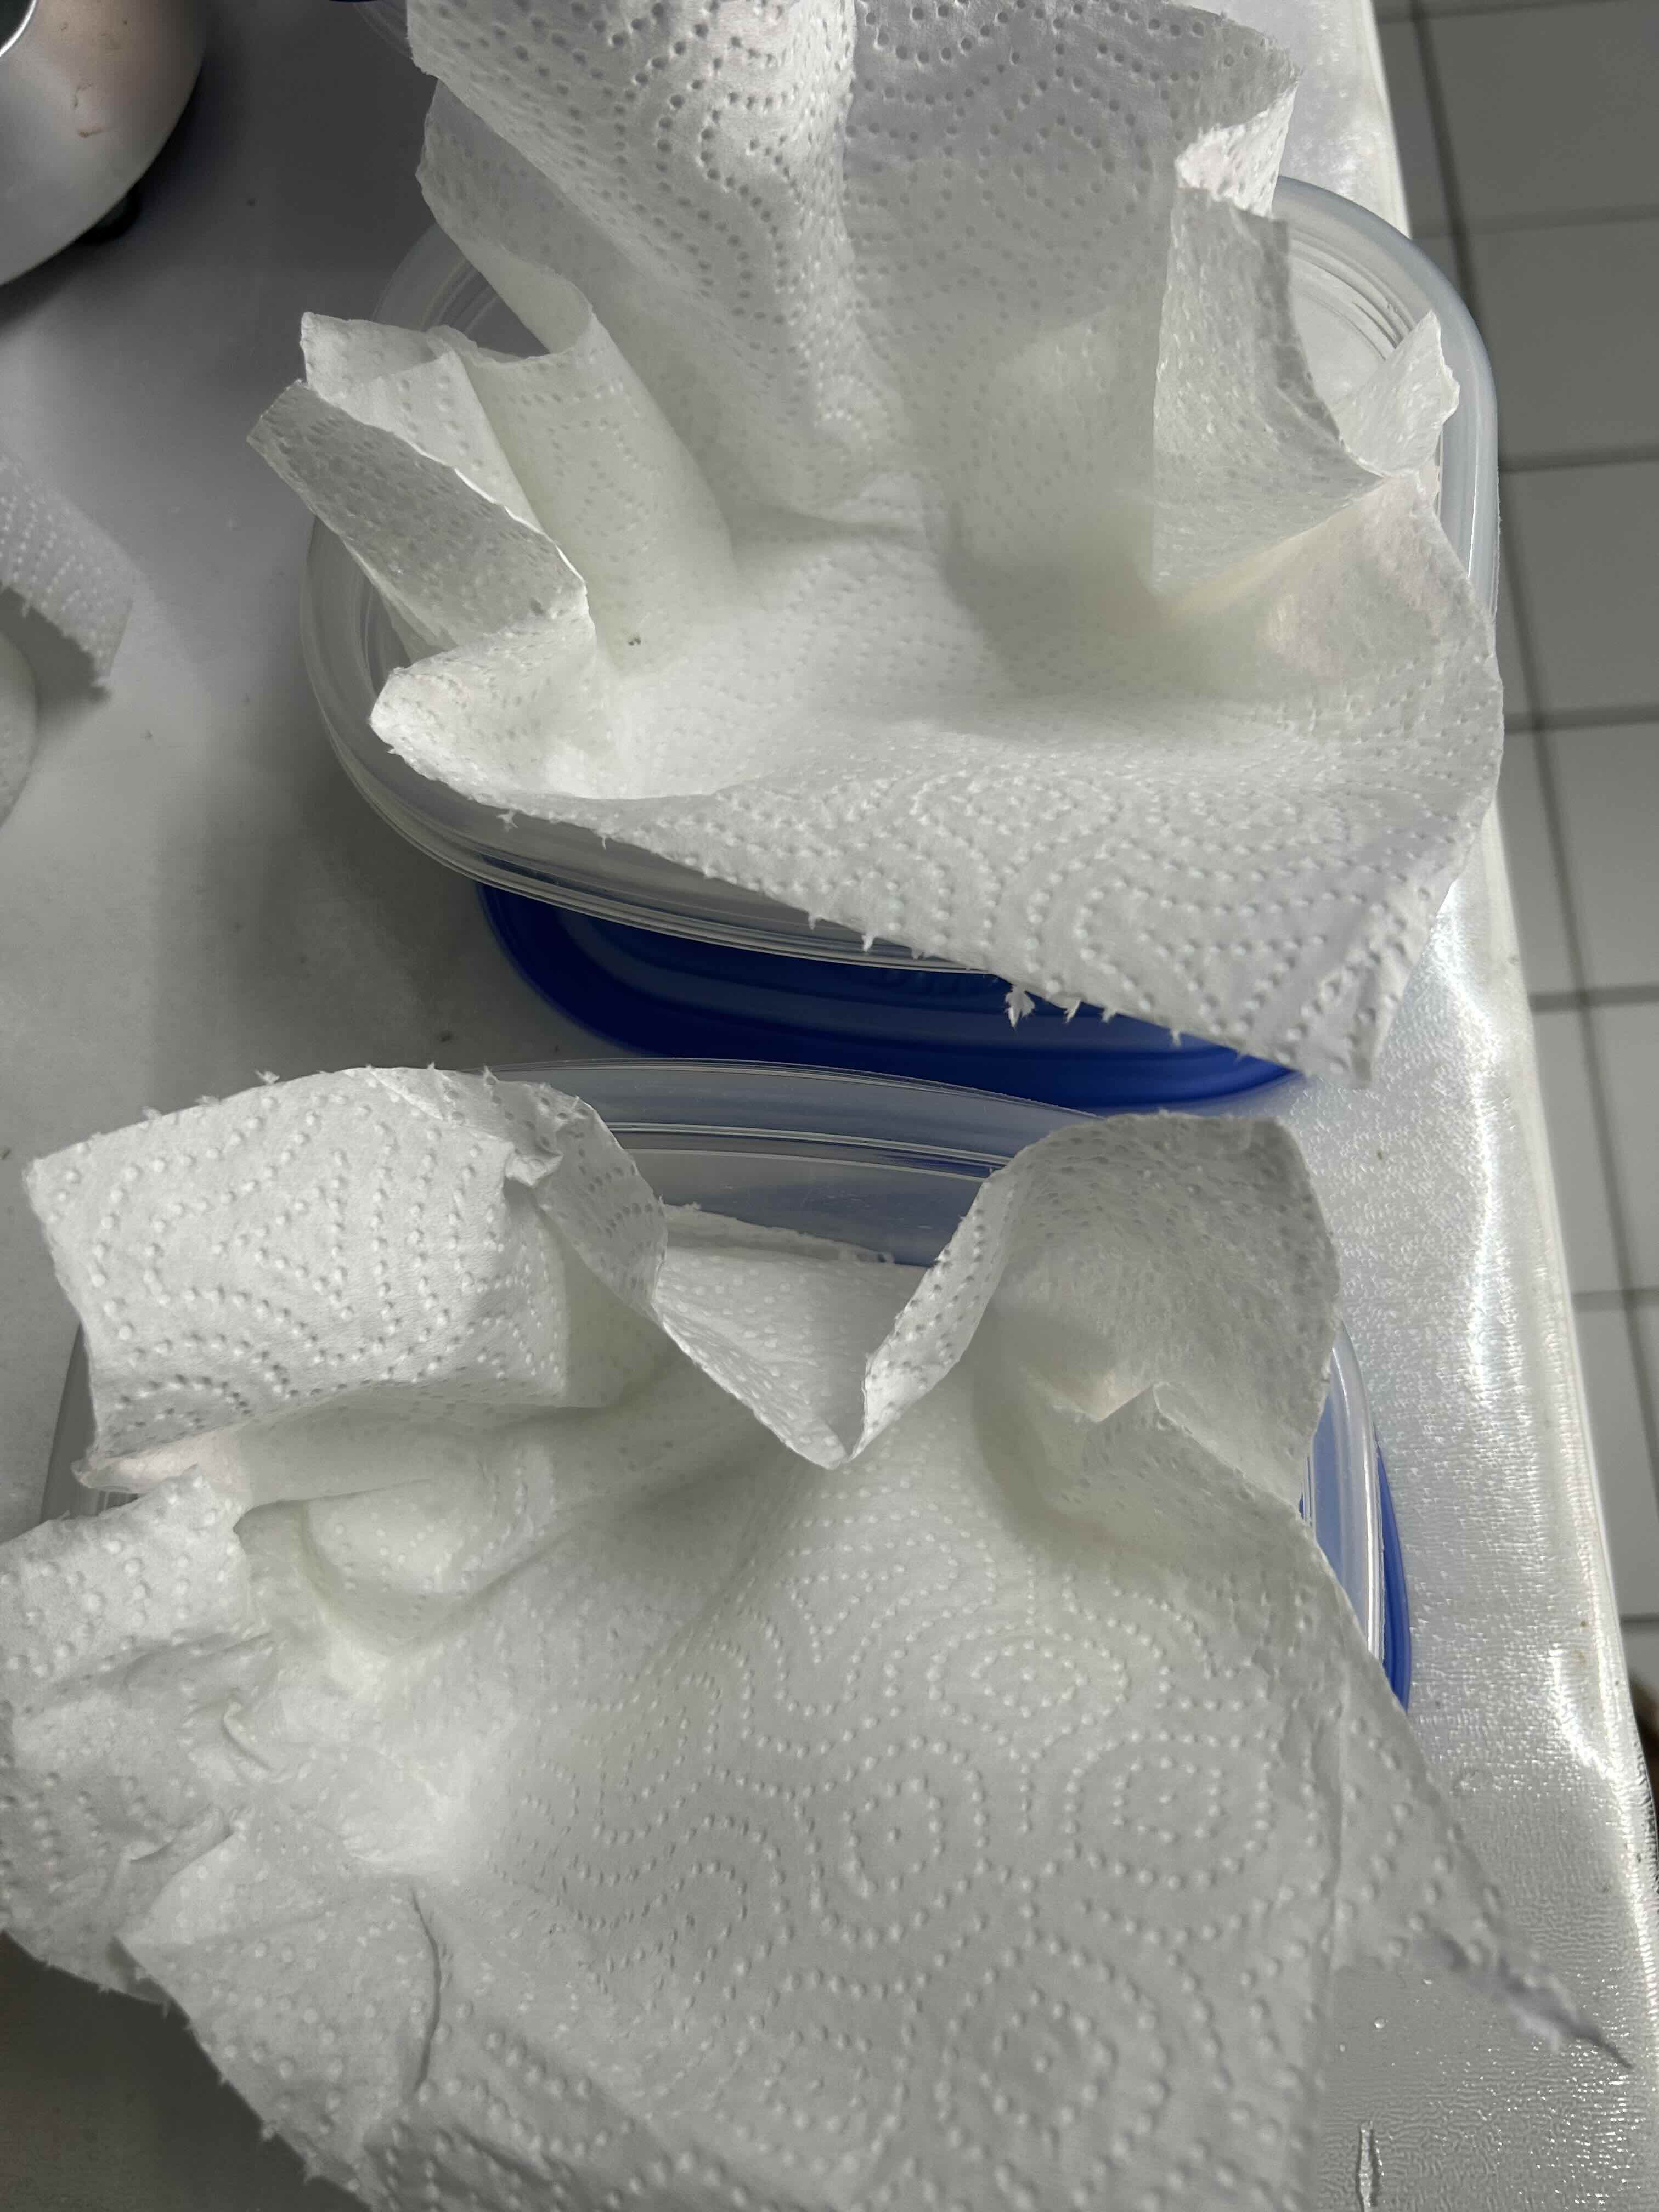
- 13Transfer the clean, dry sprouts into an airtight storage container lined with a piece of paper towel (tissue) placed in between the layers to absorb any residual moisture in the fridge.
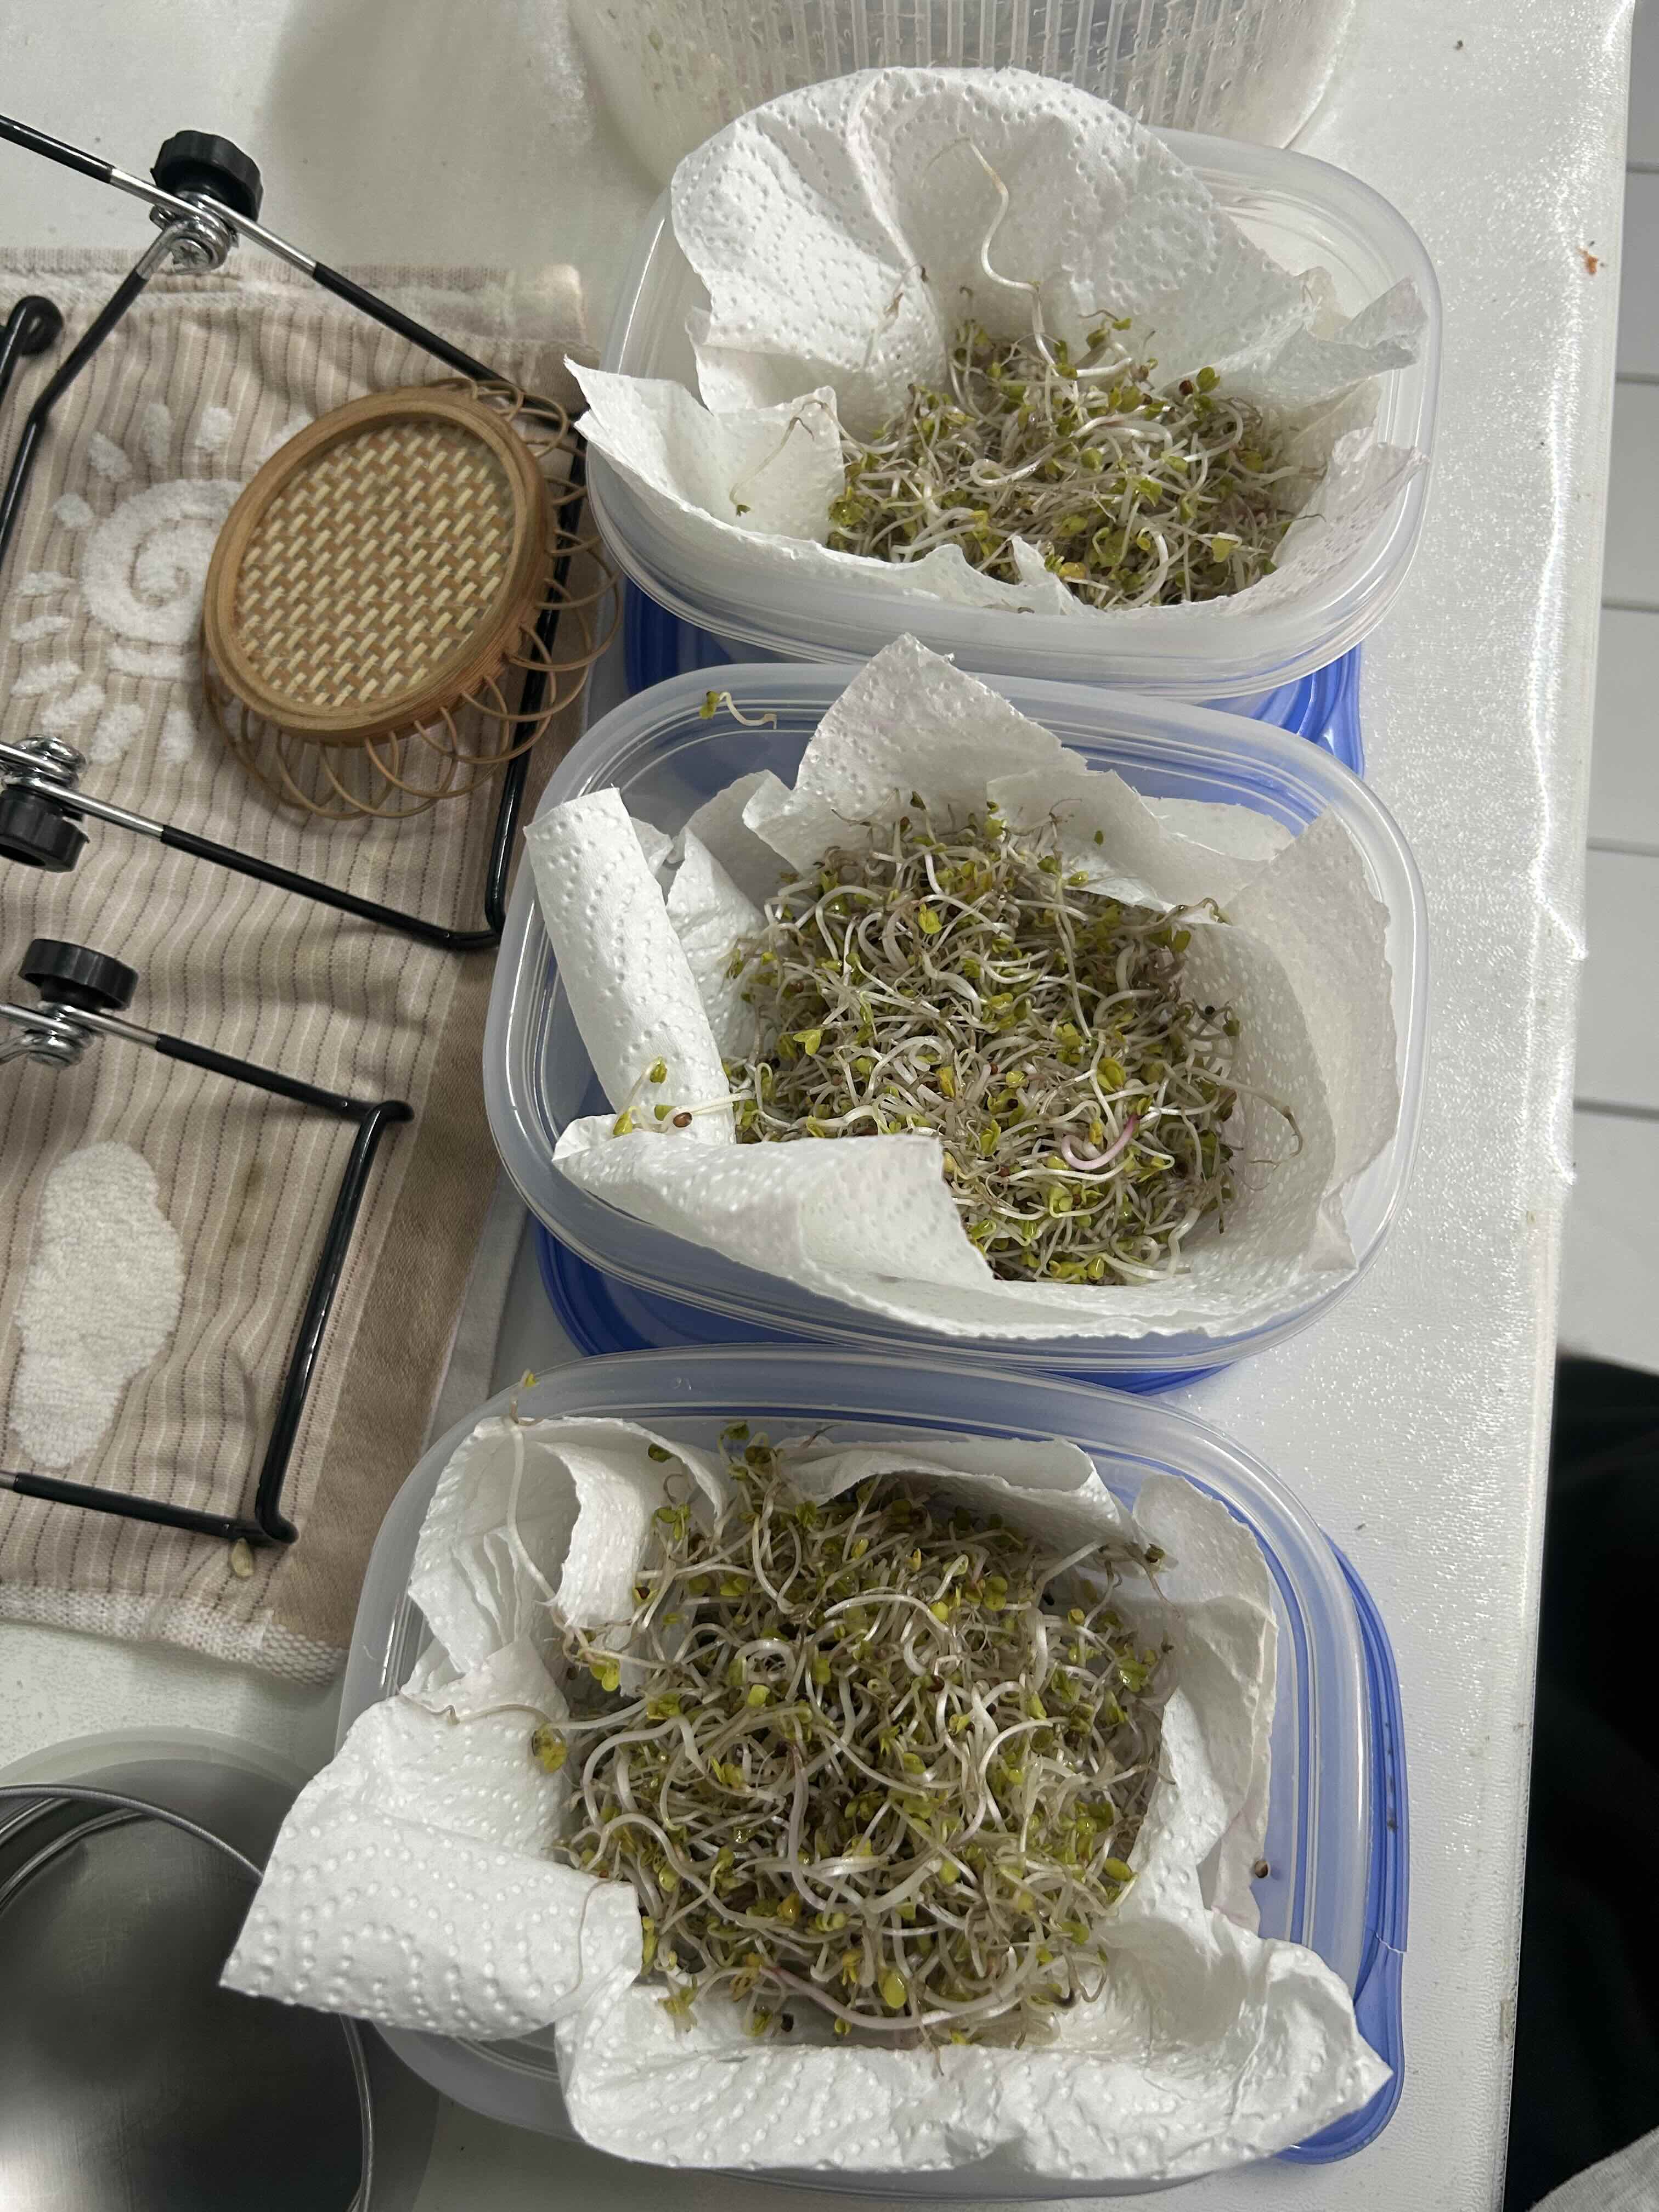
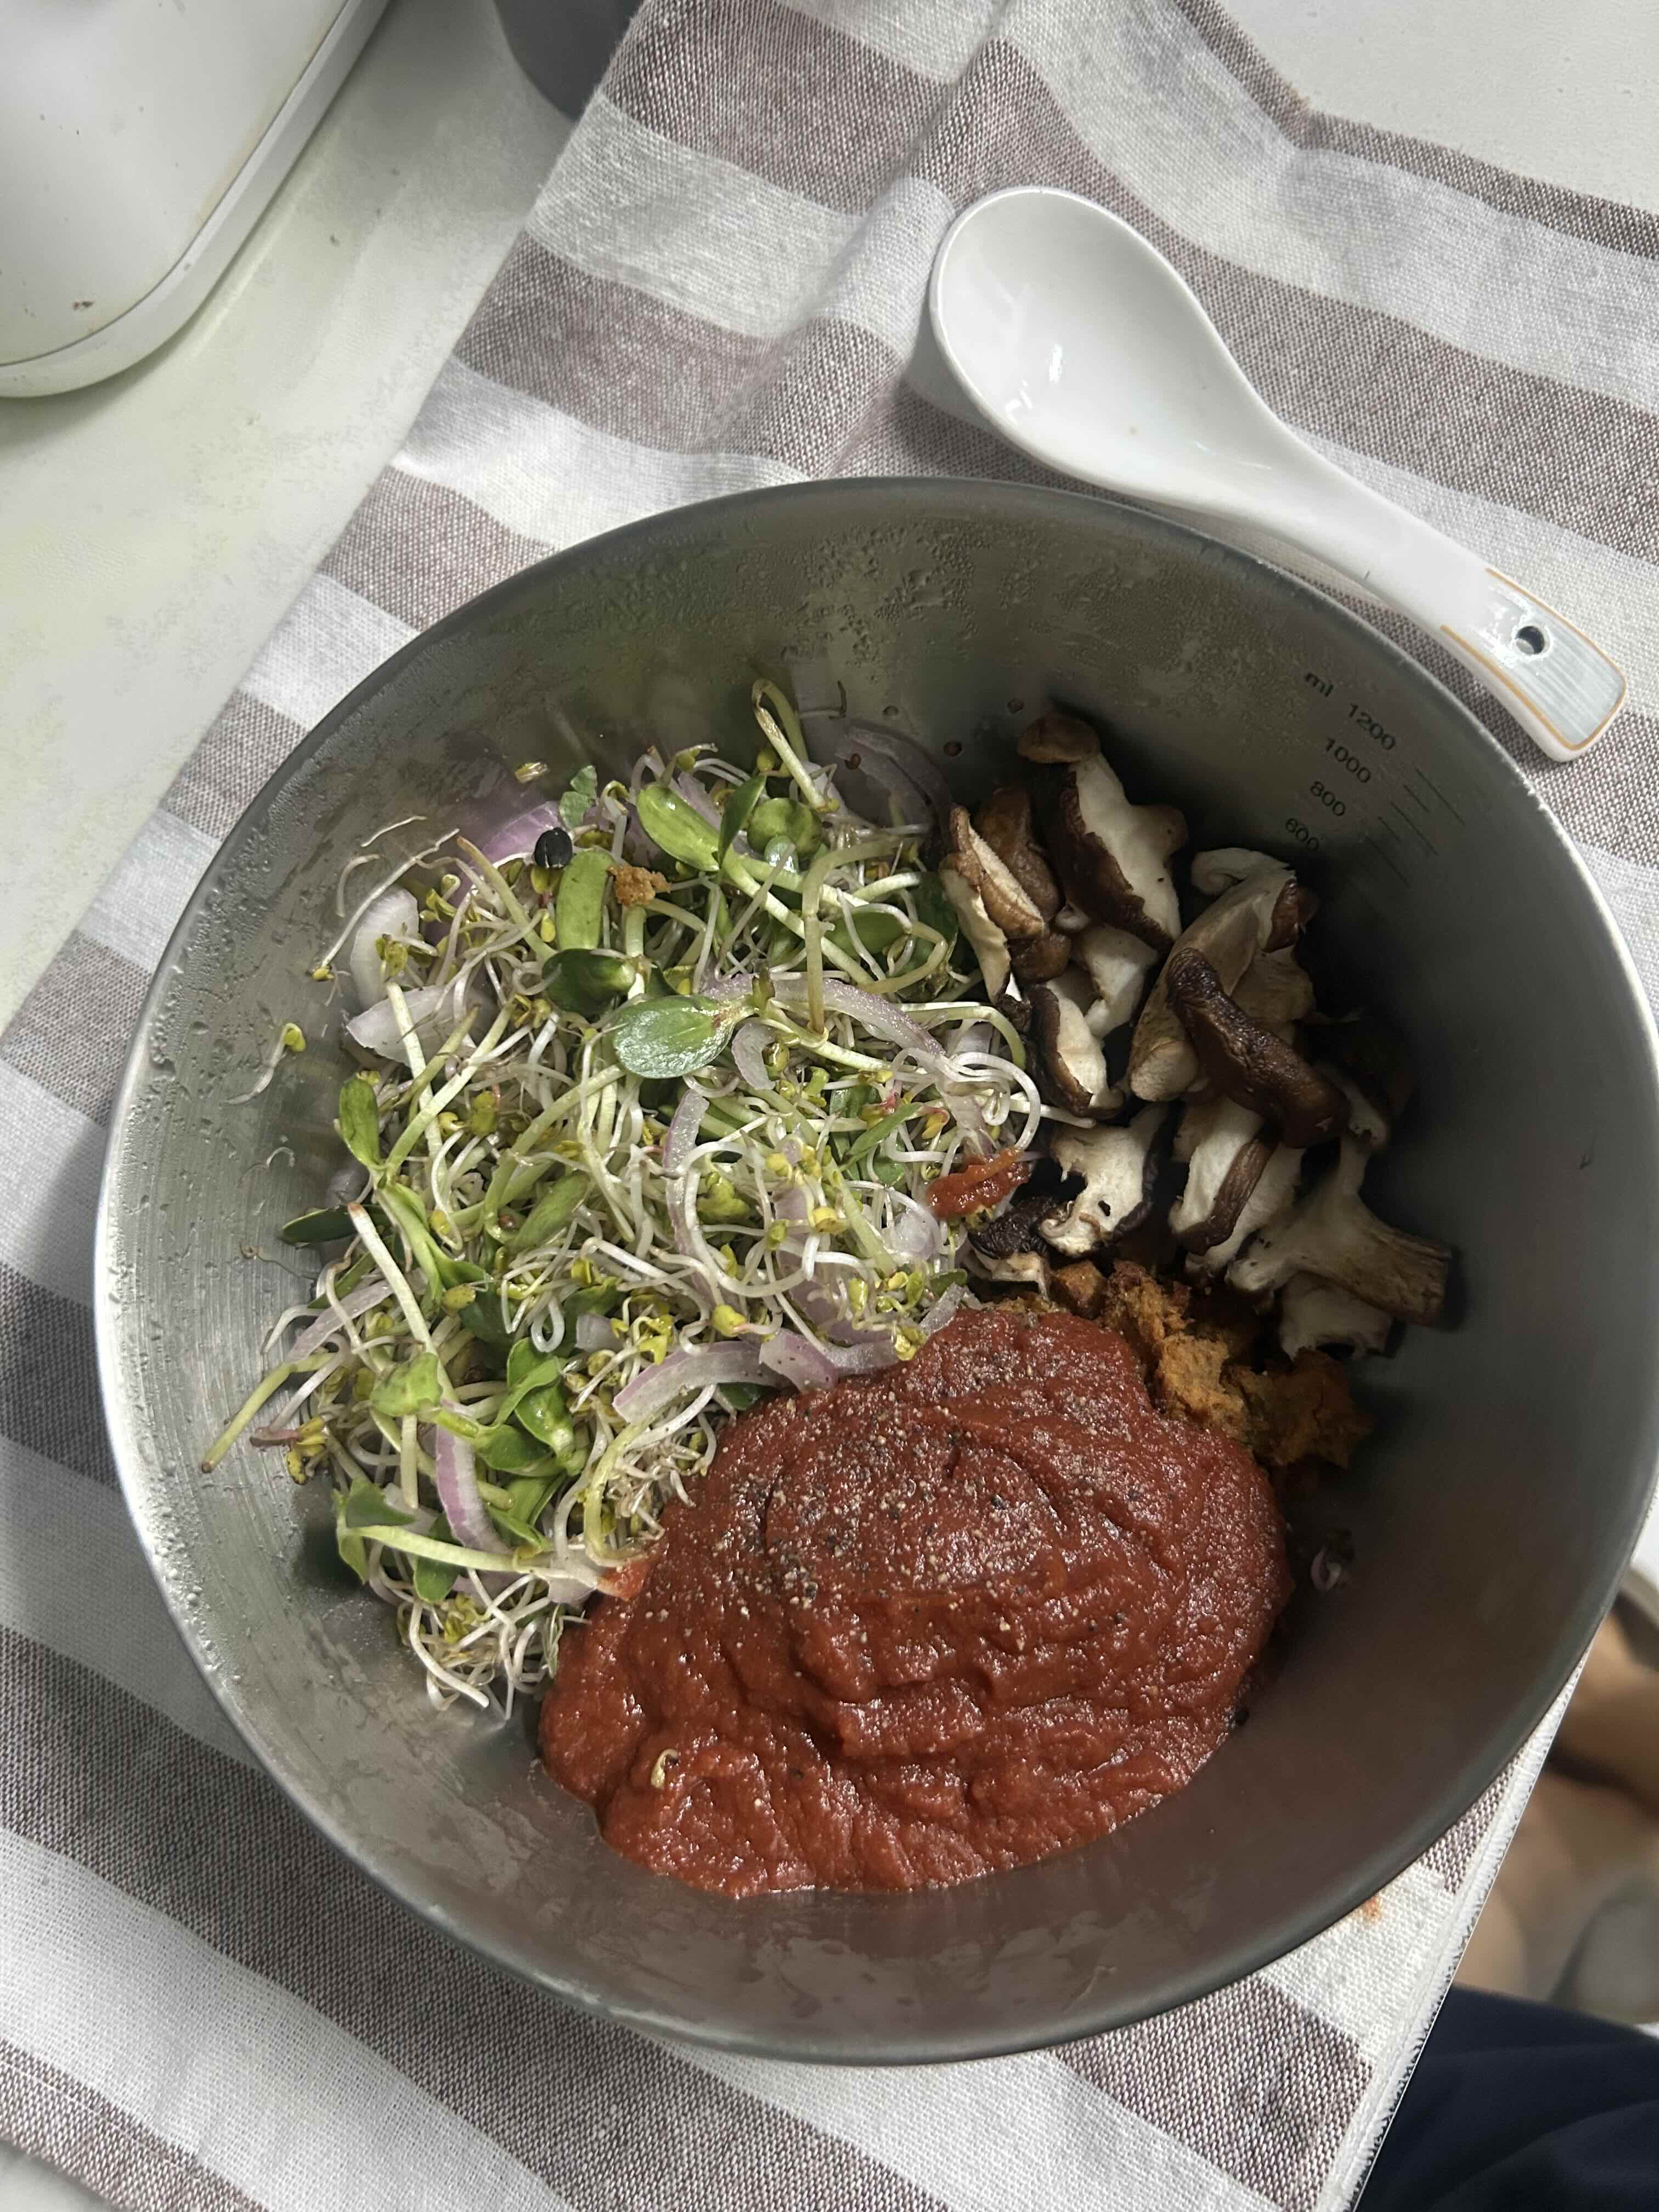
- 14Serve the sprouts fresh as a vibrant, nutrient-dense topping for your meals, or store them in the refrigerator for up to 5 days with periodic paper towel changes to maintain crispness.
Tips
- Shaking the jar after rinsing to stick the seeds to the glass walls is crucial—it spreads them out so they don't suffocate or pool at the bottom.
- Make sure to remove as many unsprouted seeds and loose hulls as possible during the harvest rinse; eliminating them prevents premature decay and significantly prolongs the shelf life of your sprouts in the fridge.
- Periodically replace the paper towel inside your storage container every couple of days to keep the environment perfectly dry and clean, ensuring your sprouts stay crisp for the full week.
Storage
Store the dried sprouts in your lined container in the refrigerator for 3-5 days, which provides a perfect daily supply for your standard meals.